This article was medically reviewed by Shari Forschen, NP, MA. Shari Forschen is a Registered Nurse at Sanford Health in North Dakota. Shari has worked in healthcare since 1996 and her expertise lies in acute care bedside nursing on a medical oncology floor. She received her degree from Medcenter one College of Nursing in 2003 and her Family Nurse Practitioner Masters from the University of North Dakota in 2014. Shari is a member of the American Nurses Association.
This article has been viewed 43,729 times.
Perhaps you accidentally step on a tack at home while you are putting up a poster in your room. Or maybe you fall and get a pin stuck in your skin at school. You can remove a pin or tack with some caution and care using tweezers. You should start by preparing the area for the removal and then take out the pin or tack carefully. If the pin or tack appears to be too deep into your skin, you may need professional medical care.
Steps
Preparing the Area
-
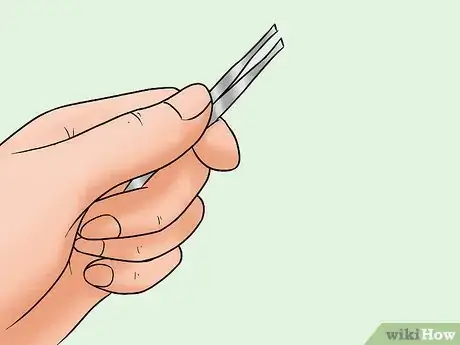
1Find tweezers. You should always use tweezers to remove a pin or tack in your skin. Do not use your fingers, as your fingers can slip and cause the pin or tack to burrow deeper into your skin. Look for tweezers that have ends that meet exactly and are the same length.
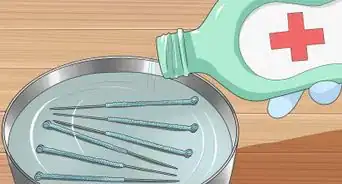
- Sterilize the tweezers with rubbing alcohol to ensure they are clean. Put rubbing alcohol on a cotton ball and rub it over the tweezers or soak the tweezers in rubbing alcohol before you use them.
- If you do not have rubbing alcohol, then you can also immerse the tweezers in boiling water for a few minutes. Carefully retrieve the tweezers from the boiling water with a pair of metal tongs and allow them to cool before touching them with your bare hands.
- If you do not have access to rubbing alcohol or boiling water, you can use some antibacterial soap and water to clean the tweezers.
-
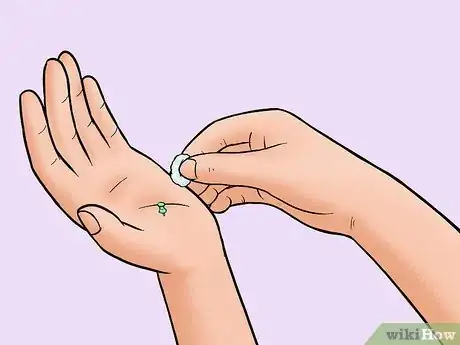
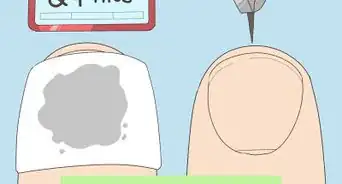
2Clean the area around the pin or tack. If you are wearing any clothing, remove it so the area around the pin or tack is exposed. Then, put rubbing alcohol on a cotton ball and rub the cotton ball on the area surrounding the pin or tack.
- You can also use soap and water if you do not have access to rubbing alcohol. Make sure you clean the area well. You do not need to soak the area with water. Simply clean it well.
Advertisement -
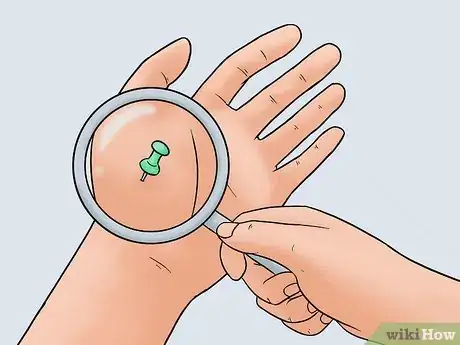
3Examine the area with a magnifying glass. If possible, get a magnifying glass so you can examine the area up close. You should move into an area with good lighting so you can clearly see the pin or tack.
- Look at how deep the pin or tack is in your skin. If you can see the large end of the pin or tack just under the surface of your skin, you should be able to remove it with the tweezers.
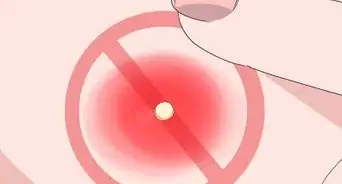
- If the pin or tack appears to be deeply embedded in your skin, you may need to go to your doctor for medical care. Visit your local physician or walk in clinic. If you cannot see the end of the pin or tack under your skin, it may be too deep for you to remove on your own and the medical professionals who treat you may even need to use an imaging device to find it.
Taking out the Pin or Tack
-
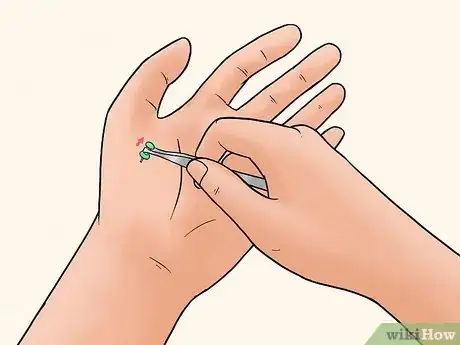
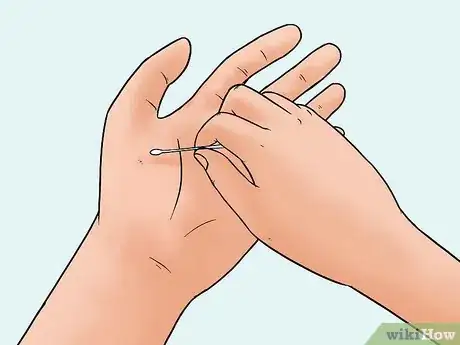
1Pull it out with the tweezers. Use the tweezers to grasp the end of the pin or tack, flush with the surface of your skin. Make sure you get a good grip on the pin or tack with the tweezers before you pull it out.
- Look at the angle of the pin or tack in your skin. It may be at a straight angle or angled to one side. You should grasp and pull the pin or tack out as the same angle as it went in.
-
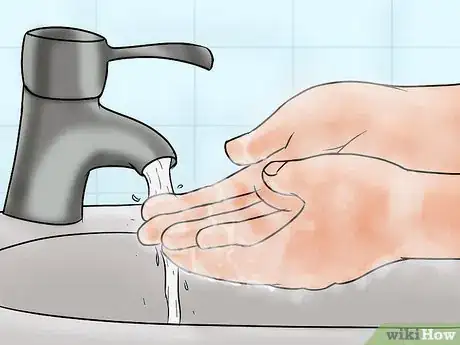
2Wash the area with soap and water. Once you have removed the pin or tack, you should dispose of it in the garbage. Then, clean the area again with soap and water. If you have access to rubbing alcohol, you may also apply this using a cotton ball.
-
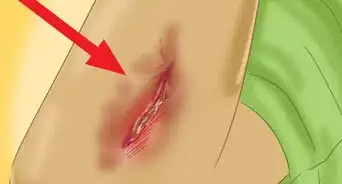
3Apply pressure to the wound with a cotton ball if there is any blood. If the pin or tack was not very deep in your skin, there should be little to no blood coming out of the wound once you remove the pin or tack. If there is blood, use a cotton ball to apply pressure on the wound until the bleeding stops.[1]
- If there is a lot of blood coming out of the wound, you may want to consider seeking medical treatment. The pin or tack may have been deeper in your skin than it appeared.
- Certain conditions may also put you at a higher risk for bleeding and infection. For example, if you are taking an anticoagulation medication, then you may need to see a doctor right away if the bleeding does not stop. You may also need to see a doctor right away if you have a condition that causes low platelets, also known as thrombocytopenia, or if you are immune compromised due to chemotherapy.
-
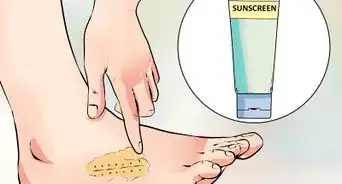
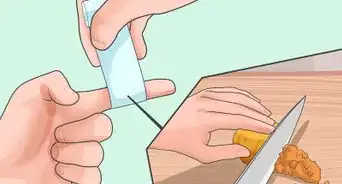
4Apply an antibiotic ointment and a bandage. Make sure you apply an over-the-counter antibiotic ointment onto the wound to prevent infection. You can also apply a bandage over the wound so it is protected from bacteria, especially if the wound is on your foot or your hand.
-
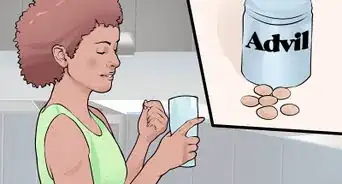
5Take over-the-counter pain medication. If the area around the pin or tack is sore and uncomfortable, you may take over-the-counter pain medication. Always follow the dosage instructions on the label and only take the recommended amount of medication.[2]
Getting Medical Care
-
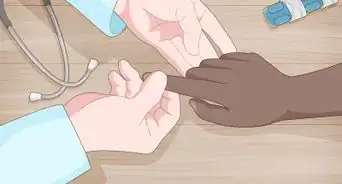
1Get medical assistance if you cannot remove the pin or tack. You may not be able to remove the pin or tack because it is too deep in your skin. Rather than try to force the pin or tack to come out, you should go see a doctor.
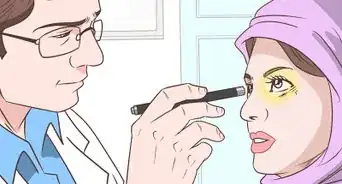
- The doctor may then examine and assess the wound. They may remove the pin or tack themselves and then do an x-ray to make sure no part of the pin or tack is still stuck under your skin.[3]
- The doctor may also ask you if you have had a tetanus shot in the last several years as well as where you were when you were injured and how the injury occurred.
-
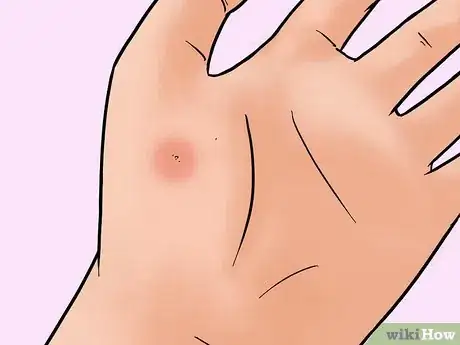
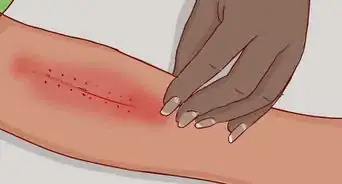
2See a doctor if the area appears infected or becomes painful. Keep an eye on the wound and watch for any signs of infection. If the area becomes swollen, very red, warm, or releases any pus, it may be infected. Also, note how the wound feels. If it appears infected or feels painful, then you should also see a doctor to have it looked at.
- Depending on the severity of the infection, your doctor may recommend antibiotics or a medicated cream you can apply on the wound.
- Keep in mind that once an injury occurs the tissue is damaged and it will take time for it to heal. Generally, you should see some considerable improvement within two days to one week.







Medical Disclaimer
The content of this article is not intended to be a substitute for professional medical advice, examination, diagnosis, or treatment. You should always contact your doctor or other qualified healthcare professional before starting, changing, or stopping any kind of health treatment.
Read More...