This article was co-authored by Anthony Stark, EMR. Anthony Stark is a certified EMR (Emergency Medical Responder) in British Columbia, Canada. With over 11 years of experience, he has worked as an industrial medic and provided urban and rural paramedic services. He currently works for Mountain View Safety Services and previously worked for the British Columbia Ambulance Service. Anthony has a Bachelor of Engineering in Electrical, Electronics, and Communications Engineering from the Georgia Institute of Technology. He has completed the EMP Canada EMT Course and Swiftwater Awareness Training associated with the British Columbia Ambulance Service.
wikiHow marks an article as reader-approved once it receives enough positive feedback. In this case, 90% of readers who voted found the article helpful, earning it our reader-approved status.
This article has been viewed 382,435 times.
Splinters are a common nuisance for both children and adults. They can cause painful irritation and, possibly, infection. The most common types of splinters are made of wood, glass or metal.[1] Some splinters can be removed at home with some basic tools or compounds, but deeper splinters may need special techniques or medical assistance.
Steps
Using Tools to Remove Deep Splinters
-
1Try using tweezers. If any part of the splinter is visible above the surface of your skin, try removing it with tweezers. Choose tweezers with a serrated inner edge. Grab the tip of the splinter with a firm hold, and slowly pull it out.
- Sterilize the tweezers before using them. Wipe them with rubbing alcohol or vinegar, boil them in water for several minutes, or hold them over a flame for about a minute.
- Wash your hands before you try to remove your splinter.
-
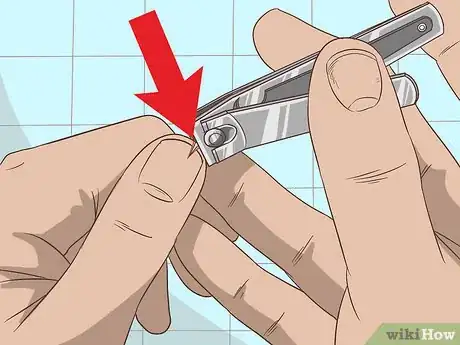
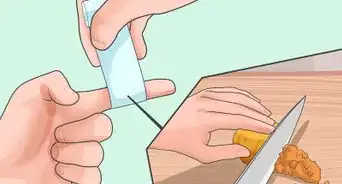
2Use nail clippers for thick splinters. If the splinter is thick and unlikely to break, a good alternative to tweezers is a sturdy pair of sterilized nail clippers. If the splinter is stuck into thick skin at an extreme angle, clip some overlaying skin to improve visibility and access to the splinter – it shouldn't hurt in thick-skinned areas that aren’t sensitive, like your heel.
- Cut your skin in a parallel direction to that of the splinter.
- Don't clip deeply enough to cause bleeding. A deeper wound will increase the risk of infection.[2]
- When using nail clippers or tweezers, use your dominant hand if you can (this won't work if the splinter is in your dominant hand), so you have better dexterity and control.
Advertisement -
3Use a needle to pry the splinter loose. For a deeper splinter that's below the surface of your skin, use a sterilized needle or pin to try and dig a portion of it up above the surface. Make a small hole in your skin over the end of the splinter closest to the surface. Try to lift the splinter up with the tip of the needle so you can grab it with tweezers or nail clippers.
- Don't try to completely dig the deep splinter out with the needle – you'll cause more damage and risk breaking the splinter.
-
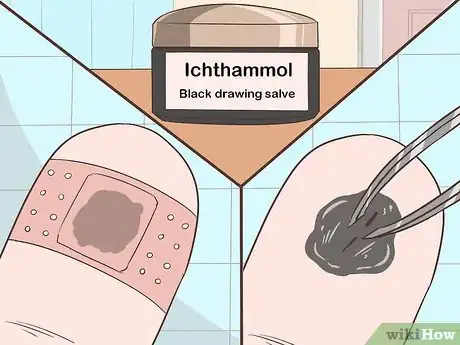
4Consider using a drawing salve. A drawing salve is a type of disinfectant that helps to dislodge deeper splinters by lubricating them and allowing them to "slip out" of your skin. Apply the drawing salve to the wound, and wait a day or so for it to dislodge the splinter. Cover the wound with a bandage in the meantime. Waiting for it to work may require some patience.
- One of the more common brands is Ichthammol (black drawing salve), which is found over-the-counter at most pharmacies.
- Drawing salves are greasy and may smell unpleasant.
- In most cases, the salve will only bring the splinter to the skin's surface – you'll still need to pluck it out with tweezers.
-
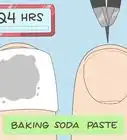
5Try adding some baking soda to the wound. Baking soda is not only a good disinfectant, but it can slow down bleeding and help draw a deep splinter closer to the skin's surface.[3] If the splinter is made of glass, metal, or plastic, then soak the area for up to an hour in a basin of warm water with a few teaspoons of baking soda added. If the splinter is wood, make a thick baking soda paste with some water and apply it over your wound. Cover it with a bandage overnight.
- You will need to use tweezers or nail clippers to remove the splinter from your skin’s surface.
Performing After Care
-
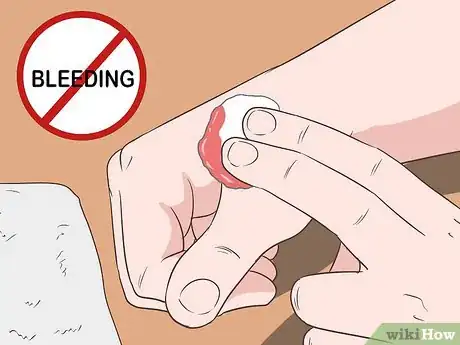
1Stop any bleeding. If the wound bleeds after the splinter is removed, apply pressure to it with a clean cotton ball. Hold it in place for several minutes or until bleeding stops.
-
2Disinfect the punctured area. After you remove the splinter, focus on cleaning the small puncture wound. Wash it with warm water and soap, then dry it with a clean towel and wipe it with an alcohol wipe. Alcohol is an excellent disinfectant, but white vinegar, iodine, and hydrogen peroxide work well also.[4]
- If you don't have alcohol wipes, use a clean cotton ball or Q-tip and dip it into some rubbing alcohol.
- These might sting when you apply them, but it only lasts a moment.
-
3Apply antibiotic ointment. Antibiotic ointment like Neosporin can help prevent an infection. Apply a small amount to the clean wound. You can get antibiotic cream or ointment at nearly any drug store or pharmacy.
-
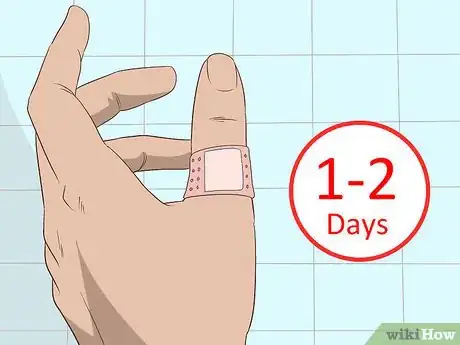
4Cover the wound. After the wound is cleaned and disinfected, let it completely air-dry. Apply a small bandage to protect it from dirt and irritation. You can remove this after a day or two.
Taking Precautions
-
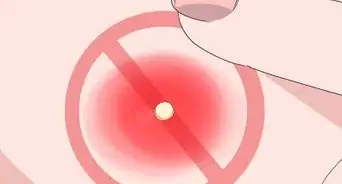
1Avoid squeezing the splinter. It may be your first instinct, but don’t squeeze around the edges of the wound with your fingers in efforts to push the splinter out. It rarely works and you risk breaking the splinter and causing more damage.
-
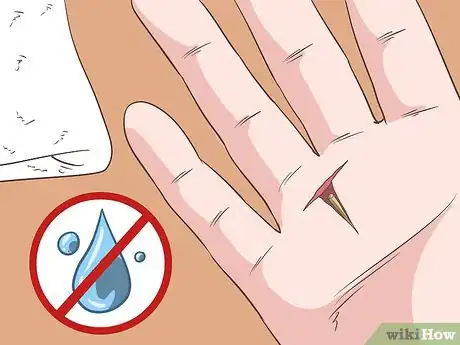
2Keep wood splinters dry. If your splinter is made of wood, don’t get it wet. It might disintegrate when you pull on it, leaving smaller pieces deep in your skin.[5]
-
3Remove splinters with clean hands. Avoid infecting the small wound. Just like you should sterilize any instrument you use, wash your hands with soap and water before touching your wounded area. Lather your hands well for at least 30 seconds with antibacterial soap, and rinse them thoroughly.
-
4Remove the splinter in its entirety. Make sure not to break the splinter off or leave any material within your skin, as you'll increase the risk of an infection.[6] Make sure to pull the splinter out at the same angle it went in to reduce the risk of it breaking. Splinters rarely enter the skin at a 90° angle.
-
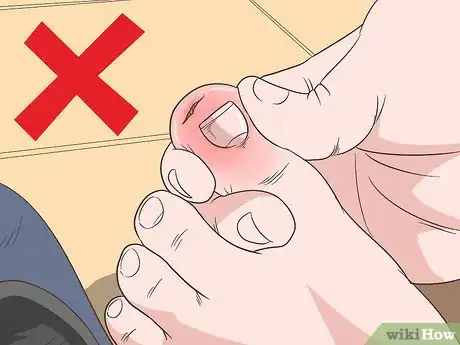
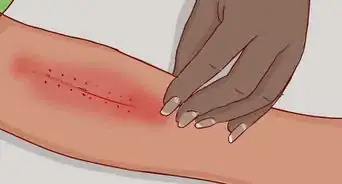
5Watch for signs of infection. An infection can develop from any type of splinter, in any area, and at any depth, so be watchful for a couple of days after your splinter is removed. Common signs of an infection include swelling, redness, tenderness, pus, and numbness and tingling around the wound.[7]
- More serious signs that the infection is spreading around your body include fever, nausea, night sweats, body aches, headaches and delirium. Seek medical help right away.
Knowing When to Seek Professional Help
-
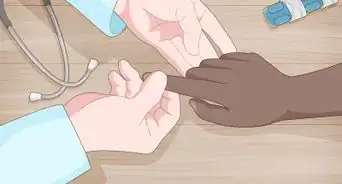
1Seek medical attention if DIY methods fail. If you've tried methods at home and can't get the splinter out of your skin, go see your doctor within a few days to get it removed. Don’t leave splinters in your skin.[8]
- If a deep splinter breaks or shatters beneath your skin, see your doctor to get the pieces removed.
-
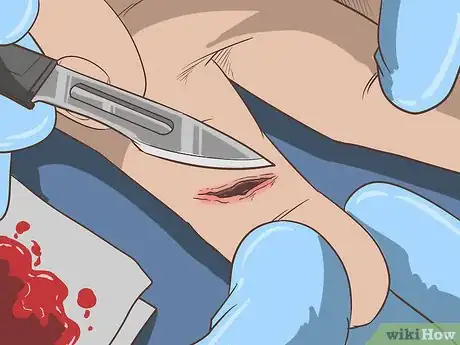
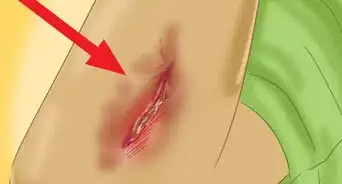
2Get professional help for deep wounds or heavy bleeding. If the splinter has caused a significant wound that will not stop bleeding after you apply pressure for 5 minutes, go to the doctor. They may need to remove the splinter with special instruments.[9]
- If the doctor needs to cut the splinter out of your skin with a scalpel, they will use a topical anesthetic to numb the area first.
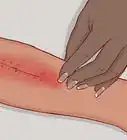
- Large wounds may need stitches to close after the splinter has been removed.
-
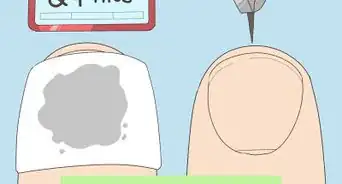
3See your healthcare provider for splinters beneath your nails. If you get a deep splinter underneath your finger or toenail, it’s unlikely you’ll be able to remove it on your own. Trying to do so can cause damage. You doctor can safely remove part of your nail and extract the splinter.[10]
- Your nail will likely grow back normally afterwards.
-
4Get emergency medical help for splinters in or near your eye. If anything penetrates your eye, cover your injured eye and call emergency medical services right away. Do not try to remove it – you can damage your eye and affect your vision. Try to keep both eyes closed until help arrives so that you move your injured eye as little as possible.[11]
References
- ↑ http://www.aafp.org/afp/2003/0615/p2557.html
- ↑ http://www.aafp.org/afp/2003/0615/p2557.html
- ↑ http://www.emedicinehealth.com/splinters/page6_em.htm#splinters_home_remedies
- ↑ http://www.mayoclinic.org/first-aid/first-aid-cuts/basics/art-20056711
- ↑ http://www.aafp.org/afp/2003/0615/p2557.html
- ↑ http://www.aafp.org/afp/2003/0615/p2557.html
- ↑ http://www.aafp.org/afp/2003/0615/p2557.html
- ↑ https://www.ghc.org/kbase/topic.jhtml?docId=sid42412spec
- ↑ https://www.ghc.org/kbase/topic.jhtml?docId=sid42412spec
About This Article
To remove a deep splinter, first wash your hands and the splinter area with soap and water to help prevent infection. Soak the area in warm water for a few minutes to make the skin softer. Then, sterilize a needle and tweezers with rubbing alcohol and a cotton ball. Use the needle to gently break the skin where the splinter is so you can access it. Pull the splinter out in the direction it entered using the tweezers. Re-wash the area with soap and water and cover it with a bandage when you’re finished. See your doctor if the splinter is large, too deep to access, or in or near your eye. You should also see a doctor if you notice redness, swelling, excessive pain, pus, or warmth around the splinter area. For tips from our Medical reviewer on how to disinfect the wound, and when to seek medical help, scroll down.
















Medical Disclaimer
The content of this article is not intended to be a substitute for professional medical advice, examination, diagnosis, or treatment. You should always contact your doctor or other qualified healthcare professional before starting, changing, or stopping any kind of health treatment.
Read More...