This article was medically reviewed by Luba Lee, FNP-BC, MS. Luba Lee, FNP-BC is a Board-Certified Family Nurse Practitioner (FNP) and educator in Tennessee with over a decade of clinical experience. Luba has certifications in Pediatric Advanced Life Support (PALS), Emergency Medicine, Advanced Cardiac Life Support (ACLS), Team Building, and Critical Care Nursing. She received her Master of Science in Nursing (MSN) from the University of Tennessee in 2006.
wikiHow marks an article as reader-approved once it receives enough positive feedback. This article received 34 testimonials and 88% of readers who voted found it helpful, earning it our reader-approved status.
This article has been viewed 1,643,689 times.
While it's recommended that you visit your physician or health care professional to have your stitches removed, that's not always practical. You may be able to remove small stitches on your own. If the recommended healing time has elapsed, and the wound appears completely closed, you may want to remove them. All you need are some tweezers and scissors!
Steps
Wound Cleaning and Preparation
-
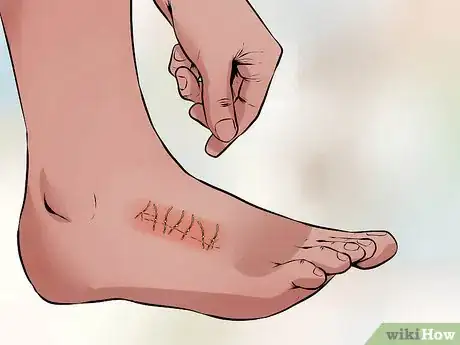
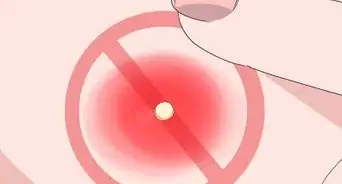
1Make sure you’ve healed enough before removing your stitches. In some cases, you absolutely shouldn't remove your own stitches. If your stitches were inserted after a surgical procedure, or if the recommended healing time (usually 10-14 days) hasn't elapsed, removing them yourself can put you at greater risk for infection and may prevent your body from healing properly. Your skin needs to have grown back together before your stitches are removed.[1]
- Keep in mind that when you go to the doctor, adhesive strips are often placed on the skin after stitch removal to continue to facilitate the healing process. If you do it at home, you may not be getting the care you require.
- If you want to double check whether it's OK to remove your stitches, give your doctor a call. They will let you know whether it's safe enough to do it yourself. However, they will likely recommend you come into the office to get your stitches removed.
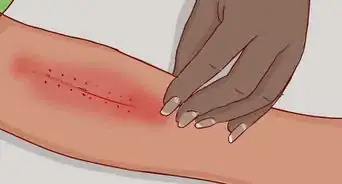
- If your wound looks as if it's getting red or more sore, do not remove your stitches—go to your doctor. You may have an infection.
- Keep in mind that in many cases, you can get your stitches removed without going through the regular doctor's appointment process. You might be able to walk right in for a quick stitch removal. It's likely that a nurse can check your wound and remove the stitches if the wound has healed. Call your doctor and ask.
-
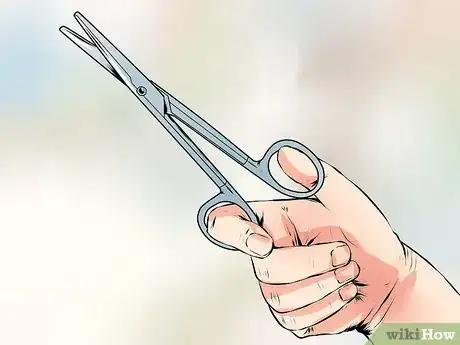
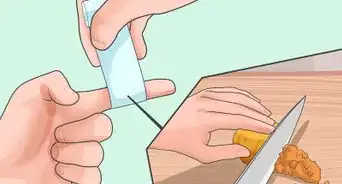
2Choose a tool to cut your stitches. To remove your stitches, you’ll need a small pair of scissors.[2] Use a sharp pair of surgical scissors if possible. Sharp nail scissors may also work. Avoid using any type of blunt edge, and don't use a knife—it's too easy for knives to slip.Advertisement
-
3Sterilize your scissors and a pair of tweezers in boiling water. Drop them in a pot of boiling water, cover the pot, and let the tools boil for at least 20 minutes.[3] Carefully remove them, let them thoroughly dry on a clean paper towel, then swab them thoroughly with a cotton ball soaked in rubbing alcohol. This will ensure the scissors and tweezers don't transfer bacteria to your body.
- Use sterilized tongs or chopsticks to take the tools out of the pot so that you don’t burn your hands or contaminate the tools.
-
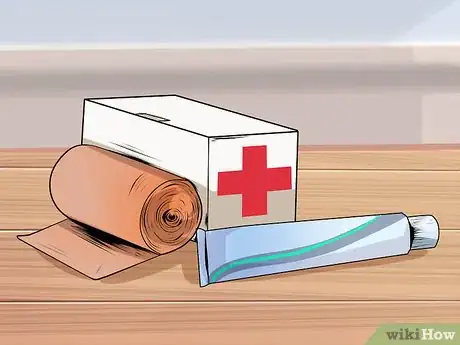
4Gather bandages and antibiotic ointment. There are a few other things you should have on hand. Gather sterile bandages and antibiotic ointment in case you need to treat an area that starts to bleed. You shouldn't need to use these supplies, since if your skin has properly healed, no bandage is necessary, but it's important to have them on hand just in case.
-
5Clean your hands thoroughly with soap and water. Before you touch the wound, carefully wash your hands. Take off any jewelry and wash your hands with soap and warm water, making sure to wash the front and back of both hands as well as in between your fingers. When you’re done, pat your hands dry on a clean paper towel.[4]
- If your hands aren’t visibly dirty or greasy, you can also clean them with an alcohol-based hand sanitizer. Rub the sanitizer over all surfaces of your hands and fingers for at least 20-30 seconds, then let your hands air dry.
-
6Wash and sterilize the stitch site with soap, water, and alcohol. Wet the site with warm water, then apply soap. Rinse the soap away with warm water, and pat the wound dry with a clean towel. Use a rubbing alcohol-soaked cotton ball to dab around the stitches. Be sure the area is completely clean before proceeding.
- Cleaning and disinfecting the area will help prevent an infection. It will also help remove any dried blood or crusted fluids around the wound and make it easier to remove the stitches.[5]
Safe Removal
-
1Sit in a well-lighted spot. You'll need to be able to see every stitch clearly to do the job properly. Don't attempt to remove your stitches in a place that's too dark, or you could accidentally cut yourself.[6]
- If there isn’t enough natural light available, sit near a bright lamp so you can see what you’re doing.
-
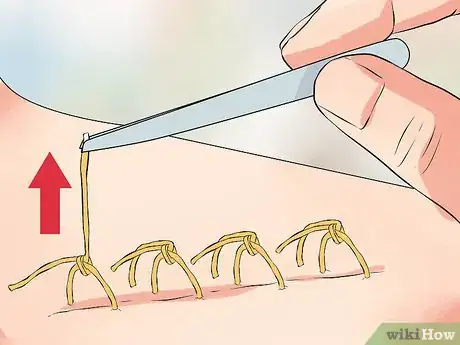
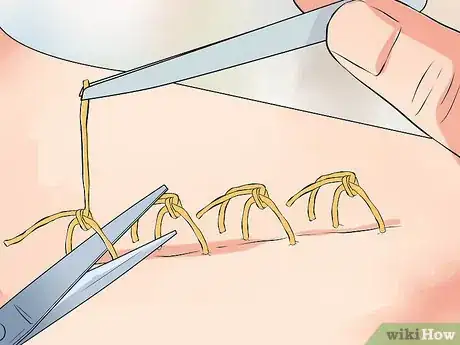
2Lift the first knot. Use the pair of tweezers to gently lift the knot of the first stitch slightly above the skin. Hold the tweezers in you non-dominant hand, since you’ll be cutting the stitch with the scissors in your dominant hand.[7]
-
3Cut the suture with the scissors. Holding the knot above your skin, use your other hand to insert your scissors under the knot. Snip the suture next to the knot, as close to the skin as possible.[8]
-
4Pull the thread through. Use the tweezers to continue grasping the knot and gently pull the stitch through your skin and out. Put the removed stitch aside on a piece of gauze or paper towel.[9] You might feel a bit of pressure as you remove the stitch, but it should not be painful.
- Do not pull the knot through your skin. It will catch on your skin and cause bleeding to occur. To avoid this, hold onto the knot itself with the tweezers as you pull out the stitch.
- If the skin starts to bleed when you remove the stitch, your stitches are not ready to come out. Stop what you're doing and see a doctor to remove the remaining stitches.
-
5Continue removing the stitches. Use the tweezers to lift the knots, then snip with the scissors. Pull the thread through and set it aside. Continue until all the stitches have been removed.[10]
-
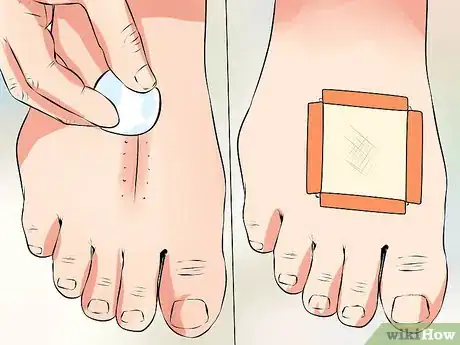
6Cleanse the wound with a wipe or soap and water. Make sure there's no residue left around the area of the wound. Gently cleanse it by wiping it with an antiseptic wipe or cleaning it with soap and warm water. If you'd like, you can place a sterile bandage over the area and allow it to continue to heal.[11]
- To reduce the chance of scarring, put a gentle moisturizer, such as petroleum jelly or Vaseline, on the wound.
Aftercare
-
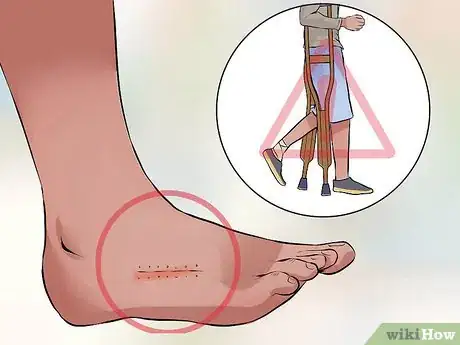
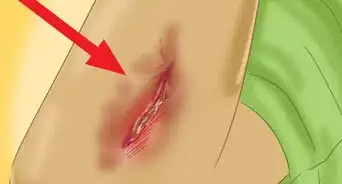
1See a doctor if any problems arise. If your wound is not fully healed or your skin splits again, you're going to need more stitches. It's very important to see a doctor immediately if this happens. Bandaging the wound and trying to let it heal without new stitches won't be adequate.[12]
-
2Avoid exerting yourself too much so the wound doesn’t reopen. Skin regains its strength slowly. After your stitches are removed, the skin may remain weak as it continues to heal. Don't overuse the body part where you had stitches.[13]
- For instance, you may need to avoid doing any heavy lifting until your doctor says it’s safe, since too much strain could cause the wound to reopen.
- If you’re concerned about the wound opening up again, put a series of Steri-Strips along the incision where the stitches used to be. These will help keep the edges of the wound together as it heals.[14]
-
3Protect the wound from UV rays. Ultraviolet light is damaging even to healthy tissue. Use sunscreen with an SPF of at least 30 if your wound will be exposed to the sun or when using tanning beds.[15]
- You can protect the area even more effectively if you also cover the scar with protective clothing (such as long sleeves or pants) and stay in the shade as much as possible.
Expert Q&A
-
QuestionHow many days should I leave the stitches in?
 Luba Lee, FNP-BC, MSLuba Lee, FNP-BC is a Board-Certified Family Nurse Practitioner (FNP) and educator in Tennessee with over a decade of clinical experience. Luba has certifications in Pediatric Advanced Life Support (PALS), Emergency Medicine, Advanced Cardiac Life Support (ACLS), Team Building, and Critical Care Nursing. She received her Master of Science in Nursing (MSN) from the University of Tennessee in 2006.
Board-Certified Family Nurse Practitioner Stitches assist in wound healing and keep the edges of the wound together. Depending on the location of the stitches, the amount of time for them to be removed varies. Stitches generally should be removed within 4-14 days. Get guidance and instructions on the removal from your healthcare provider who put the stitches in.
Warnings
- Removing stitches from major surgery yourself is not recommended. This article is designed for removal of minor stitches.⧼thumbs_response⧽
- Do not attempt to remove surgical staples at home. Doctors use a specialized tool for extraction, and at-home methods may result in greater injury, pain, or infection.⧼thumbs_response⧽
- Don't get sutured (stitched) cuts wet if you have been advised not to, and do not wash them with soap.⧼thumbs_response⧽
Things You'll Need
- Surgical scissors or nail clippers
- Forceps or tweezers (sterilized)
- Hydrogen peroxide or alcohol
- Magnifying glass, preferably with built-in light
- Antibiotic ointment
- Sterile bandage
References
- ↑ https://www.snfwoundcare.com/post/grow-your-blog-community
- ↑ https://www.snfwoundcare.com/post/grow-your-blog-community
- ↑ https://en.hesperian.org/hhg/A_Book_for_Midwives:Clean_and_sterilize_tools
- ↑ https://opentextbc.ca/clinicalskills/chapter/1-6-hand-hygiene/
- ↑ https://opentextbc.ca/clinicalskills/chapter/4-3-suture-care-and-removal/
- ↑ https://www.snfwoundcare.com/post/grow-your-blog-community
- ↑ https://opentextbc.ca/clinicalskills/chapter/1-6-hand-hygiene/
- ↑ https://opentextbc.ca/clinicalskills/chapter/4-3-suture-care-and-removal/
- ↑ https://opentextbc.ca/clinicalskills/chapter/4-3-suture-care-and-removal/
- ↑ https://www.snfwoundcare.com/post/grow-your-blog-community
- ↑ https://www.snfwoundcare.com/post/grow-your-blog-community
- ↑ https://opentextbc.ca/clinicalskills/chapter/4-3-suture-care-and-removal/
- ↑ https://www.snfwoundcare.com/post/grow-your-blog-community
- ↑ https://opentextbc.ca/clinicalskills/chapter/4-3-suture-care-and-removal/
- ↑ https://healthywa.wa.gov.au/Articles/S_T/Suture-care
About This Article
Before you remove your own stitches, make sure that the recommended healing time has gone by, since removing stitches too soon can cause injury. If you're healed enough, sterilize a pair of sharp scissors and a pair of tweezers by dropping them into a pot of boiling water for 20 minutes, which will reduce the risk of infection. When you’re ready to start, sit in a well-lit spot so you can see the stitches. Then, place the tweezers under the first knot, lift it up, and cut the suture with your scissors. Once you’ve made the cut, pull the thread through your skin with the tweezers, taking care not to pull the knot through. Repeat this process until you’ve removed all of the stitches. Finish by placing a sterile bandage over the wound so it can continue to heal. For tips from our Medical co-author, including how to provide aftercare to your wound, keep reading!

