This article was co-authored by Chris M. Matsko, MD. Dr. Chris M. Matsko is a retired physician based in Pittsburgh, Pennsylvania. With over 25 years of medical research experience, Dr. Matsko was awarded the Pittsburgh Cornell University Leadership Award for Excellence. He holds a BS in Nutritional Science from Cornell University and an MD from the Temple University School of Medicine in 2007. Dr. Matsko earned a Research Writing Certification from the American Medical Writers Association (AMWA) in 2016 and a Medical Writing & Editing Certification from the University of Chicago in 2017.
There are 7 references cited in this article, which can be found at the bottom of the page.
wikiHow marks an article as reader-approved once it receives enough positive feedback. This article received 22 testimonials and 84% of readers who voted found it helpful, earning it our reader-approved status.
This article has been viewed 1,517,561 times.
Splinters are “foreign bodies” that have somehow gotten under your skin. Most people have experienced a splinter caused by a tiny piece of wood, but you can also get splinters from metal, glass, and some types of plastics. In general you can remove most splinters on your own, but if it’s deeply embedded in the skin, especially in an awkward place, you may need to have a doctor remove the splinter.[1] Splinters under a finger or toe nail can be especially painful and hard to remove, but there are several methods you can consider trying at home.
Steps
Removing the Splinter with Tweezers
-
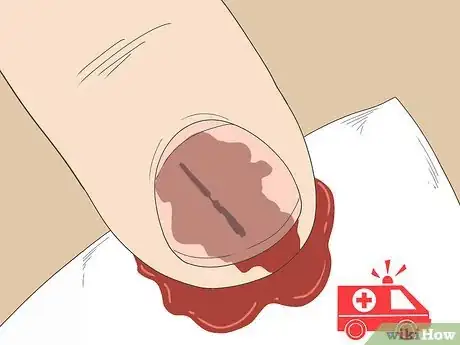
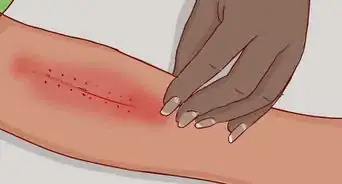
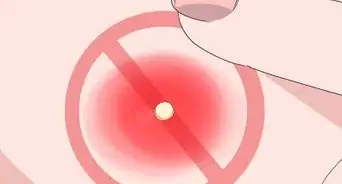
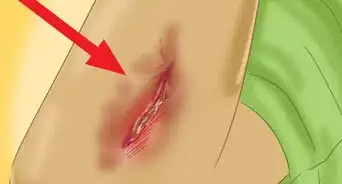
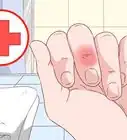
1Determine if you need to go to a doctor. Splinters that are deep under your nail, or have already become infected, may need to be removed by a doctor. You can tell a splinter is infected if it continues to be painful after a few days and the area around the splinter is swollen or red in color.[2]
- If the splinter is causing serious and excessive bleeding, go to your local emergency room to have it removed.
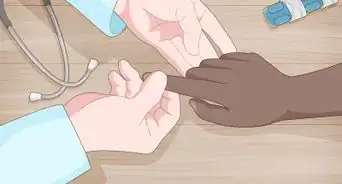
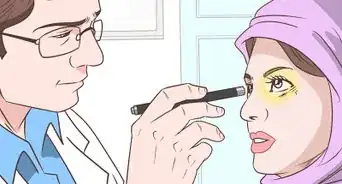
- If the splinter is embedded under your nail such that you are unable to reach it on your own, or if the skin around the splinter is infected, make an appointment to see your family doctor. The doctor can remove the splinter and give you antibiotics.
- In most cases, the doctor removing your splinter should be able to give you a local anaesthetic to numb the area and reduce the pain of removal.
- Be aware that a doctor may have to remove some or all of your nail in order to remove the splinter completely.
-
2Remove the splinter on your own. If you are going to remove the splinter on your own at home, you will most likely need a set of tweezers (as the splinter will probably be too small to grip with your fingers). If the splinter is embedded so far under your nail that no part of the splinter is above your skin, you may also need to use a needle to remove the splinter.[3]
- Sterilize any equipment you are planning to use to remove the splinter. You can sterilize tweezers and needles using rubbing alcohol or boiling water.
- Wash your hands before touching any sterilized equipment.
- Wash the area and nail where the splinter is located before attempting to remove it in order to help prevent infection. If it is difficult to wash with soap and water, you can also use rubbing alcohol.
- If you have long nails, you may wish to cut back the nail under which the splinter is embedded before attempting to remove it. This should allow you to see the area better.
Advertisement -
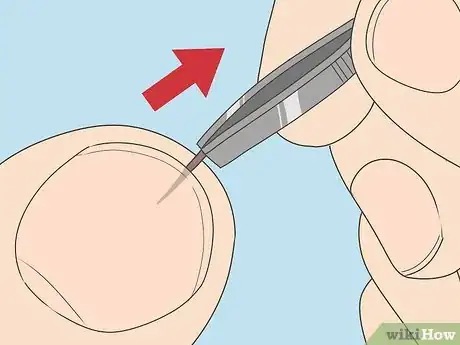
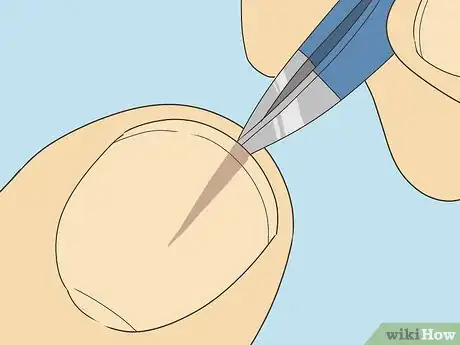
3Use tweezers to pull out the splinter. Find a location with enough light to property see the entire area where the splinter is located. Use the tweezers to grab the exposed portion of the splinter. Once you have a firm grip on the splinter, pull it out of your skin in the same direction it went in.[4]
- Splinters may consist of more than one piece of wood, glass, etc. Or they can break when attempting to remove them from the skin. If you are unable to remove the entire splinter on your own, you may need to see your doctor to have any remaining portions removed.
-
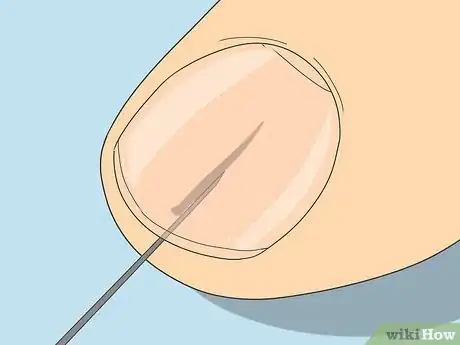
4Access fully embedded splinters with the help of a needle. Some splinters under a nail may be so deeply embedded that no portion of the splinter is exposed above the skin. These types of splinters can be quite difficult to remove on your own, but you can try using a needle to expose a portion of the splinter in order to grip it with tweezers.[5]
- Any type of small sewing needle can be used in this procedure. Make sure it has been sterilized before use.
- Push the needle under the nail, towards the end of the splinter, and use it to pry out the end of the splinter.
- If you are able to pry enough of the splinter out, grip it with the tweezers and pull it out in the same direction it went in.
-
5Wash the area thoroughly. After you have removed some or all of the splinter, wash the area thoroughly with soap and water. After the area is washed, you can apply some antibiotic ointment (e.g. Polysporin) to help prevent an infection.[6]
- You may also wish to place a bandage over the area if it is bleeding, or if it is located in a spot that might get infected in the future.
Using Other Methods of Removal
-
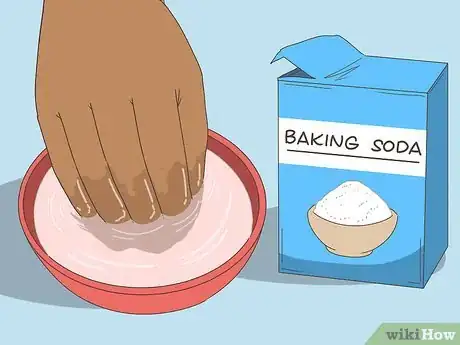
1Soak the area in warm water and baking soda. Splinters that are deeply embedded under a nail, or are too small to grip with tweezers, may be able to be coaxed out using warm water and baking soda.[7]
- Soak your finger in warm water mixed with one tablespoon of baking soda. You may need to do this up to twice a day for it to be effective.
- It may take several days of this treatment before the splinter is close enough to the skin to be removed with tweezers, or for it to fall out on its own.
-
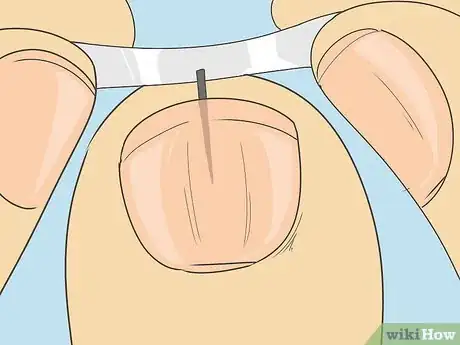
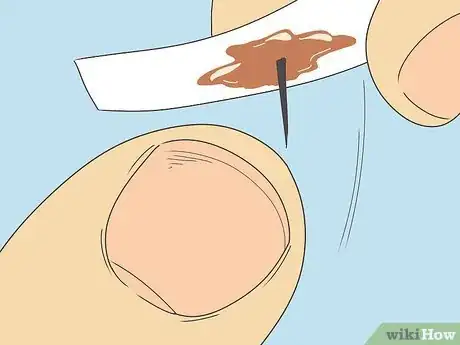
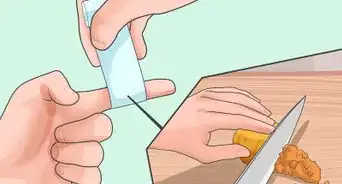
2Use tape to remove the splinter. Another removal option to consider is the use of tape. This method is rather simple. Place tape over the exposed portion of the splinter and then remove the tape quickly.[8]
- The type of tape used is not important, however clear tape will allow you to see the splinter better if needed.
- You may need to cut back the nail in order to get better access to the splinter.
-
3Employ hair removal wax. Very fine splinters may be difficult to grip with tweezers. Another option to remove these types of splinters under a nail is to use hair removal wax. Because the wax is in a viscous form, it should be easy to mould around the exposed portion of the splinter.[9]
- You may need to cut back some of the nail involved in order to obtain better access to the splinter.
- Apply the heated wax to the area around the splinter. Make sure all exposed portions of the splinter are covered.
- Apply the fabric strip on top of the wax before it dries.
- Grip the end of the fabric strip firmly and tear it off quickly.
-
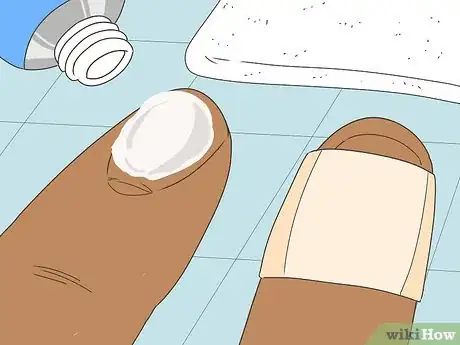
4Try ichthammol ointment to remove the splinter. You should be able to purchase the ointment at a drug store (or online). The ointment works to soften the skin around the splinter, which then helps to expel the splinter naturally.
- You may need to cut back some or all of the affected nail in order to gain better access to the splinter.
- This method is also good to use on children, as it usually causes less pain and discomfort.
- Apply a small amount of the ointment to the area where the splinter is located.
- Cover or wrap the area with a bandage and leave on for 24 hours.
- Remove the bandage after 24 hours and inspect the splinter.
- The purpose of the ointment is to expel the splinter naturally. If the splinter still has not been expelled after 24 hours, but is more accessible, you can use tweezers to remove the splinter.
-
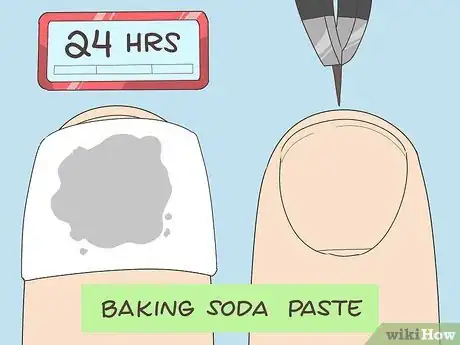
5Create a baking soda paste. Making your own baking soda paste is an alternative option to using ichthammol ointment. It is best to use this option only if all other options haven’t worked, as the paste may also cause swelling which will make the splinter harder to remove.
- You may need to cut back some or all of the affected nail in order to obtain better access to the area with the splinter.
- Combine ¼ teaspoon of baking soda with water until it forms a thick paste.
- Apply the paste to the area with the splinter, then apply or wrap a bandage around the area.
- After 24 hours, remove the bandage and check the splinter.
- The paste may be sufficient enough to allow the splinter to be expelled naturally. If 24 hours wasn’t enough time, you can apply another dab of paste for an additional 24 hours.
- If the splinter is exposed sufficiently, you can use tweezers at this point to remove it.
Expert Q&A
-
QuestionHow can I remove several rose thorns embedded along my index finger?
 Jonas DeMuro, MDDr. DeMuro is a board certified Pediatric Critical Care Surgeon in New York. He received his MD from Stony Brook University School of Medicine in 1996. He completed his fellowship in Surgical Critical Care at North Shore-Long Island Jewish Health System and was a previous American College of Surgeons (ACS) Fellow.
Board Certified Critical Care Surgeon Follow the instructions in the article, and use tweezers to pull out the thorns. If they are deep, and cannot be removed completely, or do not easily come out, see your physician. You may need antibiotics and a procedure for complete removal.
References
- ↑ http://www.emedicinehealth.com/splinters/article_em.htm
- ↑ http://www.emedicinehealth.com/splinters/page4_em.htm
- ↑ http://kidshealth.org/teen/safety/first_aid/splinters.html
- ↑ http://www.emedicinehealth.com/splinters/page6_em.htm
- ↑ http://www.emedicinehealth.com/splinters/page6_em.htm
- ↑ http://www.emedicinehealth.com/splinters/page6_em.htm
- ↑ http://www.emedicinehealth.com/splinters/page6_em.htm
- ↑ http://www.emedicinehealth.com/removing_splinters-health/article_em.htm
- ↑ https://www.healthychildren.org/English/health-issues/conditions/skin/Pages/Splinters-and-Other-Foreign-Bodies-in-the-Skin.aspx
About This Article
To remove a splinter under your fingernail, start by sterilizing any equipment you will use with rubbing alcohol or boiling water. Then, if the splinter is exposed, use tweezers to grab the visible portion and pull it out of the skin. If you’re dealing with an embedded splinter, use a needle to pry out a portion of the splinter before removing it with tweezers. Alternatively, soak the injured area in warm water and baking soda twice a day until the splinter comes out. To learn how to use tape to remove a splinter, keep reading!
