This article was co-authored by wikiHow Staff. Our trained team of editors and researchers validate articles for accuracy and comprehensiveness. wikiHow's Content Management Team carefully monitors the work from our editorial staff to ensure that each article is backed by trusted research and meets our high quality standards.
There are 16 references cited in this article, which can be found at the bottom of the page.
This article has been viewed 57,413 times.
Learn more...
Melting aluminum cans yields pure aluminum that you can use for other projects. Once you have pure aluminum, you can mold it into fun or useful shapes. Aluminum has a low melting point, so you can easily melt it using a propane torch or a DIY foundry. Make sure that you work outside and wear proper safety equipment, such as heavy leather or Kevlar gloves, leather boots with reinforced toes, a long-sleeved shirt, and long pants.
Steps
Using a Propane Torch
-
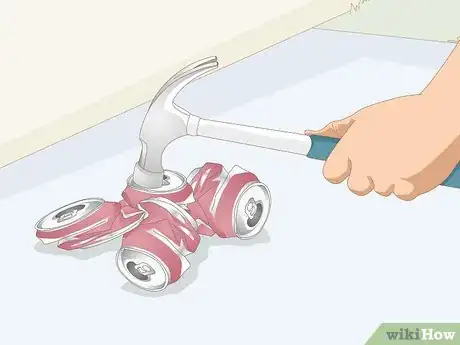
1Crush the aluminum cans. Crushed, compacted cans melt faster. The more you compactly you crush the cans, the more easily they will melt.[1]
- No matter whether or not you clean the cans, there will be a layer of impurities like paint on top of the melted aluminum, called dross. This can be scraped off and disposed of.
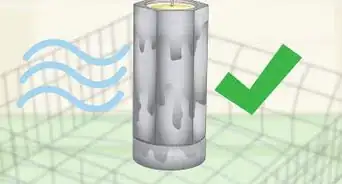
Warning: Make sure you melt the aluminum outside. Melting aluminum can cause fumes and fires, so it's important to be in a well-ventilated, optimally outdoor space.
-
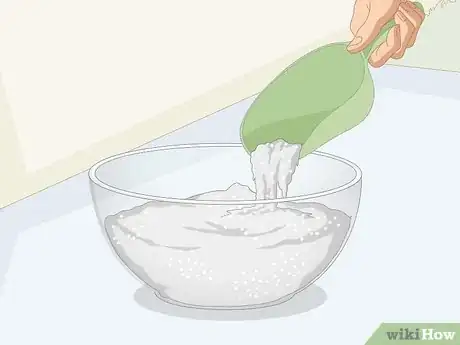
2Fill a large glass bowl with sand. The sand will insulate the bowl and the ground from the heat of the torch. It will also keep the melting chamber in place.[2]
- If you can find one, a steel bucket is even better for melting aluminum.
Advertisement -
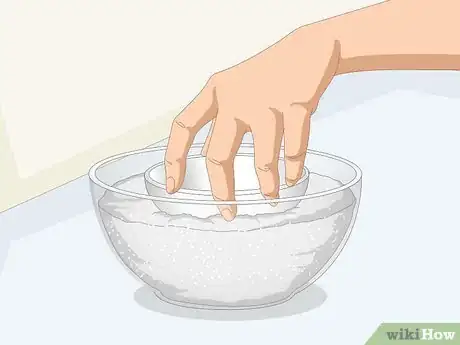
3Place a smaller steel cup in the center of the sand-filled bowl. The steel cup needs to be at least 3 inches (7.6 cm) in diameter to melt cans. Push the cup deep enough into the sand so that it is stable, but the edge of the cup is still visible over the top of the sand.[3]
- Find a cup that is plain steel without any coating or paint. These materials can catch on fire from the heat of the propane torch.
- Alternatively, you can place a steel cup, pot, or pan directly onto a nonflammable surface like a cinder block.
-
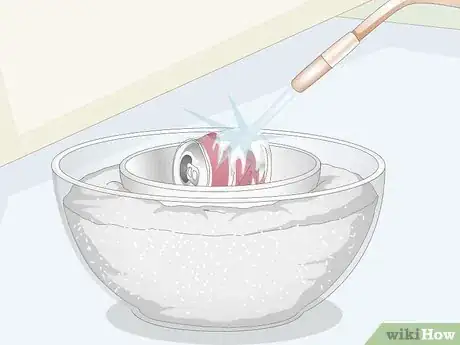
4Put one aluminum can in the cup and heat it with the blowtorch. The first piece of metal will take the longest to melt. Once the first can has completely melted, you can add more cans.[4]
- Always have a bucket of cold water handy to put out any fires, if necessary.
-
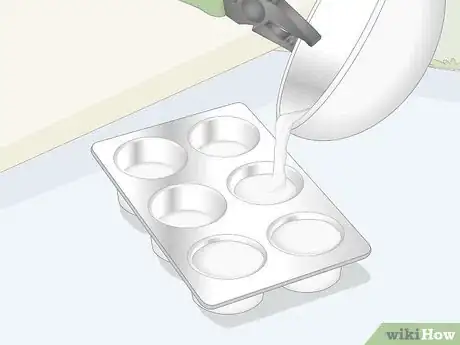
5Pour the aluminum into steel muffin tins. Once the aluminum is melted down, pour it into a muffin tin to harden into ingots. Any impurities will stick to the steel cup and you will be left with pure aluminum ingots. Once the metal cools down, you can remove it from the muffin tin and store it.[5]
- You can also pour the melted aluminum into a steel mold, if you have one handy.
- Never handle any materials that are still hot.
Creating a Aluminum Foundry
-
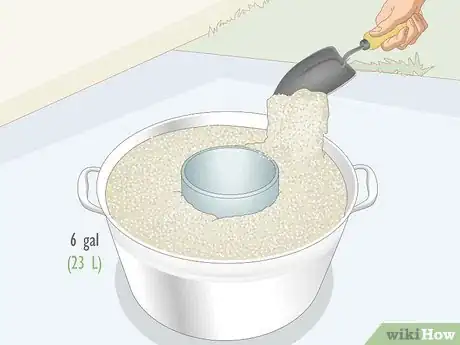
1Surround a pipe with perlite and cement inside a 6 gallon (23 L) steel pail. Use a 8 in (20 cm) pipe cut down to about the same height as the bucket and a 60% perlite, 40% Portland cement mix. Fill the bottom 3 inches (7.6 cm) of the bucket without the pipe inside. Then, once the mixture dries, place the pipe on top and fill the rest of the bucket around the outside of the pipe with the same mixture. This will be the mold for the melting chamber.[6]
- It's important to use steel to make a homemade foundry because it won't melt in the extreme temperatures you'll use.
- Perlite can be found at gardening centers for a cheaper price than at hardware stores.
- The perlite and cement will take anywhere from 2-7 days to dry, depending on the climate.
- Alternatively, you can use sand and plaster of Paris to surround the pipe, which will harden in around 1 hour.
-
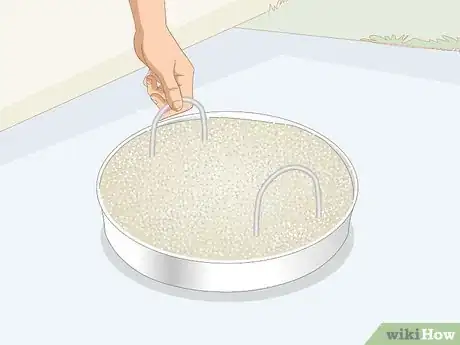
2Create a lid for the foundry. Pour the same mixture of perlite and Portland cement (or plaster of Paris) onto the lid of the bucket. To create handles, stand up two 4 in (10 cm) U-bolts in the mixture, placing the ends with the nuts down in the mix. Wait until the mixture has dried, then slide it out of the lid. Drill hole in the top of the lid using an electric drill and a 3 in (7.6 cm) hole cutting saw.[7]
- If your bucket didn't come with a lid, use a second bucket to create the lid. Fill it to around 2 inches (5.1 cm) with the mixture.
-
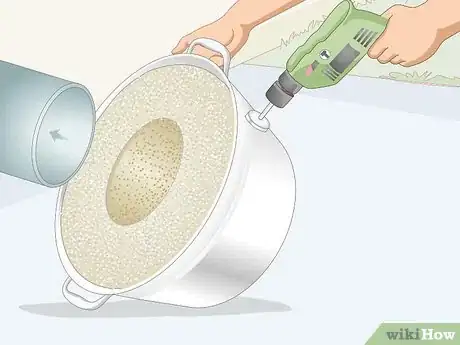
3Remove the inner pipe and drill a hole in the foundry for air supply. Remove the pipe from the foundry. You may need to use a pair of pliers. Then, drill a hole 1 3/8 inch (3.5 cm) in diameter about 3 inches (7.6 cm) from the top of the bucket. Use a 1 3/8 inch (3.5 cm) hole saw connected to an electric drill to cut a hole into the bucket. Once you have cut through the bucket, position the blade at a 30-degree angle and drill.[8]
- Look for a drill that is specifically made for cutting through metal.
-
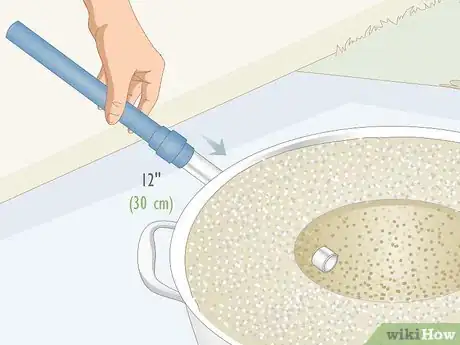
4Attach 12 inches (30 cm) of steel tubing to a PVC pipe. Screw a 1 inch (2.5 cm) PVC coupling onto some 1 inch (2.5 cm) steel tubing. Then, slide a 1 inch (2.5 cm)-wide PVC pipe into the smooth end of the coupling. Slide the metal end of the pipe into the foundry.[9]
- The tubing should slide easily into the hole. If it doesn't, either drill a slightly wider hole or find a slightly narrower piece of tubing.
- The PVC pipe will attach to the source of air that will keep your foundry hot.
-
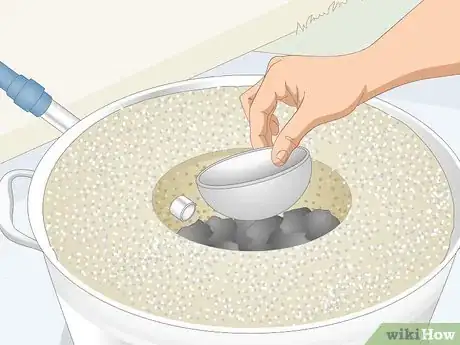
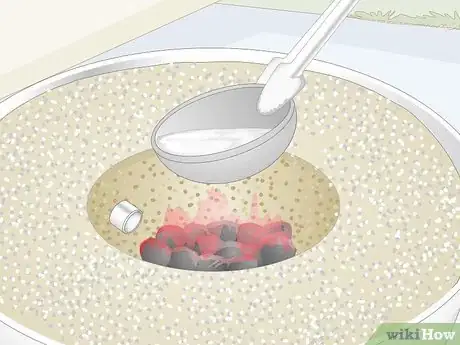
5Place a steel crucible into the foundry with charcoal. A plain steel cup around 3 inches (7.6 cm) in diameter works best as the crucible, or melting chamber, for aluminum cans. Use a plain, unpainted steel cup. Paint or decoration might catch on fire. Fill the foundry with charcoal briquets. Charcoal that you would use for grilling works perfectly fine. Fill the foundry around the crucible.[10]
- You can also make your own crucible out of something like an old fire extinguisher. Make sure whatever you use is made of steel, which is sturdy enough to withstand the high temperatures needed for melting aluminum.
- Place a few charcoal briquets underneath the melting chamber to surround it with the most heat and melt cans more effectively.
- Always use your foundry in a well-ventilated area, preferably outside.
-
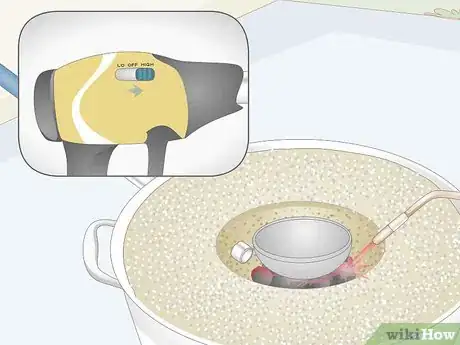
6Attach a hair dryer to the PVC air pipe using duct tape. The hair dryer will direct air into the foundry and get the flames hot enough to melt aluminum. Support the hairdryer by placing it on top of something stable to reduce strain on the walls of the foundry.[11]
- Alternatively, you can duct tape the hair dryer to a PVC pipe coupling, which you can slide onto the PVC pipe. This will make it easier to remove the hair dryer.
-
7Light the charcoal briquets and turn on the hair dryer. Use a propane torch to quickly and evenly light the charcoal, or your own preferred method of lighting charcoal, if you have one. Turn the hairdryer on low to direct a steady stream of air to the charcoal and get it hot.[12]
- Use the foundry's cover to keep heat inside and warm up the coals even faster.
-
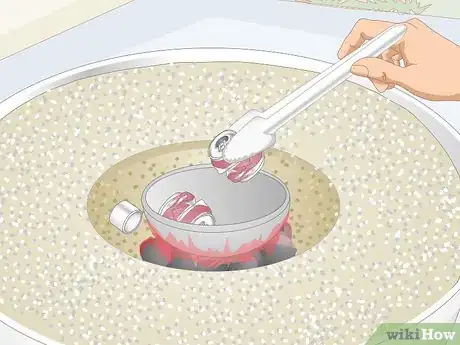
8Use steel tongs to place cans into the crucible when it's glowing orange. After around 10 minutes, the entire inside of the foundry will start to glow orange. At this point, you can use steel tongs to remove the lid and place a single aluminum can into the crucible.[13]
- Once the first can has melted completely you can start to add more cans.
- Add more cans until the crucible is full of liquid aluminum.
-
9Remove the full crucible using steel tongs. Make sure you can get a secure grip using your tongs. You may want to test out removing the crucible using tongs before heating up the foundry to make sure you will be able to get a good grip without spilling any aluminum.[14]
- This is the most dangerous part of the process. Make sure you are wearing heavy leather or Kevlar gloves, leather boots with reinforced toes, a long-sleeved shirt, and long pants.
-
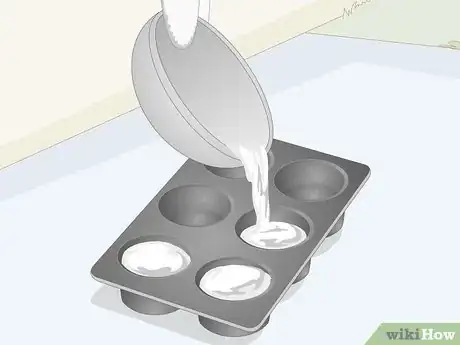
10Pour the aluminum into a steel mold. Use muffin tins to create small bricks of pure aluminum. Or, use a steel cake pan or a steel mold in a fun shape to create a molded design out of aluminum.[15]
- Thrift stores often have steel cake molds available for less than a dollar.
- Any dross, or impurities in the aluminum, will stick to the crucible and won't pour out. It will also act as a strainer and hold back more dross, so you will be left with pure aluminum ingots.
-
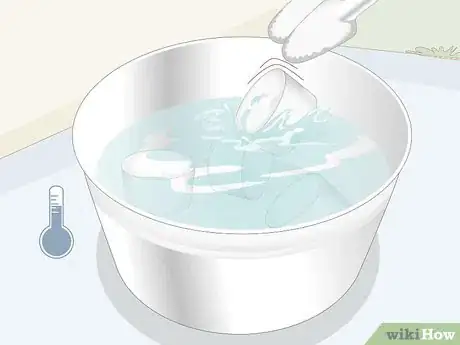
11Place hardened aluminum into a bucket of cold water using steel tongs. Once the aluminum has hardened, it is still much too hot to touch with your bare hands. To cool it down faster, use steel tongs to place the aluminum into a bucket of cold water. After about 10 seconds, the aluminum will still be hot, but safe to touch with your bare hands.[16]
- The aluminum will cause the water to boil almost immediately. You will have to use fresh water for each brick.
Warnings
- Always wear proper safety gear to melt aluminum. Wear heavy leather or Kevlar gloves, leather boots with reinforced toes, a long-sleeved shirt, and long pants.⧼thumbs_response⧽
- Aluminum can give off toxic gasses, especially if it is impure. Work in a well-ventilated space, or preferably outside, and consider wearing a respirator.⧼thumbs_response⧽
Thing's You'll Need
Using a Propane Torch
- Glass bowl or steel bucket
- Sand
- Steel cup
- Bucket of cold water
- Propane blowtorch
- Steel muffin tin/mold
Creating a Aluminum Foundry
- Steel bucket with a lid
- 8 in (20 cm) pipe
- Perlite and Portland cement or plaster of Paris
- two 4 in (10 cm) U-bolts
- 1 3/8 inch (3.5 cm) hole saw
- Electric drill
- 1 inch (2.5 cm) steel tubing
- 1 inch (2.5 cm) PVC pipe and coupling
- Hairdryer
- Duct tape
- Charcoal
- Propane torch or lighter
- Steel tongs
- Bucket with cold water
References
- ↑ https://youtu.be/HjJGjlpMfv0?t=23
- ↑ https://youtu.be/k0UMbRhMGV4?t=8
- ↑ https://youtu.be/k0UMbRhMGV4?t=16
- ↑ https://youtu.be/k0UMbRhMGV4?t=19
- ↑ https://youtu.be/HjJGjlpMfv0?t=241
- ↑ https://youtu.be/hHD10DjxM1g?t=52
- ↑ https://youtu.be/hHD10DjxM1g?t=252
- ↑ https://youtu.be/hHD10DjxM1g?t=197
- ↑ https://youtu.be/hHD10DjxM1g?t=241
