This article was co-authored by wikiHow staff writer, Nicole Levine, MFA. Nicole Levine is a Technology Writer and Editor for wikiHow. She has more than 20 years of experience creating technical documentation and leading support teams at major web hosting and software companies. Nicole also holds an MFA in Creative Writing from Portland State University and teaches composition, fiction-writing, and zine-making at various institutions.
The wikiHow Tech Team also followed the article's instructions and verified that they work.
This article has been viewed 65,373 times.
Learn more...
This wikiHow teaches you how to use the Track Changes tool to mark up text in a Microsoft Word document.
Steps
-
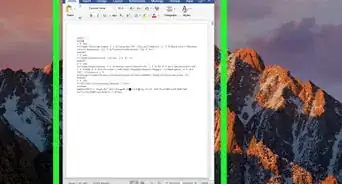
1Open the Word document. You can double-click the document's name to open it in Word. Alternatively, open Word (it's in the Windows menu on a PC and the Applications folder on a Mac), click File, click Open, then select the document.
-
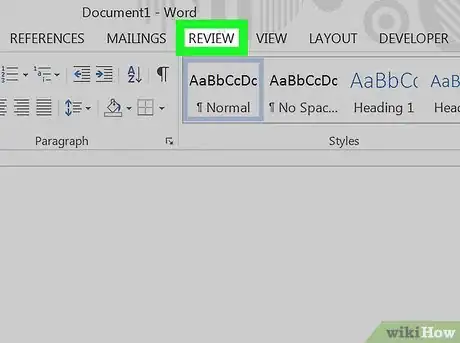
2Click the Review tab. It's at the top of the screen.Advertisement
-
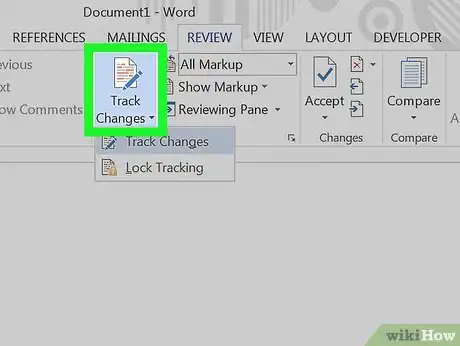
3Click Track Changes. It's also at the top of the screen. Look for the sheet of paper icon with a yellow pencil. Now all future changes to the document will appear as colored markup.
- For example, if you delete something you've typed, it won't actually disappear. Instead, it'll will appear crossed-out. Newly typed text will be underlined.[1]
- Click Track Changes again to turn off further markups.
About This Article
1. Open the document.
2. Click Review.
3. Click Track Changes.

