This article was co-authored by wikiHow staff writer, Rain Kengly. Rain Kengly is a wikiHow Technology Writer. As a storytelling enthusiast with a penchant for technology, they hope to create long-lasting connections with readers from all around the globe. Rain graduated from San Francisco State University with a BA in Cinema.
Learn more...
Do you want to create a timeline to showcase your data in Microsoft PowerPoint? Luckily, PowerPoint has plenty of timeline templates you can choose from with the "SmartArt" tool. You'll just need to pick a style, insert your data, and customize your timeline. This wikiHow will show you how to insert a free timeline in Microsoft PowerPoint using the SmartArt tool on your Windows or Mac computer.
Things You Should Know
- Go to "Insert" → "SmartArt" → "Process" → select a timeline layout → "OK". Click [Text] to add your data.
- To add more data slots, click your timeline, then click "Add Shape".
- To change the color, click your timeline, then click "Change Colors".
Steps
-
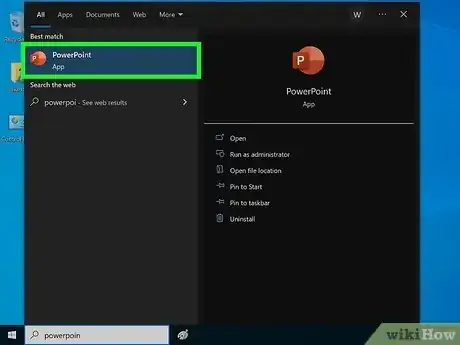
1Open a project in Microsoft PowerPoint. This looks like a P on top of an orange circle. Microsoft PowerPoint is available to install for Windows and Mac.[1]
- Adding a colorful timeline can help you make a great presentation.
- You must have a subscription to Microsoft 365 to use the desktop version of PowerPoint.
- If you don't have the PowerPoint app on your computer, you can use PowerPoint on the web to create your timeline.[2]
-
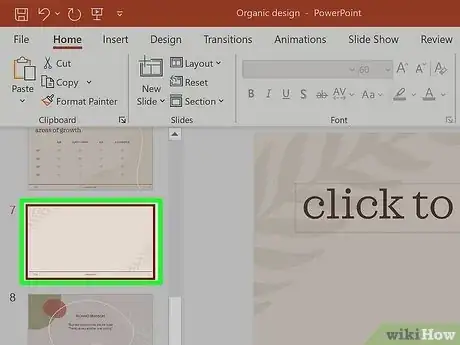
2Click the page where you want your timeline. You can add it to an existing slide, or click New Slide in the Home tab to create a new one.Advertisement
-
3Click Insert. This will be in the top toolbar, between Home and Design.
-
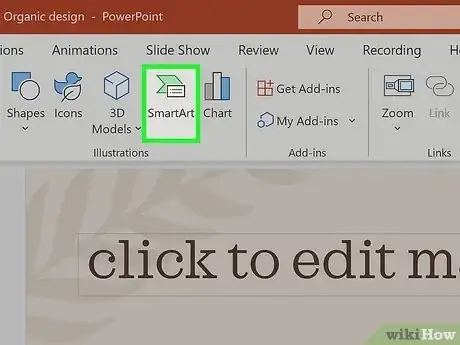
4Click SmartArt. You can find this in the Illustrations section, next to 3D Models.
- A new window will open.
- On Mac, a drop-down menu will open.
-
5Click Process. This will be in the left panel.
- On Mac, this will be underneath List in the drop-down menu.
-
6Select a timeline layout and click OK. Scroll up and down to view the default options.
- You'll be able to customize the color and size later.
- The timeline will be added to your slide. Make sure it's selected before proceeding to the next step.
-
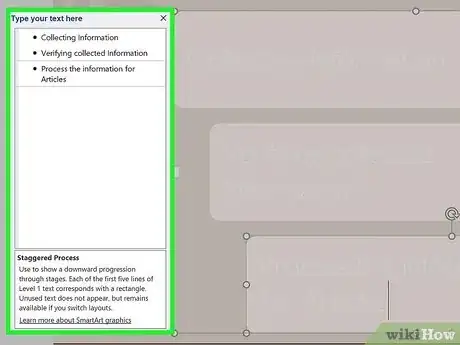
7Enter your timeline data in the field. If you don't see the panel on the left side of the timeline, click Text Pane at the top, in the "Create Graphic" section of the SmartArt Design tab.
- Click the [Text] field to enter a date or milestone for your timeline.
- Repeat this for all data.
-
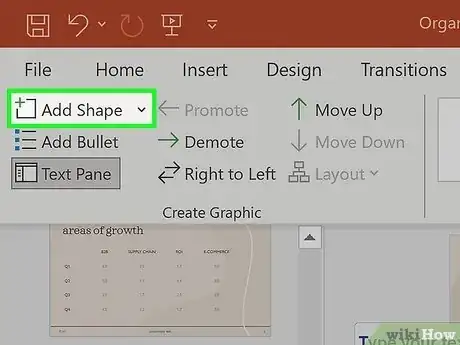
8Add more data slots. If you need to add more fields for your data, select the timeline and click Add Shape. You can find this in the Create Graphic section of the SmartArt Design tab.
- Click the newly added bullet points in the Text Pane to input your additional data.
-
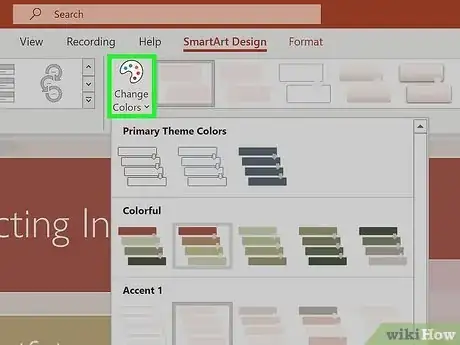
9Change the color. In the SmartArt Design tab, click Change Colors. This will be underneath the palette icon.
- Select from the default palettes to change the theme.
- To manually change the color, double-click an element on your timeline. The Format Shape panel will open on the right.
- Click the drop-down menu for Color and select a color.
-
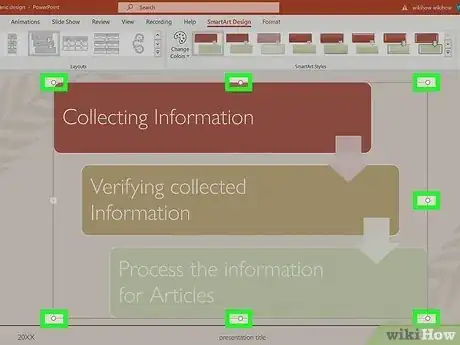
10Resize the timeline. Select the timeline. You'll see the sizing handles appear in a box around the timeline. Click one corner of the timeline and drag it outwards to make it bigger. Alternatively, drag it inwards to make it smaller.
- To move the entire timeline, click and hold any section of the sizing box. Drag the timeline to where you want it.
- Timelines can also be created in Microsoft Excel or Microsoft Word.









-Step-4Bullet1.webp)


