This article was co-authored by wikiHow Staff. Our trained team of editors and researchers validate articles for accuracy and comprehensiveness. wikiHow's Content Management Team carefully monitors the work from our editorial staff to ensure that each article is backed by trusted research and meets our high quality standards.
This article has been viewed 156,805 times.
Learn more...
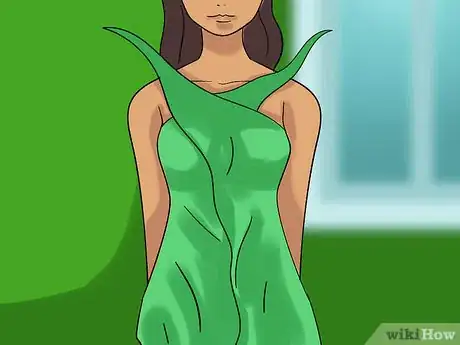
Halter tops are fun, flirty shirts with open backs that tie behind your neck. Instead of purchasing a halter top from a department store, devote an afternoon to creating your own. Recycle your clothes and repurpose your accessories by transforming them into stunning summery tops.
Steps
Transforming a T-shirt into a Halter Top
-
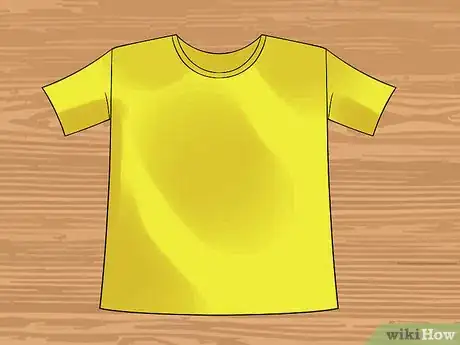
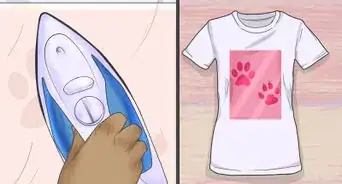
1Prep the t-shirt. Unfold your tee and spread it out on a flat work surface—the front of the shirt should face up towards the ceiling. Smooth out any wrinkles with your hands. If your cotton tee is wrinkly, quickly go over it with an iron.[1]
- Choose a cotton blend that does not fray when cut. This will help your completed halter top to appear less homemade.
-
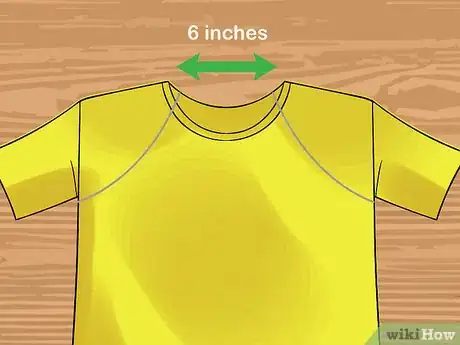
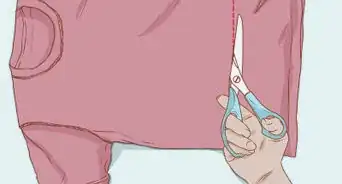
2Prep the tee for cutting. Prior to cutting the t-shirt, it is recommended that you use a chalk pencil to draw the cut lines. Draw 1 chalk line at approximately a 45° angle from the right side seam, just below the armpit, to the collar. Draw a second diagonal chalk line from the left side seam, just below the armpit, to the collar.
- The right and the left lines will not meet at the neck—the lines should be approximately 5 to 6 inches apart.[2]
Advertisement -
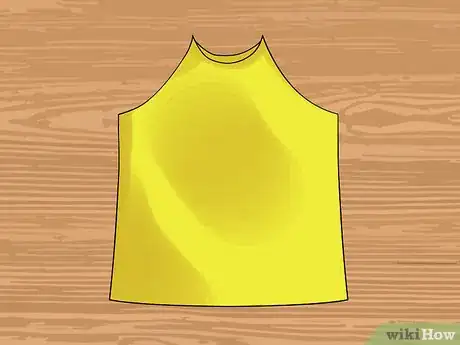
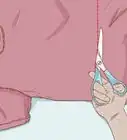
3Cut along the lines and remove the collar. Carefully cut along the right chalk line with a pair of fabric scissors. As you cut from the side seam through the collar, you will cut through both layers of the tee. Repeat this process on the other side. To cut off the remaining portion of the collar, carefully cut along the collar line.[3]
-
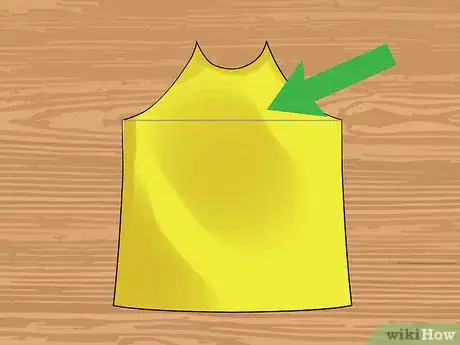
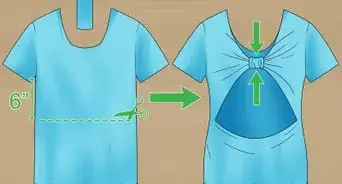
4Remove the top portion of the back layer. Fold the top layer of the shirt down onto itself. With your chalk pencil, draw a straight line on the inside back layer of the shirt. Place the line directly above the fold of the top layer and extend it from side seam to side seam. Cut off the top portion of the back layer along the chalk line.[4]
-
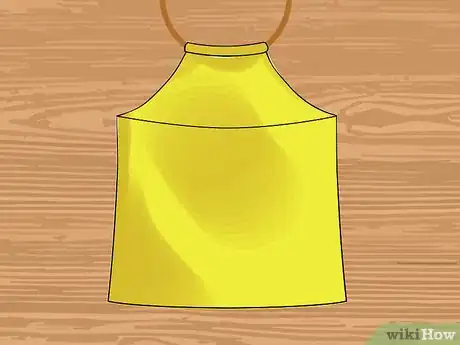
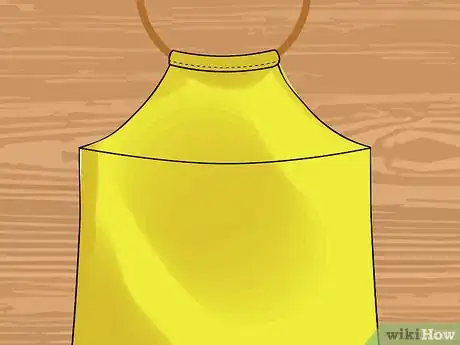
5Insert the rope. Unfold the front layer of the shirt. Flip over tee so that the front of the shirt is on the table. Unroll your length of rope and place it along the neckline. Place the rope and the neckline of the cotton tee between your thumbs and forefingers. Slowly roll the rope and neckline down so that the material wraps around the rope twice. Secure it in place with pins.[5]
-
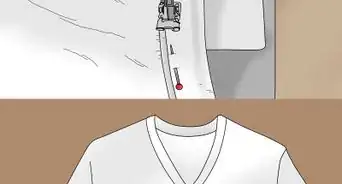
6Enclose the rope in the loop. To secure the rope in place, you will need to close the loop by hand. Thread your needle and proceed to top-stitch along the base of the loop, located on the inside of the shirt. When you reach the end of the neck, sew in a few knots to prevent the stitches from slipping.[6]
-
7Finish and wear your new top. Before slipping on the halter top, you must decide how to finish off the ends of the rope. For a polished look, knot the ends of the rope. For a more natural look, fray the ends slightly and then knot the lines. Slip on your new halter and tie the rope to secure it in place.[7]
Transforming a Spaghetti Strap Tank Top into a Halter Top
-
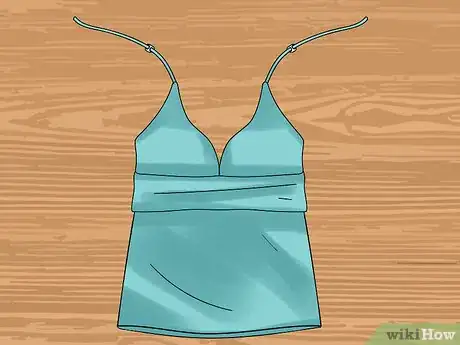
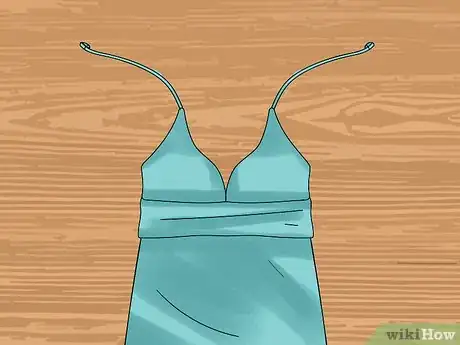
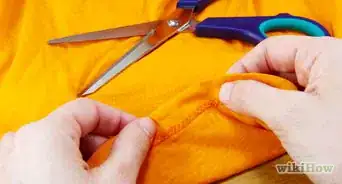
1Detach the straps from the back. To detach the spaghetti straps from the back of the tank, you can use a seam ripper or a pair of scissors. Seam rippers are designed to remove individual stitches. If you choose to use a seam ripper for this project, you will be able to remove the entire strap from the back of the tank top neatly. If you do not have a seam ripper, you may use a pair of scissors to cut the straps off the back of the t-shirt.[8]
-
2Remove the hardware from the straps. Pull the hardware down to the end of each strap. This will loosen, or lengthen, both straps completely. Use a pair of scissors to cut the small loop as close to the end of the strap as possible. Slide off the hardware.[9]
-
3Finish the ends of the straps. To prevent the ends from fraying, you may finish the straps in one of two ways.
- Tack down the ends of the straps. Fold over the end of one strap and secure it in place with a pin. Thread a needle and proceed to tack down the end of one strap. Repeat this process on the other strap. This application will leave your halter top looking polished.
- Tie knots at the ends of the straps. To prevent the ends from fraying, tie one to two knots at the end of each strap. Secure the knot in place with a few stitches. This application is simpler. [10]
Transforming a Silk Handkerchief into a Halter Top
-
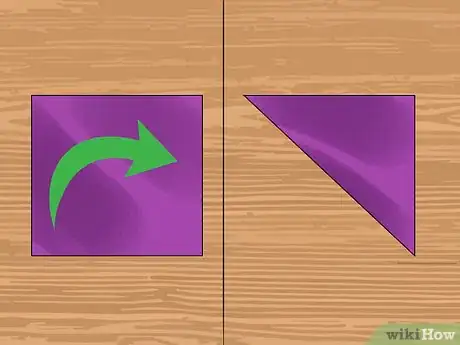
1Iron and fold your scarf. Iron your silk scarf on low to remove any wrinkles. Lay out your scarf so that the right side of the fabric is facing up. Fold the scarf in half diagonally so that it forms a triangle.
-
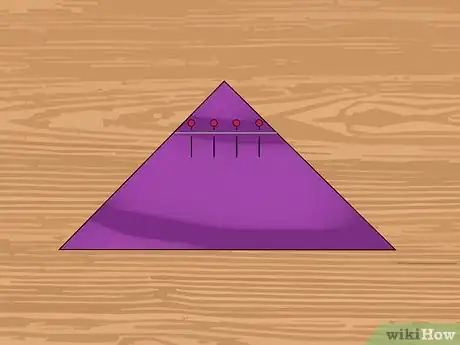
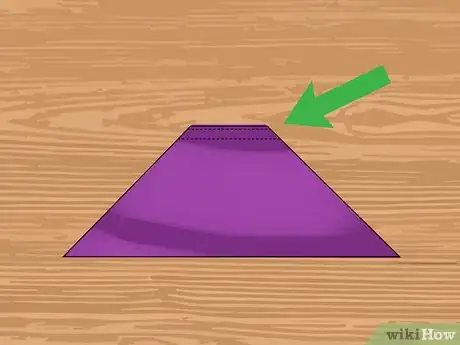
2Prepare your scarf for sewing. Measure 20 centimeters down from the top of the triangle. Mark this distance with a chalk pencil. Place the top edge of a ruler on this mark so that it runs from one edge to the other edge of the scarf. Use your chalk pencil to draw a horizontal line along the top edge of the ruler from one edge to the other. Place four pins along the chalk line to secure the fabric in place.[11]
-
3Sew across the first line. Thread your sewing machine or a needle. With your tool of choice, carefully stitch across the chalk line, removing the pins as you reach them. Flip the handkerchief right side out. Press the scarf with an iron set on low. The line of stitches you created in the scarf will now serve as the seam, or neckline.
-
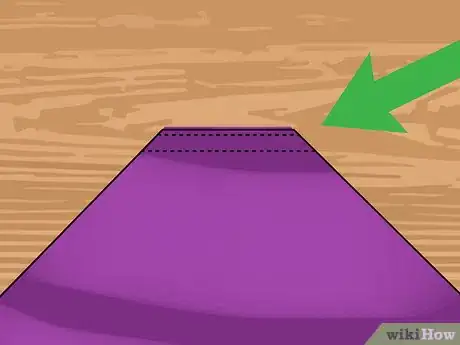
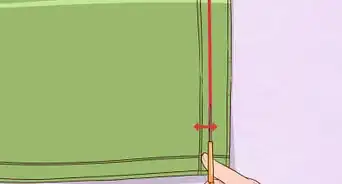
4Draw and sew a second line. Measure and mark 2.5 centimeters down from the seam. Place the top edge of a ruler on this mark so that it runs from one edge of the scarf to the other edge. Use your chalk pencil to draw a second line along the top edge of the ruler. Insert pins to hold the fabric in place. With a sewing machine or needle, stitch across the chalk line to form a channel.[12]
-
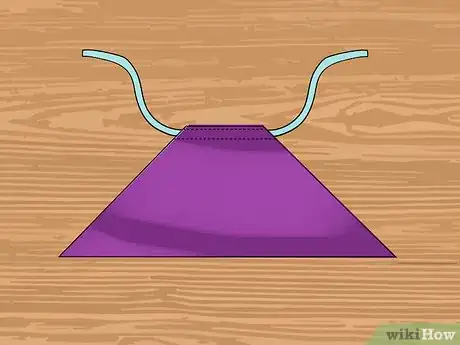
5Thread a ribbon or cord through the channel. Poke a safety pin through the end of your ribbon or cord. After closing the pin, slide it into the channel. Gradually work the pin through the channel, pulling the ribbon or cord with it. When the safety pin reaches the other end of the channel, adjust the ribbon or cord until it is centered. Remove the safety pin. Tie the ribbon or cord around your neck and the bias edge around your waist.[13]
Transforming a Skirt into a Halter Top
-
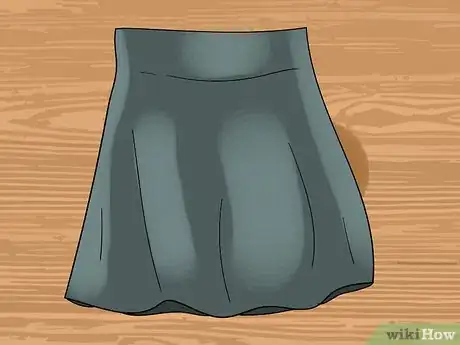
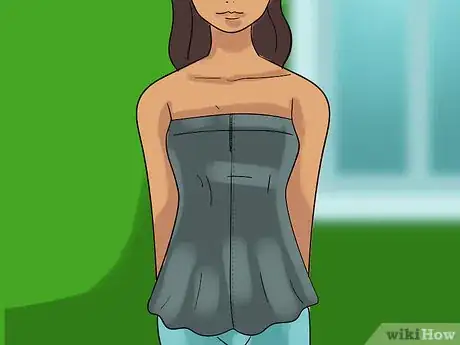
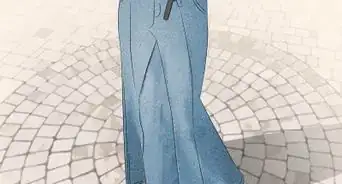
1Selecting the right skirt. In order to transform a skirt into a halter top, the garment must meet certain standards. The skirt must fit over your ribcage. The garment must also have side seams—one side seam will become your center seam. Lastly, the skirt your purchase or recycle for this project should be flowy or a-line.
-
2
-
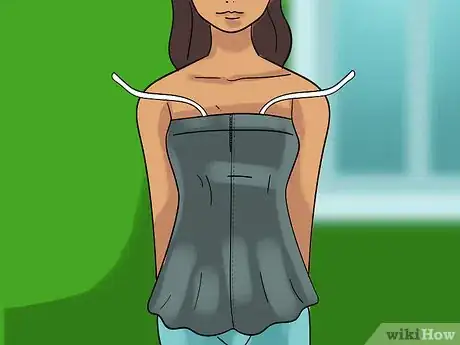
3Cutting and attaching the straps. Unravel your ribbon on a flat surface. Measure and cut two lengths of ribbon approximately 1 foot each. Pin the end of one ribbon to the inside of the skirt just right of the center seam. Pin the end of the second ribbon to the inside of the skirt just left of the center seam. Thread a needle and attach each ribbon to the skirt with top stitches.
-
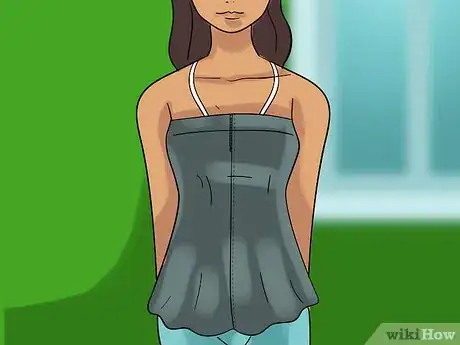
4Tie the ribbons behind your neck. Step into the skirt and pull it up to your chest. Turn the skirt so that the side seam with the ribbons attached on either side is in front. Tie the ribbons behind your neck.
Transforming a Scarf into a Halter Top
-
1Select the perfect scarf. If you are leery of sewing, you can set aside the needle and thread and create a halter top out of a scarf. Select a scarf from your collection that is large enough to cover your body. Choose a solid, striped, or patterned scarf that expresses your personal style..[14]
-
2Cross the two top ends in front of your chest. To begin this quick process, lay the scarf horizontally across your back. Grab the top left corner and the top right corner of the scarf and pull them up towards your neckline. Wrap the corners around each other once or twice.[15]
-
3Tie the ends in a knot. Pull the left corner over your right shoulder. Pull the right corner over your left shoulder. Adjust the top and the straps until it feels comfortable. Tie the straps in a knot behind your neck.[16]
Things You'll Need
Transforming a T-shirt into a Halter Top
- Cotton T-shirt
- 3 feet of Rope
- Scissors
- Needle
- Matching Thread
- Chalk Pencil
- Pins
Transforming a Spaghetti Strap Tank Top into a Halter Top
- Tank Top
- Seam ripper
- Scissors
- Needle
- Matching Thread
- Pins
Transforming a Silk Handkerchief into a Halter Top
- Silk Handkerchief
- Thread and Needle or Sewing Machine
- 1 meter of ribbon or cord
- Chalk pencil
- Pins
Transforming a Skirt into a Halter Top
- Flowy or a-line skirt (must fit over ribcage)
- Matching thread
- Needle
- Wide ribbon
- Scissors
- Pins
Transforming a Scarf into a Halter Top
- Scarf
References
- ↑ http://apairandasparediy.com/2015/07/quick-diy-turn-a-tee-into-halter-tank.html
- ↑ http://apairandasparediy.com/2015/07/quick-diy-turn-a-tee-into-halter-tank.html
- ↑ http://apairandasparediy.com/2015/07/quick-diy-turn-a-tee-into-halter-tank.html
- ↑ http://apairandasparediy.com/2015/07/quick-diy-turn-a-tee-into-halter-tank.html
- ↑ http://apairandasparediy.com/2015/07/quick-diy-turn-a-tee-into-halter-tank.html
- ↑ http://apairandasparediy.com/2015/07/quick-diy-turn-a-tee-into-halter-tank.html
- ↑ http://apairandasparediy.com/2015/07/quick-diy-turn-a-tee-into-halter-tank.html
- ↑ http://www.midgetmomma.com/2013/07/15/how-to-turn-a-tank-top-into-a-halter-top/
- ↑ http://www.midgetmomma.com/2013/07/15/how-to-turn-a-tank-top-into-a-halter-top/
- ↑ http://www.midgetmomma.com/2013/07/15/how-to-turn-a-tank-top-into-a-halter-top/
- ↑ http://thedreamstress.com/2015/03/tutorial-how-to-make-a-1930s-style-handkerchief-halter-top/
- ↑ http://thedreamstress.com/2015/03/tutorial-how-to-make-a-1930s-style-handkerchief-halter-top/
- ↑ http://thedreamstress.com/2015/03/tutorial-how-to-make-a-1930s-style-handkerchief-halter-top/
- ↑ http://alldaychic.com/how-to-make-a-scarf-halter-top-diy/
- ↑ http://alldaychic.com/how-to-make-a-scarf-halter-top-diy/
- ↑ http://alldaychic.com/how-to-make-a-scarf-halter-top-diy/
About This Article
To make a halter top from a t-shirt, start by drawing 1 line at a 45° angle from just below the armpit of the right side seam to the collar, and a second line from the left side seam to the collar. Then, cut along the lines through both layers before you cut off the rest of the collar. Next, fold the front of the shirt down, draw a chalk line from seam to seam on the back of the shirt just above the fold, and cut off the top part of the back of the shirt. Finish your halter by rolling a rope along the shirt’s neckline into a loop of fabric, and hand-stitching the loop closed. To learn how to make a halter top from a skirt, a scarf, or a spaghetti-strap tank, keep reading!
