This article was co-authored by Quynh La. Quynh La is a Professional Baker and the Owner of Sugar Bakery & Cafe in Seattle, Washington. With over seven years of experience, she specializes in baking cakes, cookies, croissants, and bread. Quynh holds an AAS in Culinary Arts from South Seattle College and a second AAS in Specialty Desserts & Bread from Seattle Central College.
This article has been viewed 596,827 times.
Cupcakes and ice cream are two of the best desserts. What's even better is rolling them into one: a cupcake cone. Cupcake cones look like ice cream cones, but they are actually cupcakes! They look intimidating and hard to make, but they are actually quite easy. You can make the entire recipe from scratch, or by using cake mixes and store-bought frosting and chocolate sauce. Once you know the basics of making a cupcake con, you can experiment with different flavors and colors!
Ingredients
Cupcakes
- 1½ cups (150 grams) all-purpose flour
- 1½ teaspoons baking powder
- ¼ teaspoon salt
- ½ cup (115 grams) unsalted butter, at room temperature
- ¾ cup (170 grams) white sugar
- 1½ teaspoons vanilla extract
- 2 eggs
- ½ cup (120 milliliters) milk, at room temperature
- 18 to 19 ice cream cones
Frosting
- 2½ cups (650 grams) unsalted butter, at room temperature
- 3 cups (375 grams) confectioners' sugar
- 2 tablespoons (30 milliliters) milk
- 2 teaspoons vanilla extract
- 1 to 2 pinches salt
Chocolate Ganache Topping
- 2 cups (350 grams) milk or semi-sweet chocolate chips
- 1 cup (240 milliliters) heavy cream
Toppings
- 18 to 19 maraschino cherries
- Rainbow sprinkles (optional)
- Crushed nuts (optional)
Steps
Making the Cupcakes
-
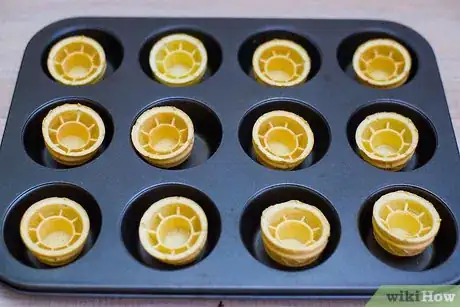
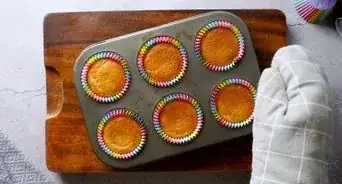
1Preheat the oven to 350°F (177°C) and stand your ice cream cones up in a muffin tin. Each well gets one ice cream cone. If you cannot fit all of your ice cream cones into the muffin tin, set them aside; you can bake them in a separate batch.
- Some bakers recommend cutting holes into the bottom of an aluminum foil baking tin, turning the tin upside down, and sticking the cones into the holes.
- Use ice cream cones that have a flat bottom as opposed to the ones that are cone-shaped; they will stand up better.
-
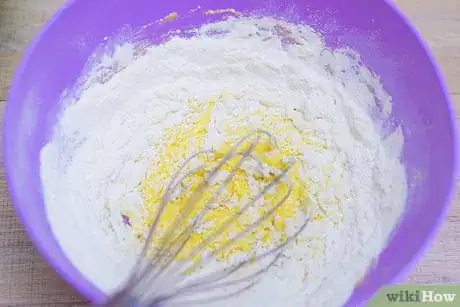
2Mix together the flour, baking powder, and salt. Pour the flour into a large mixing bowl, then add the baking powder and salt. Stir everything together to combine, then set aside.
- If the flour is lumpy, sift is before mixing with other ingredients.
Advertisement -
3Cream the butter in a separate bowl. Cut the butter into small cubes first, then put it into a separate bowl. Beat the butter until it turns smooth using an electric mixer on low speed. This will take about 2 minutes.[1]
- You can use an electric stand mixer, a handheld better, or even a food processor to do this.
-
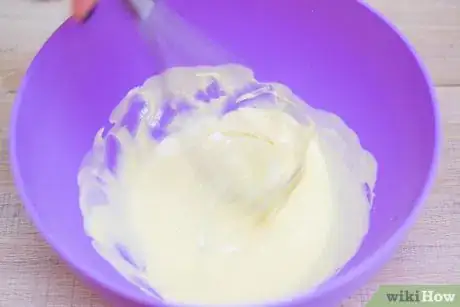
4Add the sugar a little bit at a time into the creamed butter. Keep beating until the mixture is light and fluffy, about 3 minutes. Be sure to scrape down the sides of the bowl often to ensure that everything mixes in together evenly.[2]
-
5Beat in the vanilla extract, then add the eggs one at a time, beating after each one. Beat in the vanilla extract first. Next, add just one egg, and beat until combined. Add your second egg, and beat again. Make sure that there are no streaks of egg yolk left.
-
6Alternate between adding the flour mixture and the milk, mixing well after each addition. Add one-fourth of the flour mixture into the creamed butter, and stir well. Pour in one-fourth of the milk, and stir again. Keep doing this until you have no more milk or flour left.[3]
- You can do this step with a rubber spatula or using the medium-low speed setting on your beater.
- Avoid overmixing your batter, stopping once everything is combined; otherwise, your as cupcakes could taste eggy and dense.
-
7
-
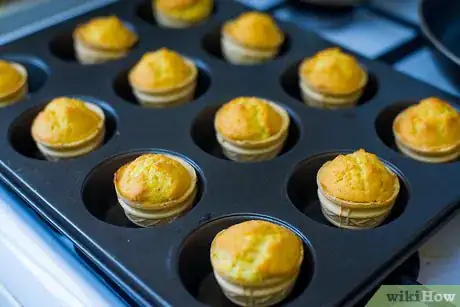
8Bake the cones for about 18 minutes.[7] They are ready when a toothpick poked into the center comes out clean. If you have any leftover cones and batter, fill them up with batter, and bake them for another 18 minutes or so.
-
9Allow the cupcake cones to cool completely. This is very important. If you frost them too soon, the frosting will melt.
Making and Adding the Frosting
-
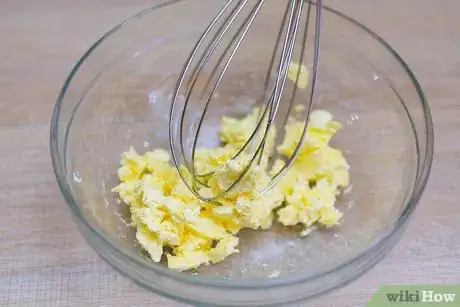
1Beat the butter on medium speed for 6 minutes. Cut the butter into small cubes first, then place it into a mixing bowl. Beat the butter on medium speed using an electric mixer until it turns light and fluffy, about 6 minutes.
-
2Add the sugar, vanilla extract, and salt, and mix again. Beat everything together on low speed first to combine, and then on medium speed for 6 to 7 minutes, or until the frosting is light and fluffy.
-
3Use a large cookie scoop to drop the frosting onto the cupcakes. Press down on the scoop slightly to seal the frosting against the cupcake. This will make the cupcakes look even more like ice cream![8]
- Alternatively, you could fit a piping bag fitted with a star-shaped decorator's tip with the frosting, and pipe the frosting onto the cupcake. Start the from the outer edge, and squeeze the bag harder as you reach the center.[9]
-
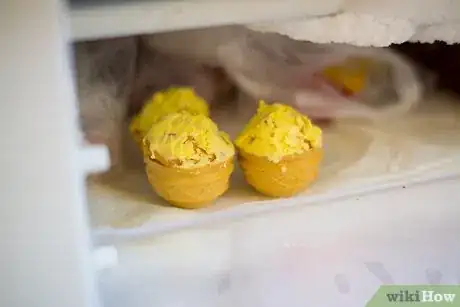
4Place the cupcakes into the fridge for 1 hour so that the frosting can set. To keep them from tipping over, place them all back into the muffin pan. Once the frosting has set, you can start preparing the chocolate ganache topping.
Making and Pouring the Ganache Topping
-
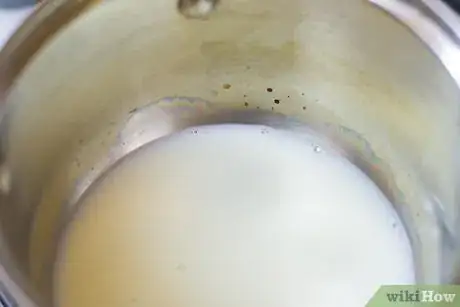
1Bring the heavy cream to a just below a boil in a small saucepan. Pour the heavy cream into a small saucepan, then place the saucepan on the stove. Set the heat to medium, and wait until the heavy cream comes just short of boiling.
-
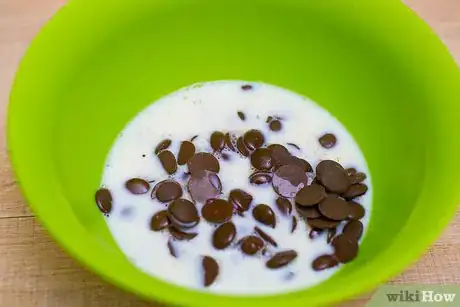
2Pour the heavy cream over the chocolate chips. Place the chocolate chips into a heat-safe bowl, then pour the hot, heavy cream over them. You can use milk chocolate or semi-sweet chocolate chips for this.
-
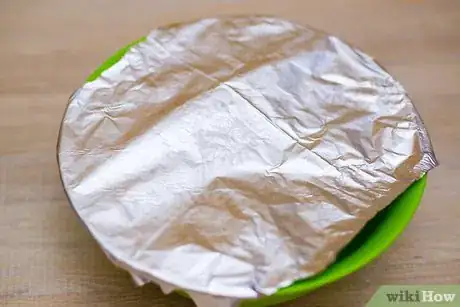
3Cover the bowl with foil, and let it sit for 5 minutes.[10] During this time, the hot cream will melt the chocolate chips without scorching them. If you don't have any foil on hand, you can use a plate instead.
-
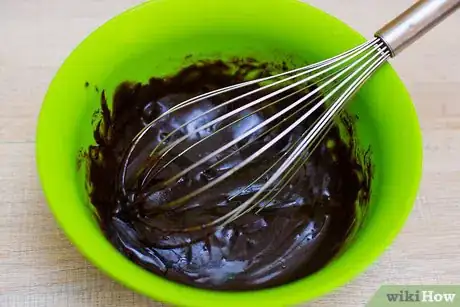
4Stir the chocolate chips and milk together with a whisk until combined. Lift the foil away, and briskly whisk the two together until everything is smooth. Be sure to scrape the bottom and sides of the bowl often.
-
5Let the mixture sit until it cools and thickens. If you piped the frosting on instead, you can skip this step and more on to the next; you'd want to use the ganache before it starts to thicken.
-
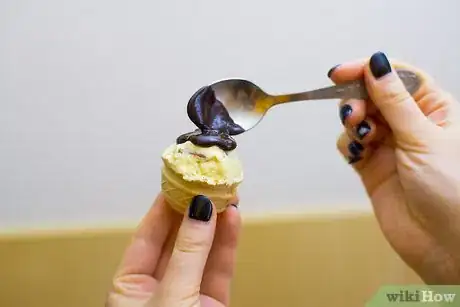
6Use a spoon to pour the ganache onto the frosting and swirl it around. If you piped the frosting on, pour the ganache on instead so that you don't ruin the piped texture.
-
7Top each cupcake with a maraschino cherry and sprinkles. You can also use crushed nuts instead of sprinkles.
-
8Refrigerate the cupcakes for 1 hour before serving them.[11] Once again, set the cupcakes down onto the muffin tin, and place the tin back into the fridge. This will allow the ganache to set up. Once the time is up, you can serve the cupcakes!
-
9Finished.
Community Q&A
-
QuestionWhat should I do to prevent my cones from losing their crunchy texture and tasting stale?
 Community AnswerAfter you have finished baking, use a toothpick to poke a hole in the bottom of each cone. This will let the steam escape and help the cones retain their crunchy texture.
 -
QuestionWhat happens if I add to much batter into my cone?
 QamarTop AnswererThe batter will over-flow while baking and will burn.
 -
QuestionWhy doesn't the cone burn?
 QamarTop AnswererThe cone has a waffle texture which is hard and resistant to burning.
Warnings
- These cupcakes should be eaten the same day they are made or else the moisture from the cake will take away the crispness of the cones.⧼thumbs_response⧽
- Don't use too much icing as this can weigh the cupcake down and cause it to tip over.⧼thumbs_response⧽
Things You'll Need
- Muffin pan
- Mixing bowls
- Whisk
- Rubber spatula
- Electric mixer
- Cookie scoop or ice cream scoop with release trigger
- Oven
- Saucepan
- Aluminum foil
References
- ↑ http://www.cinnamonspiceandeverythingnice.com/ice-cream-sundae-cupcake-cones/
- ↑ http://www.cinnamonspiceandeverythingnice.com/ice-cream-sundae-cupcake-cones/
- ↑ http://www.cinnamonspiceandeverythingnice.com/ice-cream-sundae-cupcake-cones/
- ↑ http://allrecipes.com/recipe/8062/ice-cream-cone-treats/
- ↑ http://www.cinnamonspiceandeverythingnice.com/ice-cream-sundae-cupcake-cones/
- ↑ http://myrecipemagic.com/recipe/recipedetail/ice-cream-cupcakes
- ↑ http://www.cinnamonspiceandeverythingnice.com/ice-cream-sundae-cupcake-cones/
- ↑ http://thefirstyearblog.com/ice-cream-cone-cupcakes/
- ↑ http://aspottedpony.com/fun-for-kids/ice-cream-cone-cupcakes-tips-and-tricks-to-success/5097/
About This Article
To make a cupcake cone, start by preheating the oven to 350 degrees Fahrenheit and standing your ice cream cones up in a muffin tin. Next, mix flour, baking powder, and salt in a large bowl. In a separate bowl, cream butter and add sugar, vanilla, and eggs. Then, add the flour mixture and milk into the creamed butter mix. Once all of the ingredients are incorporated, fill the cones ½ way with batter and bake for 18 minutes. After the cones cool, add frosting and a layer of ganache. To learn how to make the ganache topping, keep reading!
