X
This article was co-authored by wikiHow staff writer, Jack Lloyd. Jack Lloyd is a Technology Writer and Editor for wikiHow. He has over two years of experience writing and editing technology-related articles. He is technology enthusiast and an English teacher.
The wikiHow Tech Team also followed the article's instructions and verified that they work.
This article has been viewed 89,443 times.
Learn more...
This wikiHow teaches you how to move photos off of your iPhone and into iCloud or onto a computer.
Steps
Method 1
Method 1 of 3:
Using iCloud Photo Library
-
1Open Settings. It's a gray app that contains an image of gears (⚙️) and is typically located on your home screen.
- If you don't have enough iCloud space to store your whole library, you'll need to buy more before you can use iCloud Photo Library.
-
2Tap your Apple ID. It's the section at the top of the screen that contains your name and image if you've added one.
- If you are not signed in, tap Sign in to (your device), enter your Apple ID and password, then tap Sign In.
- If you are running an older version of iOS, you may not need to do this step.
Advertisement -
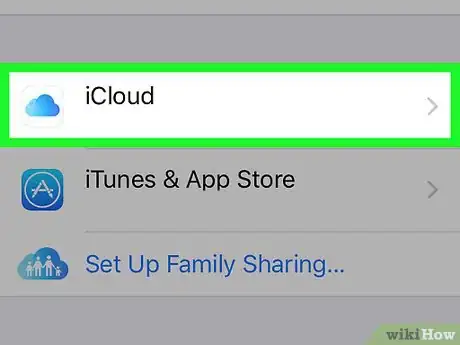
3Tap iCloud. You'll see it near the middle of the screen.
-
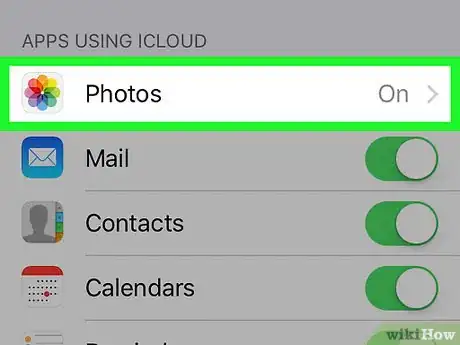
4Tap Photos. It's the first option in the "APPS USING ICLOUD" list.
-
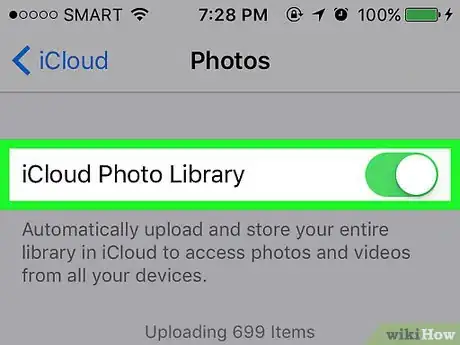
5Slide iCloud Photo Library right. You'll see this option at the top of the screen. Doing so will begin uploading your photos to iCloud's Photos section.
-
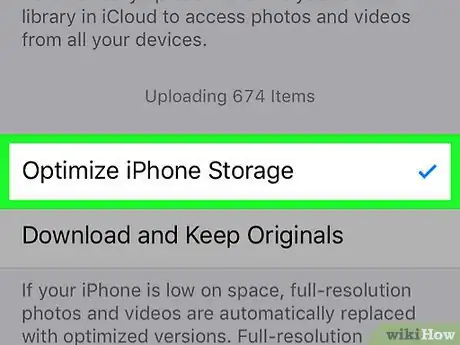
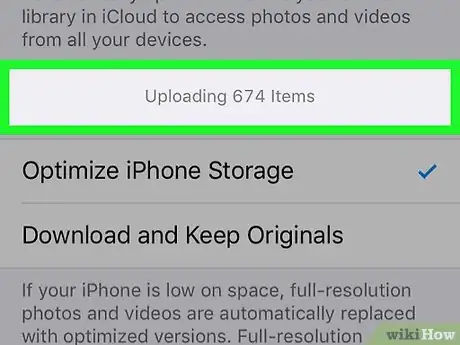
6Make sure Optimize iPhone Storage is checked. If not, tap it. This option ensures that original photos are stored in iCloud while lower-quality versions remain on your iPhone.
-
7Wait for your photos to upload. This will likely take awhile, so make sure you're uploading over Wi-Fi and not cellular data. Once your photos are uploaded, you should have significantly more room on your device.
Advertisement
Method 2
Method 2 of 3:
Using a Mac
-
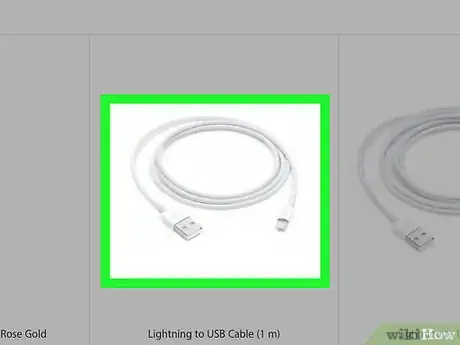
1Connect your iPhone to your Mac. To do so, plug your iPhone's charger cable into the phone, then plug the USB (larger) end into a USB port on your Mac.
- The USB port has a three-pronged symbol either beneath it or to the side of it.
-
2Allow your Mac access to your iPhone if prompted. To do so, type in your iPhone's passcode on your iPhone, then tap Trust.
-
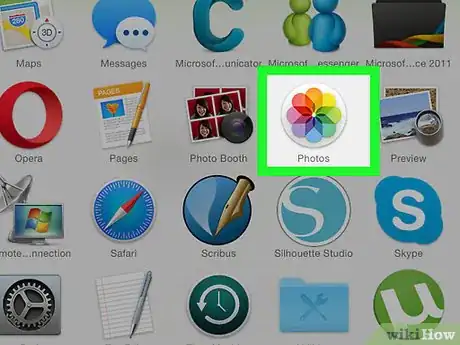
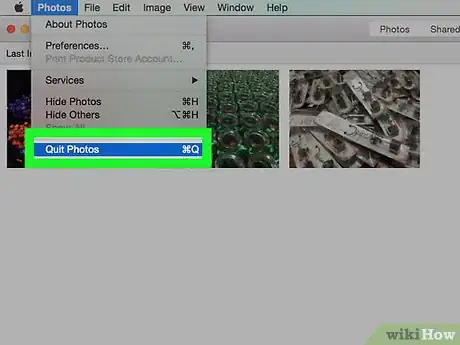
3Double-click the Photos app. It's white with a multicolored pinwheel (the same as the Photos app on your iPhone).
-
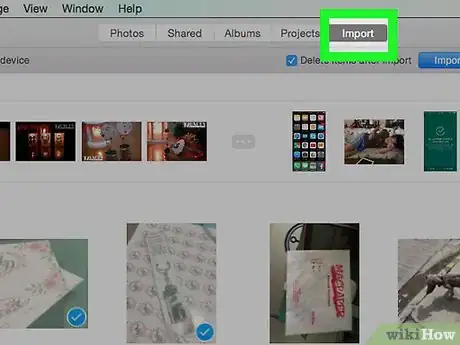
4Click the Import tab. You'll see this option in the row of tabs at the top of the "Photos" window.
- This tab may also open automatically.
-
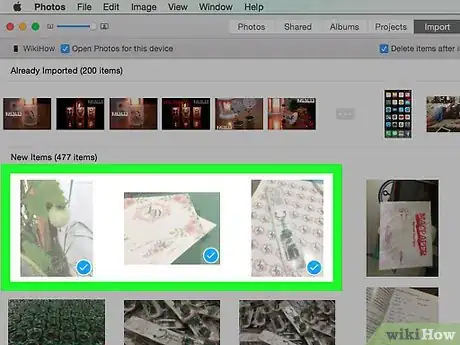
5Select photos to import. To do so, hold down ⌥ Option and click each photo you wish to import.
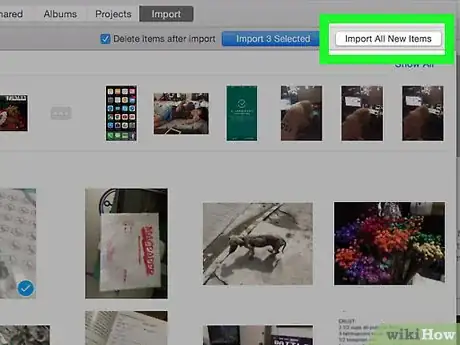
- If you simply want to import new photos, just click Import All New Photos.
-
6Click Import Selected. This is in the top-right corner of the "Photos" window, just left of Import All New Photos.
-
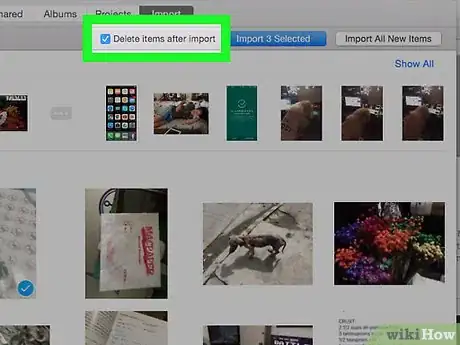
7Click Delete when prompted. Doing so will remove the photos from your iPhone while keeping them on your Mac.
-
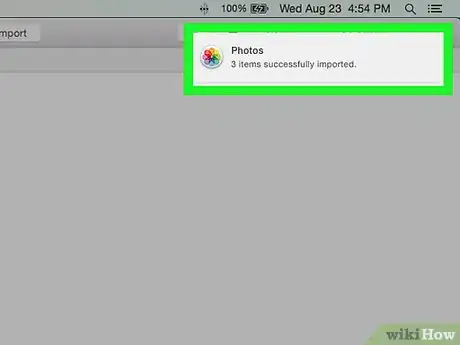
8Wait for your photos to finish uploading. Once they do, you'll be safe to disconnect your phone from the computer.
-
9Disconnect your iPhone from your Mac. The photos you wanted to move should be gone from your iPhone and successfully uploaded to your Mac.
Advertisement
Method 3
Method 3 of 3:
Using a PC
-
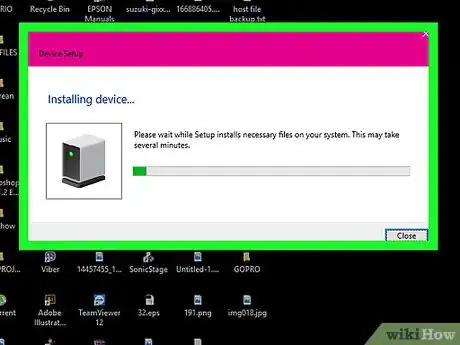
1Connect your iPhone to your PC. To do so, plug your iPhone's charger cable into the phone, then plug the USB (larger) end into a USB port on your PC.
- The USB port has a three-pronged symbol either beneath it or to the side of it.
- If you're using a desktop computer, be sure to look for USB ports on the front and sides of the CPU box.
-
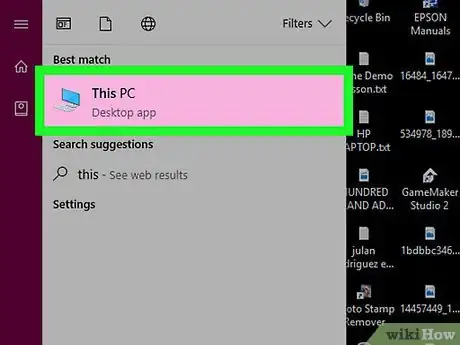
2Open This PC. This app, also known as "My Computer" on some operating systems, is the computer-shaped icon that should be on your desktop.
- If This PC doesn't show up on your desktop, press the ⇱ Home key and type "My Computer" into the search bar. It will pop up as a result.
-
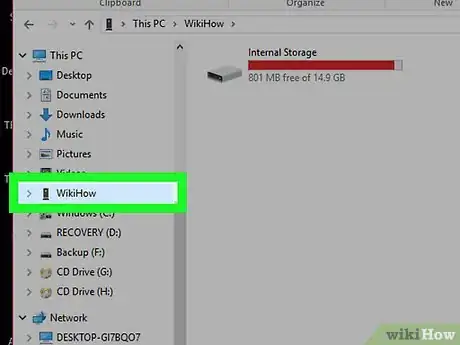
3Double-click your iPhone's name. You'll see this option under the "Devices and Drives" heading at the bottom of the "My PC" menu.
- Your iPhone should be named something like "(Your Name's) iPhone."
- If you don't see your iPhone in the "Devices and Drives" section, plug your USB cable into a different port and try again.
-
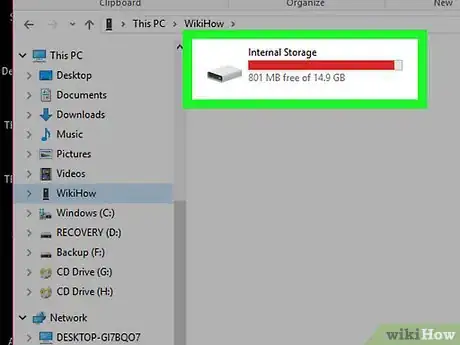
4Double-click Internal Storage. This folder should be near the top of the window.
-
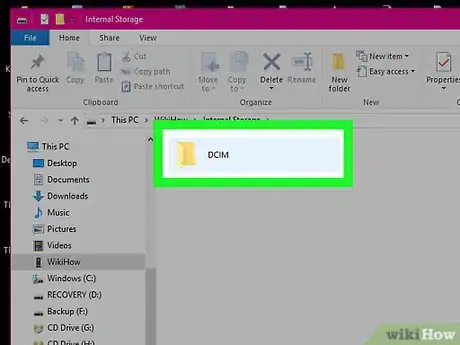
5Double-click DCIM. It's the only folder on this page.
-
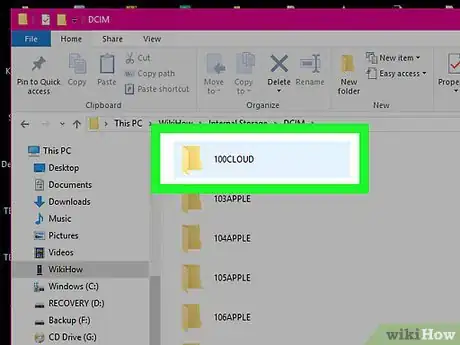
6Double-click a folder on this page. There will be several folders here, each named something like "100APPLE", "101APPLE", etc.
- The higher the number in the folder's name, the more recent the photos in it are.
-
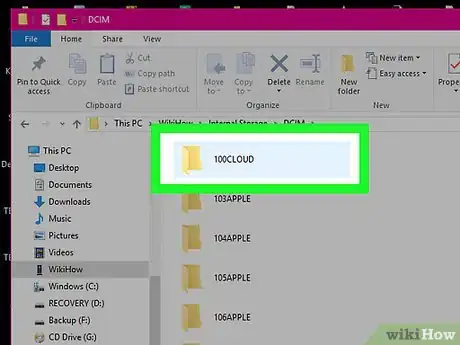
7Double-click a folder.
-
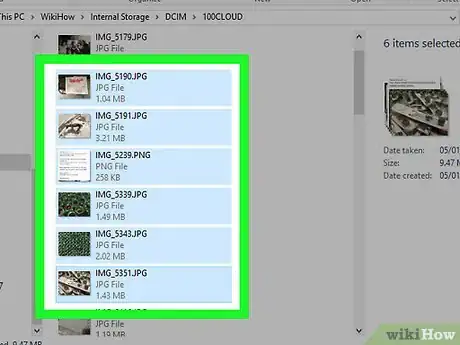
8Select each photo you want to move to your PC. To do this, hold down Ctrl and click each picture.
- Your selection will only remain if you hold down Ctrl whenever you're clicking.
- If you want to select all photos in a folder, hold Ctrl and press A.
-
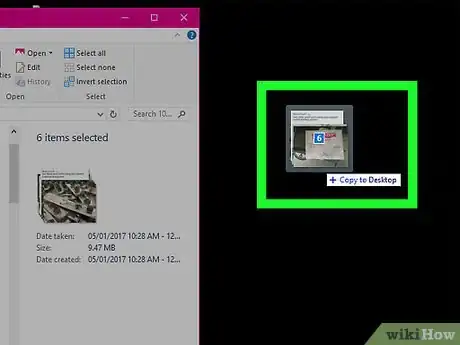
9Click and drag a photo over to your desktop. Any selected photos will come with the one you drag.
- You may have to click the two overlapping squares icon in the top-right corner of the folder you're in to resize it so you can view the desktop.
-
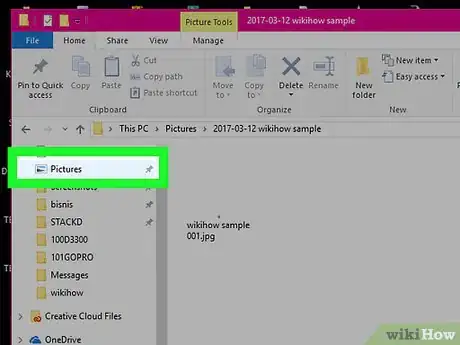
10Disconnect your iPhone from your PC when you're done. Your photos should now be on your computer's desktop.
- You'll need to delete the pictures off of your iPhone if you want to keep them only on your computer.
Advertisement
Community Q&A
-
QuestionIf I delete the photos on my iPhone, will they still be in my iCloud?
 Community AnswerYes, as long as you have opted to save your photos to the iCloud and you have backed it up recently.
 -
QuestionHow do I delete photos off of iCloud?
 Community AnswerThere should be a little button when you are looking at the photo.
 -
QuestionCan I transfer photos sent from me in a text on my iPhone to my laptop?
 Community AnswerYes, save them to your phone and then you can either email them to yourself or connect to the computer using a USB.
Advertisement
Warnings
- Make sure your computer and your iPhone are running the latest software to avoid any compatibility issues.⧼thumbs_response⧽
Advertisement
About This Article
Article SummaryX
1. Open Settings.
2. Tap your Apple ID.
3. Tap iCloud.
4. Tap Photos.
5. Toggle on "iCloud Photo Library."
6. Enable "Optimize Phone Storage."
Did this summary help you?
Advertisement
