This article was co-authored by wikiHow staff writer, Darlene Antonelli, MA. Darlene Antonelli is a Technology Writer and Editor for wikiHow. Darlene has experience teaching college courses, writing technology-related articles, and working hands-on in the technology field. She earned an MA in Writing from Rowan University in 2012 and wrote her thesis on online communities and the personalities curated in such communities.
This article has been viewed 18,788 times.
Learn more...
Do you want to buy the perfect gift for your friend? You can take a peek at their Wishlist to see what they would really like for their birthday. Since Amazon's "Find a List" feature doesn't reliably work, you'll want your friend to invite you to view their list so you can see the items that they actually want.
Steps
Finding a Registry List
-
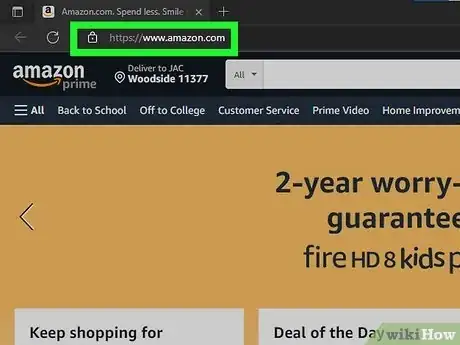
1Go to https://www.amazon.com. You can use any desktop web browser to visit the site. If you want to use your phone or tablet instead, open the mobile app. The steps for the mobile app are the same if you're using the website.
- This method doesn't always work. If your friend says they have an Amazon wishlist, but you aren't able to find it this way, ask your friend to share the list with you with a link.
-
2Hover your mouse over your name. It's towards the top right corner of the page, to the right of the flag for the country/region you're using.
- If you're using the mobile app, tap the three-line menu icon, then tap Your Friends' Lists and you'll see the "Find a registry or gift list" section.
Advertisement -
3Click Find a List or Registry (web only). You'll see this near the bottom of the menu.
-
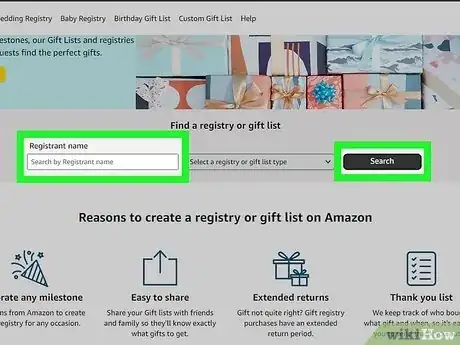
4Enter the registrant's name and select a list type then click Search. Try using their first name only, then you can filter the search results on the next page.
- If you're using the mobile app, tap the registry or list type, then enter their first name under "Find a [Kind of Registry/List you're searching]". Tap Search and you'll see all the search results for that name.
-
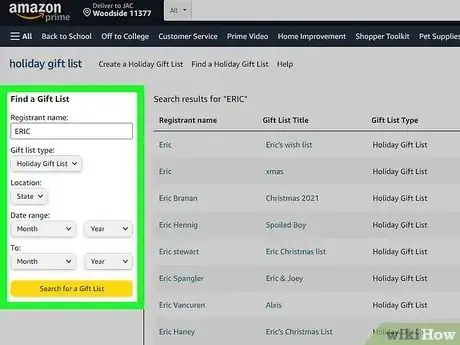
5Filter your search. Whether you're using the website or the mobile app, you can filter your results exactly the same. Filter by "Gift List Type," "Location," and "Date range."
-
6Click or tap a search result to see more. You'll see the items on the list as well as if items have been purchased already.
-
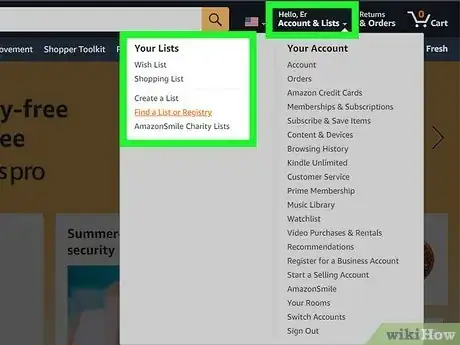
1Go to Your Lists on Amazon. You can also go to https://www.amazon.com and hover your mouse over your account name. When the menu drops down, click one of your lists to view them and go to "Your Lists" page.
- If you're using the mobile app, tap the three-line menu icon at the bottom, then tap Lists.
-
2Click Your Friends. It's near the top of the page next to Your Lists and Your Idea Lists.
- If any friends have shared their Amazon list with you, you'll see it here.
-
3Click Send Message. You can request your friend to share the list with you can see it.
- If you're on a mobile, you'll tap Send a Message.
-
4Send the request. You can either select Copy message so you can paste it anywhere for your friend to see, or you can click Email this message to open your computer's default emailing service and send the request via email to your friend's Amazon email account.[1]
- Once your friend has shared the list with you, you'll be able to find it in Your Lists > Your Friends > [Their name]'s list.
Sharing Your Wishlist
-
1Go to Your Lists on Amazon. You can also go to https://www.amazon.com and hover your mouse over your account name. When the menu drops down, click one of your lists to view them and go to "Your Lists" page.
- If you're using the mobile app, tap the three-line menu icon at the bottom, then tap Lists.
- You'll want to use this method when you have a list created and want to share it with others.
-
2Click a list that you want to share. You'll see a list of your wishlists in the panel on the left side of the page. Simply click one to select it.
- If you're using the mobile app, tap the three-line menu icon, then tap Lists and the list that you want to share.
-
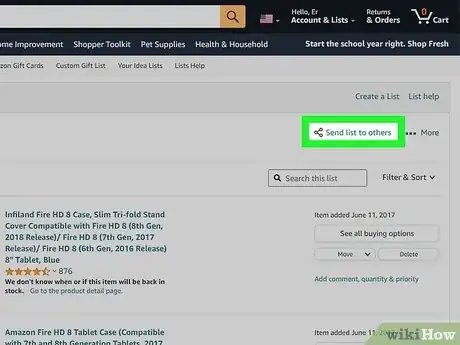
3Click Send list to others (desktop) or Invite (mobile). If you're on a desktop on the Amazon website, the send button will be on the right side of the screen.
- If you're using the mobile app, the invite button is in the top left corner below the list's name.
-
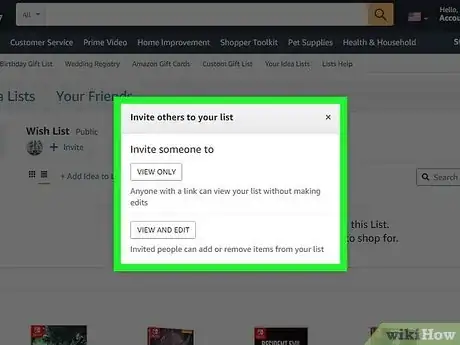
4Select a link setting. You need to pick if the link you're creating is for "View only" or if others can edit the list. Select either "View Only" or "View and Edit."
-
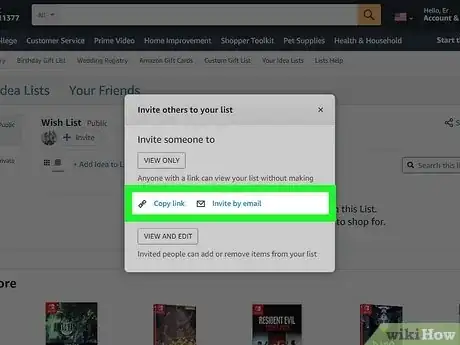
5Choose if you want to copy the link or send it via email. The email you send will go to the email account that is connected with those Amazon accounts.
- If you copied the link, it's copied to your clipboard so you can paste it where ever you'd like.
Creating Your Own List
-
1Go to Your Lists on Amazon. You can also go to https://www.amazon.com and hover your mouse over your account name. When the menu drops down, click one of your lists to view them and go to "Your Lists" page.
- If you're using the mobile app, tap the three-line menu icon at the bottom, then tap Lists.
-
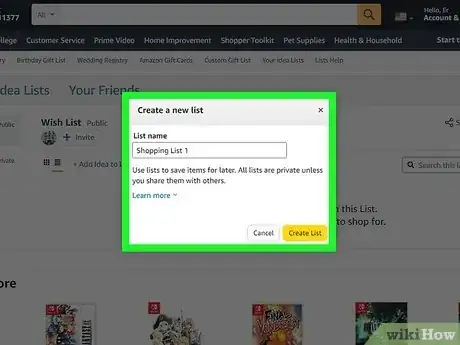
2Click Create a List. A new window will pop-up.
- In the mobile app, this is also Create a List in the top right corner of your browser.
-
3Click to choose Wish List, then give it a name, and set the privacy level. These are all settings that let others recognize what the list is for.
- There aren't as many choices for lists when you create one using the app.
- Even if you mark your list as "Public," the shipping address remains hidden to anyone who views the list.
-
4Add things to your list. When you're browsing Amazon, click or tap Add to List to add that item to your list instead of your cart.
- If there are items that aren't listed on Amazon that you want to add to your wishlist, go to the Amazon Assistant page and install the extension. With the addon installed, you can click the icon from any retailer's site and add that item to your list.
-
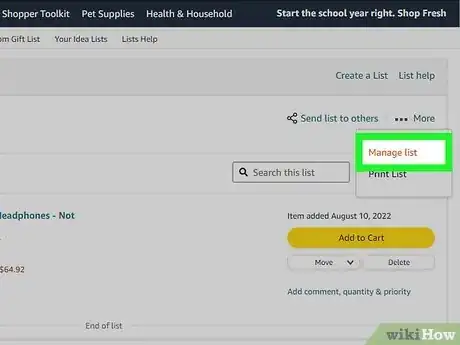
5Manage your list. Once your list is created, you can change any settings that you may have missed when you were setting it up. Click or tap the three-dot menu icon that's to the right of your list name, then select Manage list. You can change the list name, privacy, Alexa's permissions, and other options.
