Simple desqueezing guide for anamorphic images
This article was co-authored by wikiHow staff writer, Kyle Smith. Kyle Smith is a wikiHow Technology Writer, learning and sharing information about the latest technology. He has presented his research at multiple engineering conferences and is the writer and editor of hundreds of online electronics repair guides. Kyle received a BS in Industrial Engineering from Cal Poly, San Luis Obispo.
Learn more...
Anamorphic still images are compressed horizontally. Luckily, it’s easy to widen the aspect ratio during post-processing (this is called desqueezing). This wikiHow shows you how to edit anamorphic still photos in Adobe Photoshop, but these steps generally apply to any photo editing software.
Things You Should Know
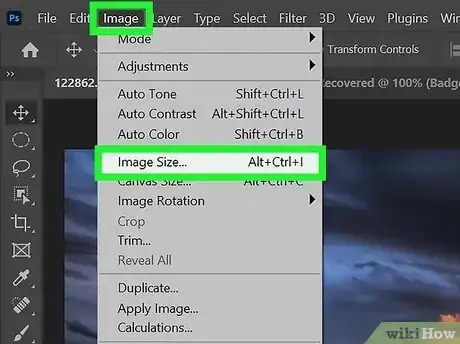
- Go to Image > Image Size.
- Toggle on Constrain Proportions.
- Multiply the width by 1.33 by typing *1.33 next to the existing width.
- Multiply the height if the photo was shot vertically.
Steps
-
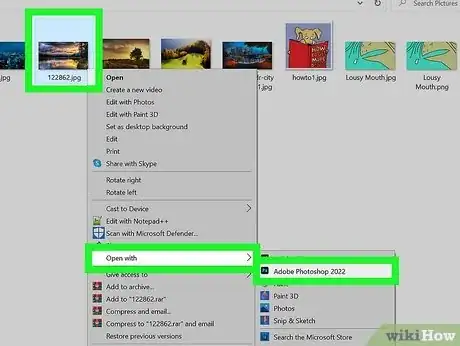
1Open your photo in Adobe Photoshop. Click Open on the Photoshop homepage to select your anamorphic still photo.[1]
- Using a different lens, like anamorphic lenses, is a great way to develop your photography skills.
-
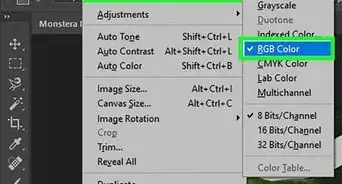
2Click Image. This is located in the settings bar at the top of the app. Then, select Image Size.Advertisement
-
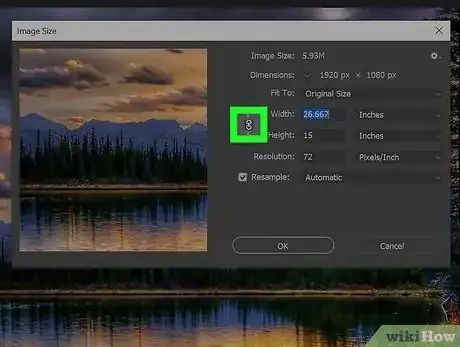
3Toggle on Constrain Proportions. On newer versions of Photoshop, click the chain link icon next to the Width and Height settings. A dark background will appear behind the button, and two lines will appear, going to Width and Height.
- On older versions of Photoshop, click the checkbox next to “Constrain Proportions.”
-
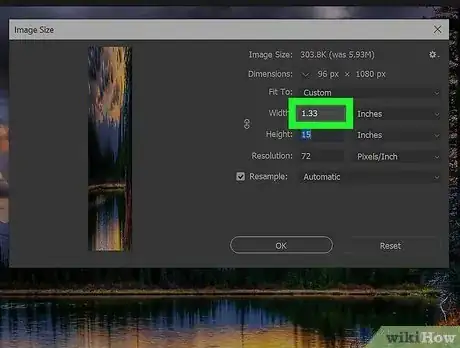
4Multiply the width of the image by 1.33. You can do this by typing *1.33 next to the current width value. This image size adjustment will desqueeze the image.
- This applies to photos shot horizontally. If you shot the photo vertically, multiply the height by 1.33 instead.
-
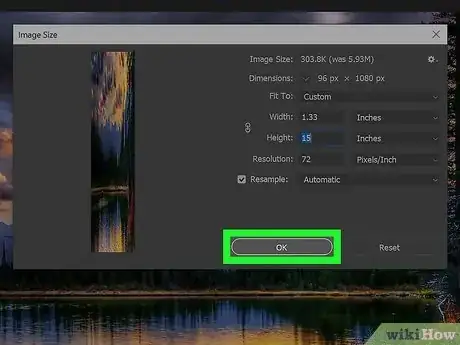
5Click OK. This will confirm the change and desqueeze the image. You’re done! Continue editing the photo as you would normally.





-Step-9-Version-2.webp)


