This article was co-authored by Ashley Adams. Ashley Adams is a Licensed Cosmetologist and Hair Stylist in Illinois. She completed her Cosmetology education at John Amico School of Hair Design in 2016.
wikiHow marks an article as reader-approved once it receives enough positive feedback. This article received 13 testimonials and 90% of readers who voted found it helpful, earning it our reader-approved status.
This article has been viewed 219,238 times.
Making headband curls is an easy, no heat way to produce full, voluminous curls. To create these curls, you loop slightly damp hair around an elastic headband placed horizontally on your head. Leave your hair wound around the headband from anywhere to one hour to overnight, then simply remove the headband and release your curls! The longer you leave your hair wrapped around the headband, the tighter and more long lasting your curls will be. Making headband curls is a great way to achieve bouncy and full curls without doing any damage to your hair or having to buy expensive tools.
Steps
Arranging the Headband
-
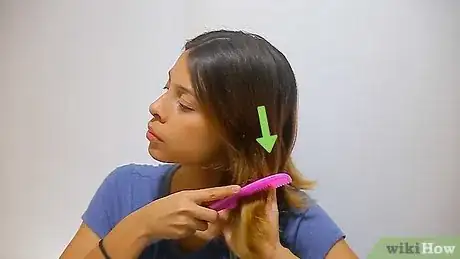
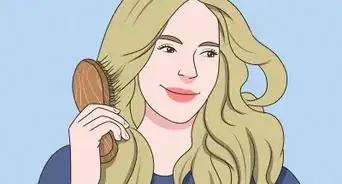
1Brush your hair. Before you dive into making your headband curls, brush or comb your hair to remove knots. Brush or comb the tips of your hair, then hold the brush an inch or so higher and brush down through your hair. Keep working your way up your head, brushing in downward motions, until you reach the top of your head.
- Having knotted hair will make doing this hairstyle harder, and it will make your curls less defined.
- Always brush your hair from the bottom up. This will prevent your hair from breaking.
- If you encounter a knot, don’t yank your brush or comb through it. Instead, gently brush the knot in short, soft motions until it is untangled.
-
2Dampen your hair. Headband curls are the most effective on slightly damp hair because your hair will dry into the shape of the curls. If your hair is dry, dampen your hair by holding your hair under the faucet for a few seconds. You can also spray your hair with a spray bottle of water. If you are trying this hairstyle after a shower, wait until your hair is mostly dry.
- Don’t soak your hair; aim to make it damp as opposed to wet.[1]
Advertisement -
3Add product to your hair. Adding curling cream or mousse to your hair makes it slightly damper and also gives it more texture. This texture allows the curl pattern to hold better and last longer. If you already have thick, textured hair then you may not need to add product. If you have smooth, somewhat slippery hair, adding product can improve the look of your curls.[2]
- To apply product, place about a dime-sized amount in your palm and work it through your hair, starting at the ends and applying it up through your hair.
-
4Put on the headband. Once you have dampened your hair and applied product, it’s time to put on the headband and start making the curls. Take an elastic hairband and place it “hippy style” on your head, wearing the headband over your hair like a crown so that the band runs diagonally over your forehead.[3]
- Use a comfortable, circular headband. It should wrap all the way around your head. Don't use one that is too tight, since you’ll be wearing this for an hour at least and possibly all night.
- Try to use an elastic headband that is around the width of two fingers.
Looping Your Curls into the Headband
-
1Loop a small section of hair through the headband. Once you have put on the headband, it’s time to start looping your hair! Begin by taking a small strand of hair that is framing your face, either from the left- or right-hand side of your face. The strand should about the width of two fingers. Lift the strand up so that it is pulled over the headband, then loop the strand under the headband to make one complete loop.[4]
-
2Add hair to the strand. Once you create the first loop over and under the headband, take another small piece of hair right next to the one you just looped and combine the two strands into one.[5]
-
3Do another loop with the combined strands. Once you have combined the strands, use the section of hair to make another loop over and under the headband next to the first loop.[6]
-
4Loop your hair until you reach the back of your head. Keep adding and looping to the section of hair you are using until you get near the back of your head, behind your ear.[7]
-
5Repeat the process of making loops on the other side. Repeat the process of looping your hair, this time starting on the opposite side and working back to create loops. Stop when you reach the back of your head.[8]
- Your hair should now be rolled around the headband on both sides of your head, with a small portion of hair hanging down in the back.
-
6Take the back section and loop it around the headband. Take the entire section of hair that is hanging down at the back of your head and loop it under the headband as you did with the other hair. Because there is no other hair to combine it with, simply keep looping the hair around the headband until your reach the tips of the hair, then tuck the tips under the headband.[9]
-
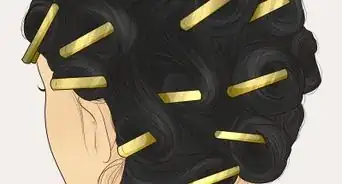
7Pin your hair to secure it. If you are going to sleep with your headband curls, it’s a good idea to secure your hair with pins. Place a few bobby pins or hair clips to pin the loops to the part of your hair above the crown of loops.
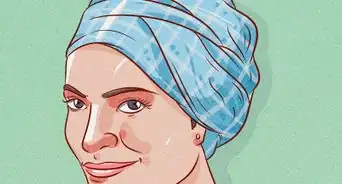
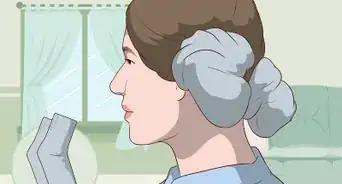
- For extra protection at night, wrap a scarf around your hair so that your curls are completely covered.
-
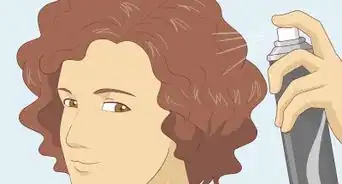
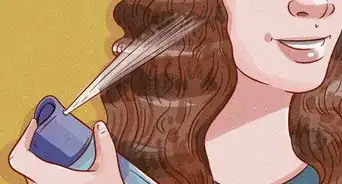
8Spray your head with hairspray. Once you have added clips, give your hair a quick spritz all over with hairspray. Using hairspray will help your hair hold the curl pattern once you take it down.[10]
Finishing Your Curls
-
1Keep your hair looped for at least one hour. Once you spray your hair with hairspray, most of your work to create this hairstyle is complete! Wait anywhere from one hour to overnight to take down your curls. The longer you wait, the tighter the curls will be, and the longer the staying power they will have.[11]
-
2Remove the headband. Whenever you are ready to complete the hairstyle, slowly begin to take the pins from your hair, unloop the strands of hair from the headband and pull the headband away. Your hair should be curly and voluminous![12]
-
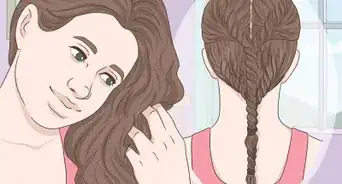
3Shake out and style your curls. Once you remove the headband, it may take a little bit more work to get your hair exactly as you want it. Shake out your hair and use your hands fluff it up a little bit and let it fall naturally. If you feel like you want more relaxed curls, rake your fingers through your hair to loosen them. Keep your hair down, clip part of it up, or style it as you please![13]
- When you are satisfied with your hair, give your head another spritz of hairspray and enjoy your beautiful curls!
Expert Q&A
Did you know you can get expert answers for this article?
Unlock expert answers by supporting wikiHow
-
QuestionDo you need to use hairspray?
 Ashley AdamsAshley Adams is a Licensed Cosmetologist and Hair Stylist in Illinois. She completed her Cosmetology education at John Amico School of Hair Design in 2016.
Professional Hair Stylist
-
QuestionWill this still work if your headband falls out in your sleep?
 Ashley AdamsAshley Adams is a Licensed Cosmetologist and Hair Stylist in Illinois. She completed her Cosmetology education at John Amico School of Hair Design in 2016.
Professional Hair Stylist
-
QuestionDoes it matter if you just pull out the headband?
 Community AnswerYes, because you can damage your hair by just pulling it out. Take it out carefully.
Things You’ll Need
- Elastic headband
- Bobby pins
- Hairspray
- Curl cream or product
References
- ↑ http://www.justlaine.com/2012/02/no-heat-headband-curls-experiment.html
- ↑ https://www.youtube.com/watch?v=-esDpRo2-uY
- ↑ http://www.justlaine.com/2012/02/no-heat-headband-curls-experiment.html
- ↑ https://www.youtube.com/watch?v=-esDpRo2-uY
- ↑ https://www.youtube.com/watch?v=-esDpRo2-uY
- ↑ https://www.youtube.com/watch?v=-esDpRo2-uY
- ↑ http://www.cutegirlshairstyles.com/hairstyles/time/5-10mins/headband-curls-no-heat-hairstyles/
- ↑ http://www.cutegirlshairstyles.com/hairstyles/time/5-10mins/headband-curls-no-heat-hairstyles/
- ↑ http://www.cutegirlshairstyles.com/hairstyles/time/5-10mins/headband-curls-no-heat-hairstyles/
About This Article
By looping your hair around a headband, you can give yourself natural-looking curls without using any heat. Start with damp and brushed hair and add a little curling cream or mousse to help hold your curls. Put your headband on and loop a small section of hair from the front of your head through the band. Add another small section from further up your hair and loop the combined strands around your headband. Keep going until you reach the back of your head, then repeat the process on the other side. Once you’ve finished both sides, use bobby pins to secure your hair and spray it with hairspray to help the curls hold. Leave your hair for at least 1 hour, then remove the pins and headband and let your curls out to play. For more tips from our Beauty co-author, including how to get more relaxed curls, read on!

-Step-12-Version-4.webp)


-Step-12-Version-4.webp)
