X
This article was co-authored by Ashley Adams. Ashley Adams is a Licensed Cosmetologist and Hair Stylist in Illinois. She completed her Cosmetology education at John Amico School of Hair Design in 2016.
There are 14 references cited in this article, which can be found at the bottom of the page.
This article has been viewed 69,473 times.
When it comes to hair, we all want what we can’t have; people with straight hair want curls, and people with curls want straight hair. Taking a hot iron to your hair can be intimidating, especially if you have never done it before. Armed with a little knowledge, though, you’ll be curling your hair like a pro in no time.
Steps
Method 1
Method 1 of 3:
Finding the Right Tongs
-
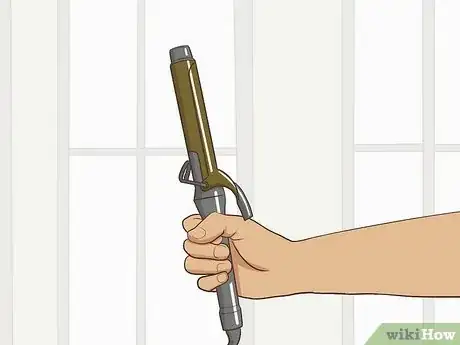
1Decide what width you need. The type of curls you want will determine the curling tongs you use. For loose waves you will want to buy tongs one or two inches in diameter; for tight ringlets you will want one .75 to one inch wide.[1] Because 1-inch tongs can be used to make either waves or ringlets, this might be a good size to use if you want more flexibility.
-
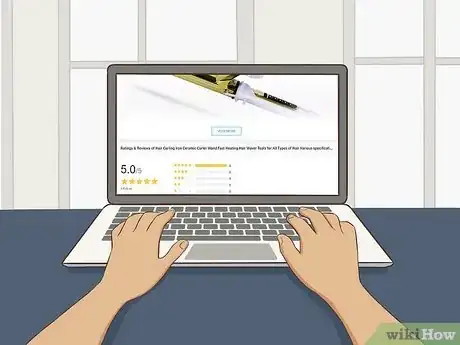
2Figure out which material makes sense for you. There are a few different materials from which the barrels of curling tongs can be made.
- Ceramic and tourmaline tongs are used by many professional stylists. The ceramic distributes heat evenly, and the tourmaline emits negative ions that help minimize frizz and damage to your hair.
- Gold and titanium coated tongs are good conductors of heat, but do not help minimize frizz. Though the gold and titanium coating helps keep them from damaging hair as easily as chrome tongs do, it tends to wear of with time. [2]
- Chrome tongs are the most widely available, and lowest quality curling tongs on the market. They tend to distribute heat unevenly, making it easy to accidentally burn or damage your hair, and they do not protect from frizz.
Advertisement -
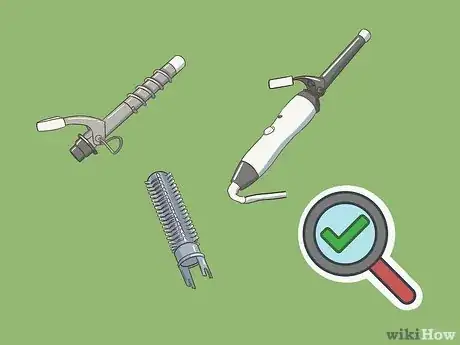
3Consider what sort of design you want. There are a number of different variations on the curling tong.[3] The most important factors in making this decision are your level of experience, and the amount of control you want.
- Spring Curling Tongs are a good option if you are new to using curling tongs. They have a spring-action clip that holds your hair in place, making them very easy to use, and are available in a wide range of sizes. Spring curling tongs are what many people learned to curl their hair with, and may be considered "old-fashioned" by some.
- Clipless Curling Tongs present more of a challenge, but give you more flexibility as far as the style of curls you can create. They do not create the crease that can sometimes result from using spring curling tongs, and allow you to get closer to the roots of your hair. They also reduce the danger of creating split ends. Most clipless curling tongs come with a glove to protect your hand from heat, as your hand will do much of the work and can easily get burned.
- Marcel Curling Tongs were designed for professionals, and will be very difficult for the novice to master. They have an extra handle that allows the user to exercise a greater level of control. You should not attempt to use these unless you feel very comfortable with both spring curling and clipless tongs.
- Double and Triple Barrel Curling Tongs are excellent for creating waves, but are less flexible than other designs as far as the kinds of effects they can create.
- Spiral or Ribbon Curling Tongs create spiraling ringlets, as their name suggests. Like double and triple barrel tongs, they work very well for creating a specific effect, but are not particularly adaptable to different styles.
-
4
Advertisement
Method 2
Method 2 of 3:
Prepare Your Hair
-
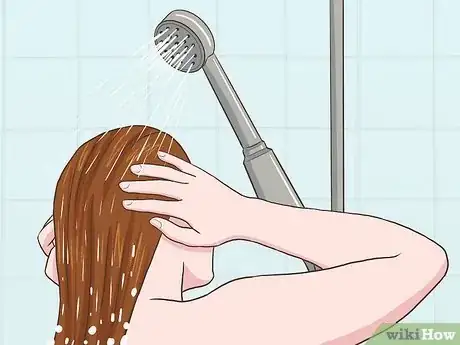
1Wash and condition your hair. There are different approaches to this for different hair types.
- If your hair is damaged, oily, or limp, wash and condition it with something designed to create volume.
- If your hair is thick or not particularly oily, do not wash it before curling. Simply apply a dry shampoo to your roots.
- If your hair usually has trouble holding a curl, skip washing it for a day or two before curling. This should help make your hair more malleable. Using less conditioner, or none at all, may also help.
-
2Apply product. Again, this will be different for different hair types.
- If your hair is damaged, oily, or limp, spray it with a heat protectant from root to ends while it is still damp. Apply a strong-hold mousse liberally—you can do this at the roots to achieve a fuller look, or from mid-shaft to ends for a looser one. Blow dry upside-down until your hair is totally dry.[7]
- If your hair is thick or not particularly oily, spray it from roots to ends with heat protectant, and work a liberal amount of strong-hold mousse through your whole head.[8]
-
3Fret not if you do not have all the products suggested. You may not be able to afford lots of specialized hair products, especially if you don't curl your hair often, or you may be curling your hair on short notice and not have time to run out to the store. These recommended products will help your hair keep its curl and protect it from heat damage, but you can still achieve a beautiful curl without them. That said, it is highly recommended that at a minimum you have hair spray, and something to help protect your hair from heat (especially if you plan on curling it regularly). There are many shampoos that help with the latter, in addition to all the heat protectant sprays on the market.
Advertisement
Method 3
Method 3 of 3:
Starting to Curl
-
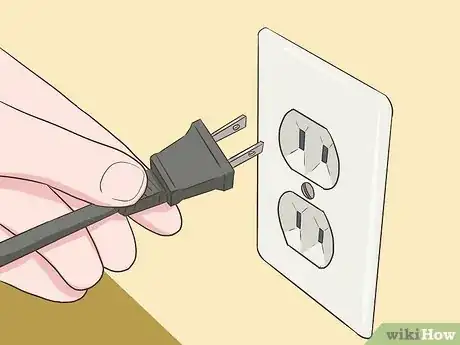
1Plug in your curling tongs. If your hair is fine or damaged, select a heat setting under 200 degrees. A medium hair texture may need a temperature between 200 and 300 degrees. If your hair is curly or thick, select a heat setting between 300 and 400 degrees. As you go, you can gauge how well your initial temperature selection is working, and make adjustments accordingly. Never go above 400 degrees.[9]
-
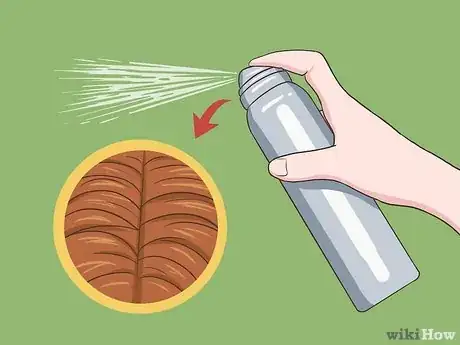
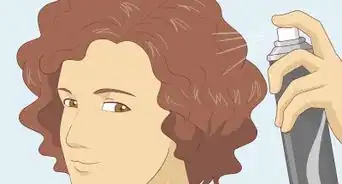
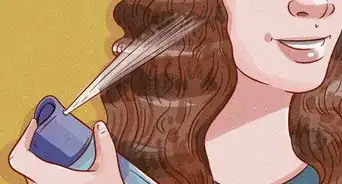
2Start with the top layer of hair on the back of your head. Separate a section about 1 or two inches wide, and 1 to 1.5 centimeters deep.[10] Comb it out and mist it lightly with hairspray, going from root to end. Hold the section of hair by the tip, keeping it taught.
-
3Apply the tongs to your hair. There are a few different ways to do this.
- If you are using spring curling tongs and want to achieve a bouncy curl, clip the tongs close to the roots and slide them gently down to the tip, holding them horizontally. Roll up until the whole hair segment is wrapped around the barrel.
- If you are using spring curling tongs and want loose waves, clip the tongs an inch or two above the ends of your hair, holding them in a vertical position, and roll up. Varying the direction in which you curl will help to create a more natural look.[11]
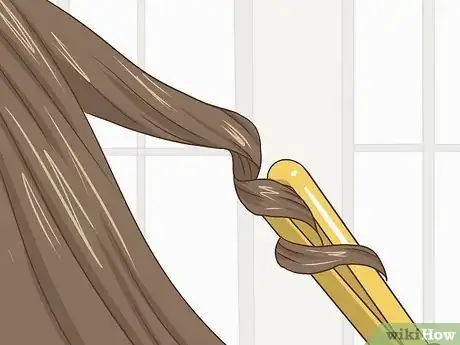
- If you are using clipless tongs, start at the roots of your hair. Hold the tongs vertically, and wrap your hair around them in a spiral from base to tip.[12]
-
4Hold for 10 to 20 seconds. The amount of time you need will vary depending on how thick your hair is, the temperature of your curling tong, and how much definition you want in your curls. If you are unsure, start at 10 and see how it looks. You can always go back and hold for longer, but you can’t un-burn your hair.
-
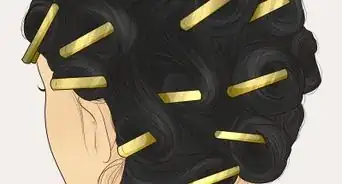
5Unwind your hair from the tongs gently. Use a bobby pin to clip the curl onto your head. This will keep it out of your way, and help it hold its shape once you unpin it. Repeat this process until all of your hair is curled, then carefully unpin your hair.
-
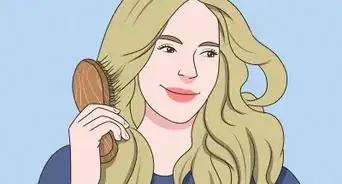
6See how it looks. If your curls look a little too perfect, finger comb your hair gently to break up any unwanted ringlets. If you want a slightly mussed look, flip your hair forward and then back. You may need to do this a couple times if you have thick hair, or if you applied a little too much product.[13]
Advertisement
Expert Q&A
-
QuestionHow do you get curls to stay longer in oily hair?
 Ashley AdamsAshley Adams is a Licensed Cosmetologist and Hair Stylist in Illinois. She completed her Cosmetology education at John Amico School of Hair Design in 2016.
Professional Hair Stylist If you have oily hair, start with clean, blow-dried hair before curling. Avoid putting products directly onto your scalp. Instead, put them on the hair itself. You will also need a strong hold hairspray to help keep your curls in place longer.
Advertisement
References
- ↑ www.totalbeauty.com/content/gallery/curling-iron-tips/p69742/page2
- ↑ www.curling-irons-review.toptenreviews.com
- ↑ www.curlingtongsguide.com
- ↑ www.curling-irons-review.toptenreviews.com
- ↑ www.curlingtongsguide.com
- ↑ www.totalbeauty.com/content/gallery/best-worst-curling-irons
- ↑ www.totalbeauty.com/content/gallery/curling-iron-tips/p69772/page5
- ↑ www.totalbeauty.com/content/gallery/curling-iron-tips/p69782/page6
- ↑ www.totalbeauty.com/content/gallery/curling-iron-tips/p69752/page3
- ↑ www.youtube.com/watch?v=9CwSRNUUhiE
- ↑ www.advicefromatwentysomething.com/how-to-use-a-curling-iron
- ↑ www.youtube.com/watch?v=9dsaohOC1sY
- ↑ www.advicefromatwentysomething.com/how-to-avoid-ringlets-when-curling-hair
- ↑ www.stylecaster.com/beauty-high/how-to-curl-your-hair
- ↑ www.youtube.com/watch?v=szW5cTu1acw
- ↑ www.youtube.com/watch?v=7KM_rOjlZTw
About This Article
Advertisement





-Step-12-Version-4.webp)


-Step-12-Version-4.webp)


