Explore this Article
IN THIS ARTICLE
Other Sections
X
wikiHow is a “wiki,” similar to Wikipedia, which means that many of our articles are co-written by multiple authors. To create this article, 9 people, some anonymous, worked to edit and improve it over time.
This article has been viewed 153,639 times.
Learn more...
There are a few simple steps to creating your automated table of contents on a word document. It's a lot easier than you think and will save time and effort. Also, you can control click the table to get straight to a particular section.
Steps
1
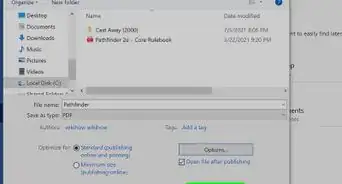
Click the desired location in your document.
-
Choose where you'd like to place your ToC. You'll usually want to add a table of contents to the top of the document, but it can be anywhere you'd like.[1] X Trustworthy Source Microsoft Support Technical support and product information from Microsoft. Go to source

Advertisement
2
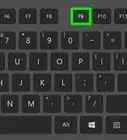
Click the "References" tab.
-
You'll see the References tab at the top of Word. New options will appear on the toolbar.[2] X Trustworthy Source Microsoft Support Technical support and product information from Microsoft. Go to source

3
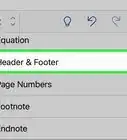
Click the "Table of Contents" icon.

4
Select a style.

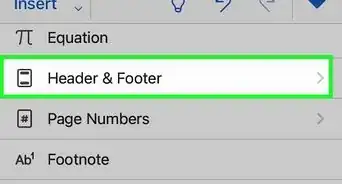
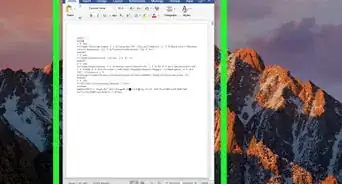
5
Add styles to your document.
-
The Table of Contents is built automatically based on your heading styles. To make sure a page or section is added to your table of contents, you'll need to assign its heading a style.
- Highlight a page heading. A context menu will expand automatically.
- Click Styles on the context menu.
- Select Heading 1.
- Repeat for all major pages in your document.
- For minor pages and sections, select those headings and assign them Heading 2. Heading 2 entries will appear as sub-sections of Heading 1 entries in your ToC.
- You can also assign additional minor sections as Heading 3, which will appear as subsections to Heading 2s in the ToC.

Advertisement
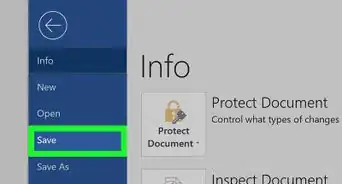
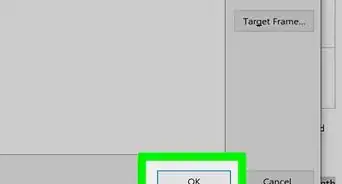
6
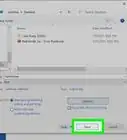
Update the table of contents.

Community Q&A
-
QuestionHow do I remove 'read only' from a Word document?
 Crazyperson2002Community AnswerTo remove 'read only', there should be a button at the top of the document, or you could save a different copy and edit it from there.
Advertisement
You Might Also Like
How to
Remove a Blank Page in Word

How to
Check a Word Count in Microsoft Word
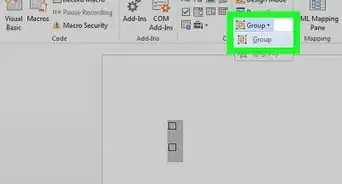
 Easily Add Page Numbers to a Word Document on Any Platform

How to
Create an Index in Word
How to
Remove the 'Read Only' Status on MS Word Documents
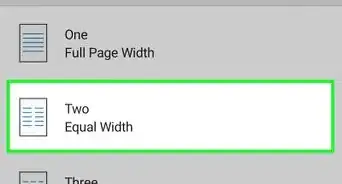
 3 Easy Ways to Convert Microsoft Excel Data to Word
How to
Insert a Check Box in Word
 2 Easy Ways to Make Two Columns in Microsoft Word
 3 Free Ways to Convert JPEG Into an Editable Word Document
 3 Simple Ways to Insert a Hyperlink in Microsoft Word
 6 Ways to Format and Print a Booklet in Word
 4 Simple Ways to Insert a Line in Microsoft Word
 How to Insert a Picture into a Word Document: 3 Easy Ways
 How to Add Backgrounds in Microsoft Word: Watermarks, Images, & Colors
Advertisement
References
About This Article
wikiHow is a “wiki,” similar to Wikipedia, which means that many of our articles are co-written by multiple authors. To create this article, 9 people, some anonymous, worked to edit and improve it over time. This article has been viewed 153,639 times.
How helpful is this?
Co-authors: 9
Updated: July 18, 2022
Views: 153,639
Categories: Microsoft Word
Advertisement