X
wikiHow is a “wiki,” similar to Wikipedia, which means that many of our articles are co-written by multiple authors. To create this article, volunteer authors worked to edit and improve it over time.
This article has been viewed 50,919 times.
Learn more...
Have you ever tried to clone your Linux system and install it on another computer? If you have, you can understand this is no easy task. There are several programs out there built for such a task such as Remastersys, Relinux, Ubuntu Builder, and several others, however, none of them seem to complete the job thoroughly. In this article, you can learn how to create a live, fully bootable and installable image from your current system.
Steps
-
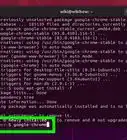
1Install Systemback to your Linux system. This can only be done by using the terminal, so open it up. The keyboard shortcut is Ctrl+Alt+T. Then copy the following commands into the space provided. You may be required to type in an administrative password.
- sudo add-apt-repository ppa:nemh/systemback This command receives the repository of the software.
- sudo apt-get update This command updates the repository list.
- sudo apt-get install systemback This command downloads and installs your program.
-
2Launch Systemback. In the screenshot above, we are using Application Finder to launch Systemback.Advertisement
-
3Select Live system create. If you wish to create a restore point before continuing, you can do that using Systemback.
-
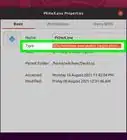
4Customize your image. In this window, you can select a custom name for your new “distribution”. You can also change the directory (where the file will be stored) in this window. When you have finished customizing, click Create new.
-
5Try not to use programs and modify any system settings. The process of creating your system image has begun. Depending on the size of your system, this process could take hours to complete.
-
6Wait for your Live system creation to finish. When it does, the notification above will be displayed. Click OK to continue.
-
7Convert your
sblivefile to an ISO. In the upper-right box, select the Live file you just created, and then click Convert to ISO.- This process will convert the
sblivefile to an ISO. Depending on thesblivefile size, this process could take a while, but this process is much faster than creating the Live system itself.
- This process will convert the
-
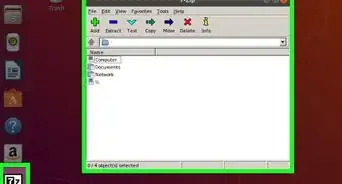
8After the conversion, exit Systemback. Then open your file manager and open up your File System (Computer) → home. Your image file will be located here if you did not change the directory in step four.
-
9Write your image file to a USB or DVD. In the screenshot above, I am using UNetbootin.
- This article will guide you in writing your image to a USB.
- This article will guide you in writing your image to a DVD.
-
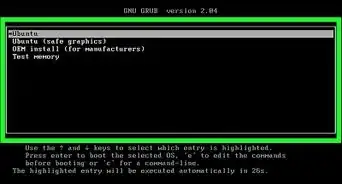
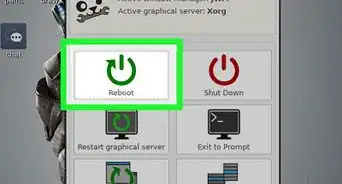
10Restart your system. When the bootscreen appears, repeatedly press F12, then select from the menu Boot From USB.


Advertisement

About This Article
Advertisement