X
wikiHow is a “wiki,” similar to Wikipedia, which means that many of our articles are co-written by multiple authors. To create this article, volunteer authors worked to edit and improve it over time.
This article has been viewed 21,823 times.
Learn more...
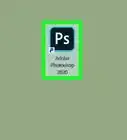
If you're looking to design some professional and impressive graphics or documents, Photoshop can be a great tool. Unlike some simpler software programs, it gives you the option to orient, rotate, distort, and skew text with different effects. Though there are several Photoshop versions available in the market, from CS4 to CS6, CC Suite, or Lightroom, the interface is basically the same. Creating simple 3D text using any of these Photoshop programs is easy.
Steps
Part 1
Part 1 of 3:
Creating a New Image File
-
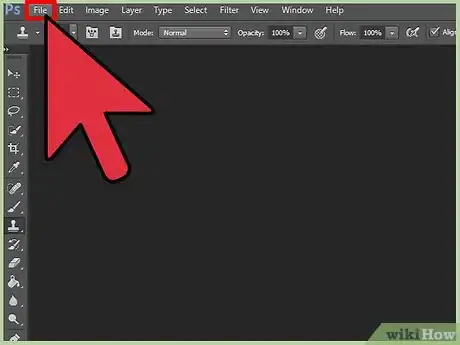
1Go to the “File” button at the top left side of the screen. A drop-down menu will open with several options.
-
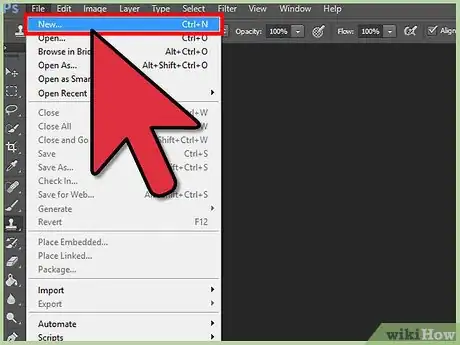
2Click “New” from the options. For a quicker way, you can also open a new image by clicking Ctrl + N (Windows) or Cmd + N (Mac). A pop-up will appear with several options you can configure for your new Photoshop file.
- Enter the name of your new Photoshop file into the Name field.
- Set the image size to 300 pixels. This will improve the quality of the image when printed.
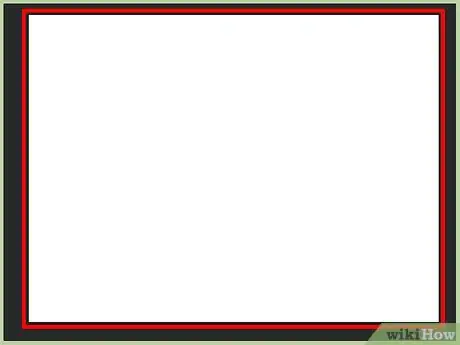
- The default image is usually a white background, but if you want a transparent background, check the round circle beside the “Transparent” option. This will save the file as PNG automatically. A transparent background is great for many reasons: flexibility on the use of the 3D text and ability to overlap layers on top of one another, to name a few.
- Once you’re done configuring the New Image settings, click “OK.”
Advertisement -
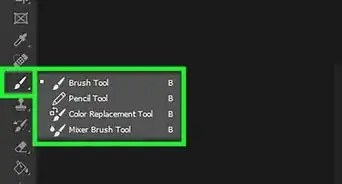
3Change the background color. If you opted to use the default white background color, you can change it now. To do this, click the paint bucket (Paint) icon in the toolbar at the left. Change the color of the first box between two square boxes present at the bottom left side of the toolbar by clicking on it and selecting the preferred color. Now drag the paint bucket and click any area on the white image. The document will be filled with the color you have chosen.
-
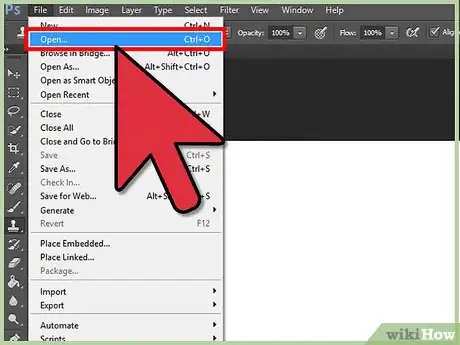
4Open an image (optional). In case you want to place the 3D text on a specific image, you should load the image into Photoshop first. To do this, again go to “File” and click the “Open” option from drop-down menu. A file browser will open; navigate through your folders to the image file you want to use. When you find the image, click on it and click “OK” to open it in Photoshop.
Advertisement
Part 2
Part 2 of 3:
Inputting the Text to be Transformed into 3D
-
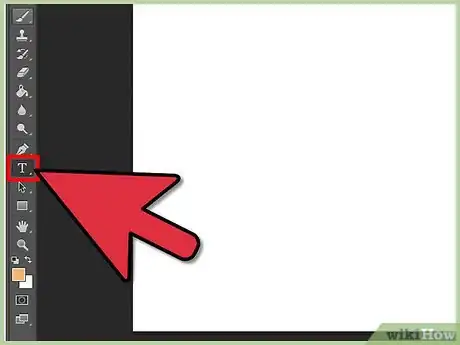
1Select the Text tool. After creating a new image file or loading an image, go to toolbar at the left. Click the “T” icon, which is the Text tool. After clicking this tool, the toolbar at the top of the screen will change to display the different Text Options.
-
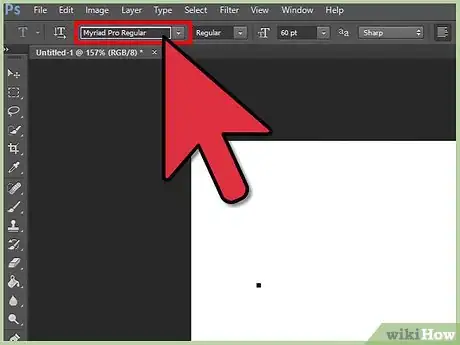
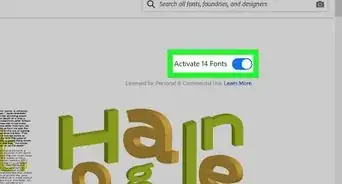
2Choose the font. Next thing you need to do is select the font to use for your 3D text. After selecting the Text tool, go to the top of the screen to the Text Options toolbar. Click the the arrow beside the rectangular box next to the “T” icon, and select a font from the list that drops down.
- 3D effects usually works best with big thick font.
- You can also opt to have your texts in bold or italics by selecting the option next to the font styles box.
-
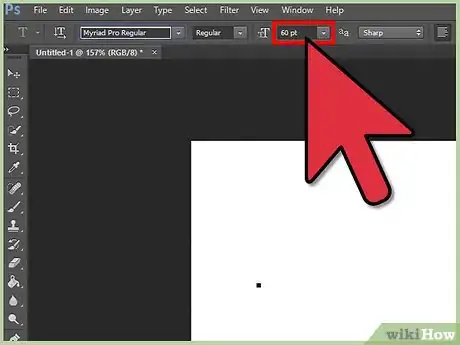
3Change the font size. Click the down arrow button beside the box with the numbers on it in the Text Options toolbar. You will have a set of options from “6” to “72” as font size in the drop-down menu. Click on a size you want to use.
-
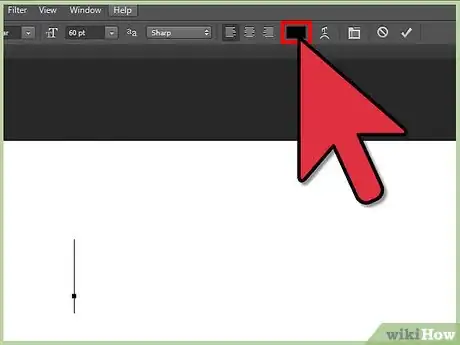
4Change the font color. In the Text Options toolbar, you’ll find a box with the default color used for the text, usually black. Click this to open the color picker window. Click on the color you want to use for your text, and click “OK.” The color in the box at the top will change to your selected color.
-
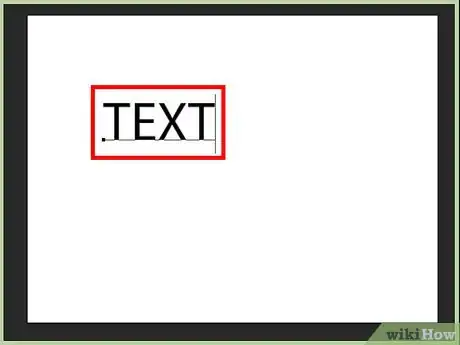
5Add the text to the image. Click an area on the image where you want your text to appear. A blinking text icon will appear. Type in the text you want to create into 3D. The text will appear in 2D in the font style, size, and color you selected earlier.
- If the text appears too large or too small, highlight it and go to the Text Options toolbar, then increase or decrease the font size accordingly.
- After you’re satisfied with your 2D text, go to the Text Options bar and click on the check mark towards the right of the text color box. The text will be accepted, and you will come out of editing mode.
Advertisement
Part 3
Part 3 of 3:
Transforming the Text to 3D
-
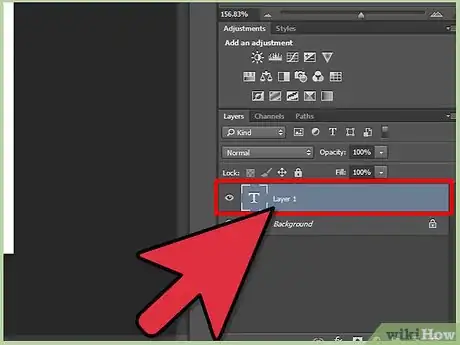
1Check and make sure that the text layer is selected. Go to the bottom right side of the screen to find the layers palette. From the layers palette, click the “Layers” option. You can see the text layer placed above the “Background layer.” This text layer helps us to edit the text independently without effecting the background layer.
- If the text layer is not above the Background layer, click, hold, and drag it above the Background layer.
-
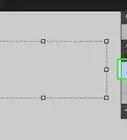
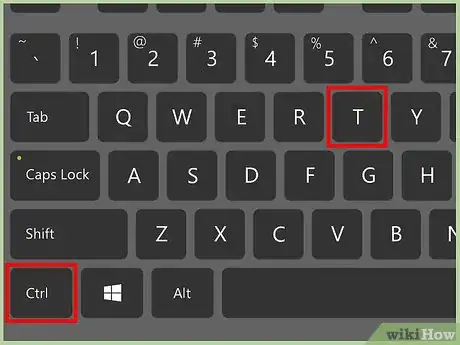
2Transform the text. If you want to change the size, orientation, and distortion of the text, you should use the “Free Transform” command. To do this, click “Edit” at the top of the screen, and from the drop-down menu, select “Free Transform.” The keyboard shortcut to do this is Ctrl + T (Windows) and Cmd + T (Mac).
- A transform box will appear around the text in the image. To distort the text image size, click the corner handles of the box and drag it diagonally to the size you want. Depending on how you dragged the box, this will elongate or flatten your text. If you don’t want the text to be distorted, hold down the Shift key before dragging.
- To rotate the text, hold the left mouse button and click on the arrow type handle that appears at the top of the text.
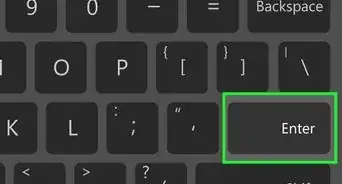
- After transforming, click “Enter” on the keyboard for Windows and “Return” for Mac to apply the transformation, and to come out of the Free Transform mode.
-
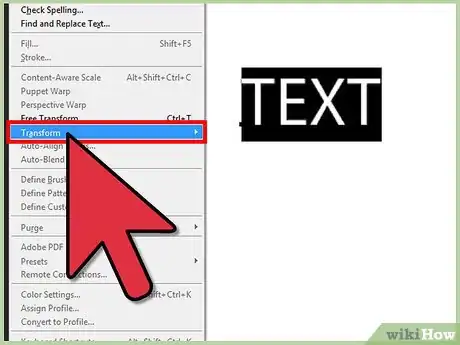
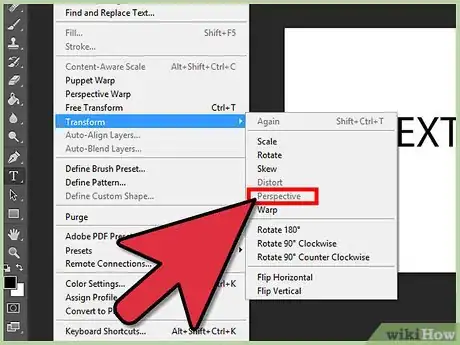
3Convert the text to shape. One can’t simply create a 3D effect with a 2D text. Before proceeding, you need to change the perspective of text. Select the text layer from the layers palette then click “Edit” at the top. Select “Transform” from the options, and a drop-down menu will appear with various transformation options. You will see that “Distort” and “Perspective” is grayed out. This means that you can’t perform these actions on the text right now.
- To enable this option, you should convert the text layer to a shape layer. Once it has been converted, you can change the perspective. Before you convert the layer, make sure that the text is edited to your preference since once you convert the layer, you will no longer be able to edit the text.
- Go to the “Layer” menu at the top of the screen. Click “Type” from the drop-down menu. From the submenu options, select “Convert to Shape.” The text layer will now be displayed as a shape layer in the layers palette.
-
4Apply the perspective. Go to the “Edit” menu and select “Transform.” The “Transform” command now appears as “Transform Path.” This is because the text layer is now a shape layer. Click on it, and choose “Perspective” from the secondary menu.
- A transformation box with corner handles will appear around the text. To give it a perspective look, drag the right bottom corner handle down and the right top corner handle up. The height of the text will change, giving it a perspective look. You can also do it vice versa, by dragging the left side corners or the top corners and the bottom corners.
- When the perspective has been changed to your preference, click “Enter” or “Return” to set the changes.
-
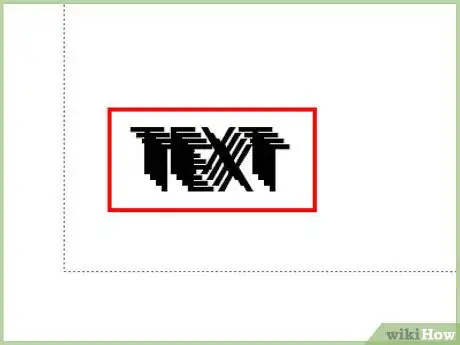
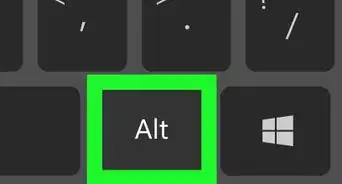
5Make multiple copies. Select the shape layer in the layers palette, go to the toolbar at the left, and select the “Move” tool (arrow and junction icon). Hold the Alt key (Windows) or Option key (Mac), and press the right arrow key on keyboard. Press it as many times as you want. One press will give you a new copy of the shape layer in the palette, each layer moving one pixel to the bottom right. If you want it on the left side, press the left arrow instead. Keep pressing the arrow till you reach the required depth of the perspective.
-
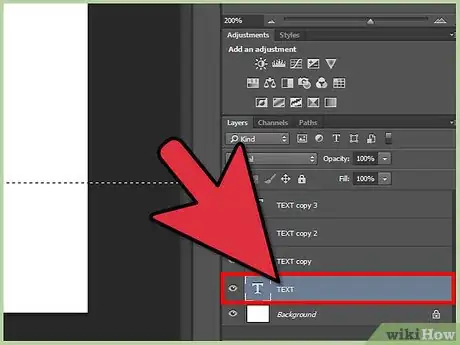
6Move the original layer to the top. After creating multiple copies, go back to the layers palette. Select the original layer, which is present right above the Background layer; it doesn’t have the word “Copy” in its name. Click Ctrl + Shift + ] for Windows and Cmd + Shift + ] for Mac. This will take the original layer to the top of the layer stack.
-
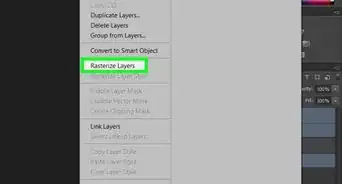
7Merge the copies. To merge all the copies into a single layer, keep the Shift (or Option) key pressed down and click on each layer. This will select all the layers; notice that they are all highlighted blue in the layers palette.
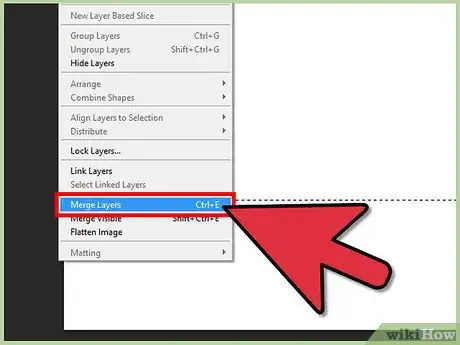
- Go to “Layers” menu at the top, and click “Merge Layers.” You can also press Ctrl (or Cmd) + E. All the copies will be merged as a single layer, with Background layer at the bottom and original layer at the top.
-
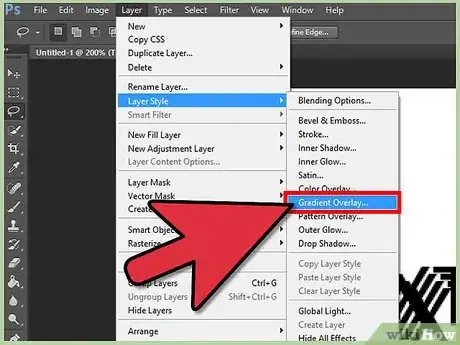
8Add gradient. To give the text a real 3D effect, select the merged layer from the layers palette then go to “Layer Styles” at the bottom, shown as an “fx” icon. Choose “Gradient Overlay” from the options that are available. A layer style dialogue box will appear.
- Click the color swatch beside “Gradient.” You will see a set of gradients to choose from. Select a gradient color, and make sure that the style below the gradient is “Linear” and the rotation angle is set to “90.”
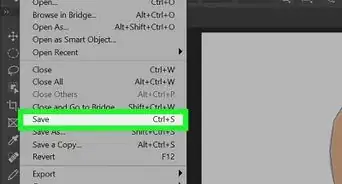
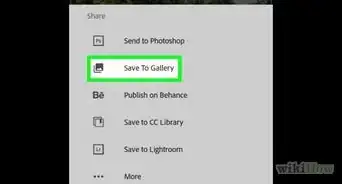
- Click “OK” to set the option on your 3D text. You can now save your 3D text image (Ctrl or Cmd + S) so you won’t lose your work.
Advertisement
About This Article
Advertisement
-Step-9-Version-2.webp)


