X
wikiHow is a “wiki,” similar to Wikipedia, which means that many of our articles are co-written by multiple authors. To create this article, volunteer authors worked to edit and improve it over time.
This article has been viewed 34,812 times.
Learn more...
If you bought a new speaker for your car that isn't the factory model, it may not fit into the door panel. But don't worry, you can make it work! We'll show you how to create a custom speaker enclosure that fits seamlessly into your car door panel.
Steps
-
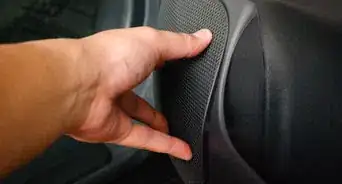
1Take out the old speaker. You will have to pry it free of the door panel, then cut the connecting wires.
-
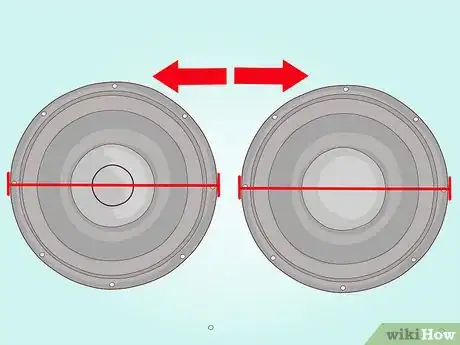
2Measure the depth of your new speaker and the depth of the car's speaker space. Calculate the difference between the 2 measurements.Advertisement
-
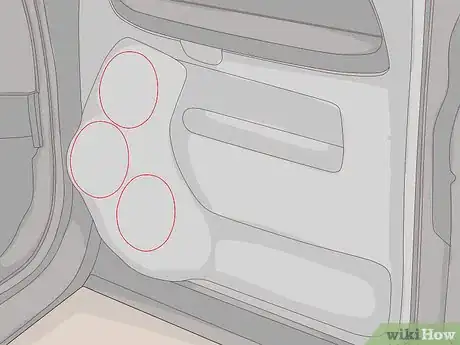
3Determine where on your door you want your new speaker enclosure to be (usually the lower quarter portion of the door).
-
4Construct 2 templates to use for your speaker enclosure construction.
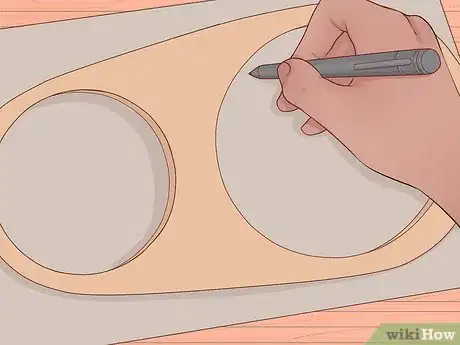
- Cut a piece of poster board to the entire width of the door panel. This is your base template.
- Cut a piece of poster board to the size and shape of the portion of the door panel you want to install the speaker in. This is the upper template.
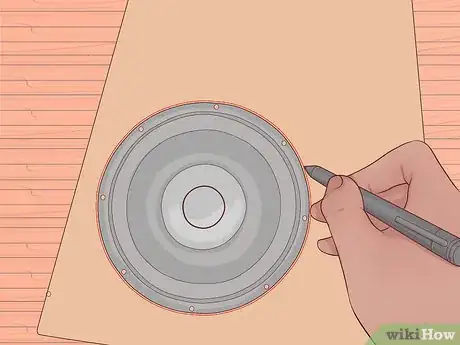
- Trace around the speaker on the upper template where you want the speaker to be located and cut out that hole.
-
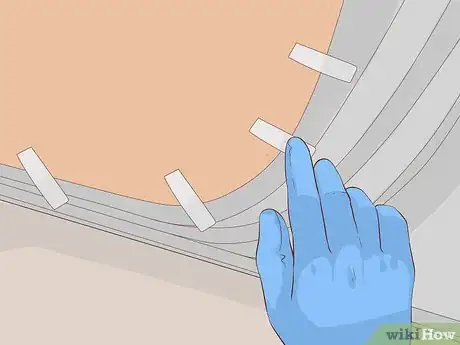
5Tape the templates to the door panel and inspect to make sure the speaker hole is not obstructed by any trim or factory mechanisms. You may need to adjust the positioning of the upper template to ensure there are no obstructions.
-
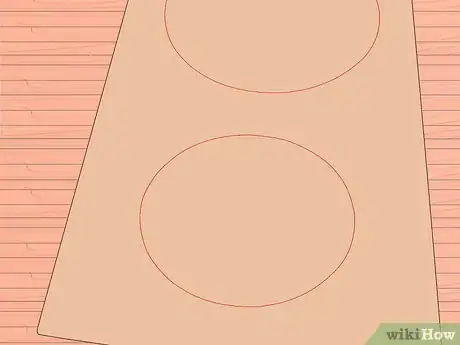
6Trace the speaker hole from the upper template onto the lower template.
-
7Remove the templates and set aside.
-
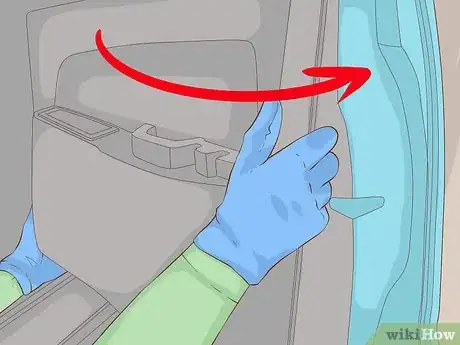
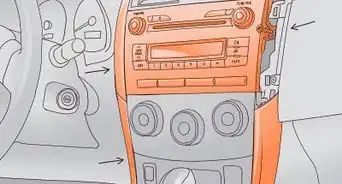
8Remove the door panel. You will have to remove all of the trim and door hardware first, then pry the door panel free.
-
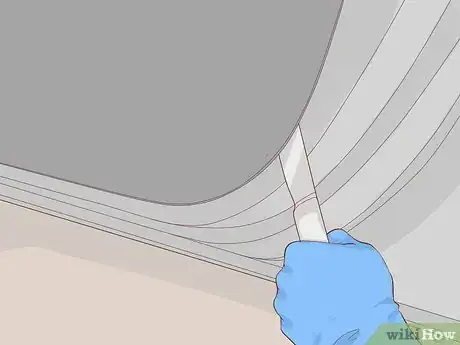
9Use a scalpel to cut out the plastic sheet that covers the inside of the door.
-
10Create the speaker pod for your door panel speaker.
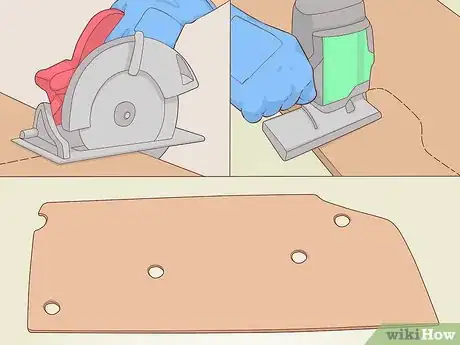
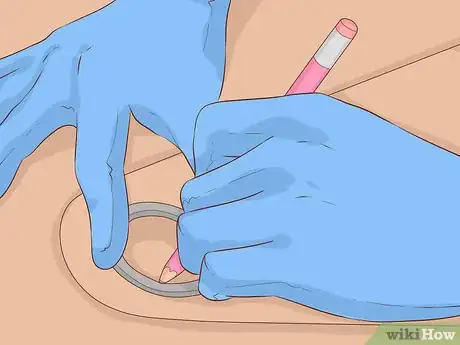
- Trace the templates onto 2 separate pieces of medium density fiberboard.
- Cut out the templates using a jigsaw.
- Screw the 2 boards together, but do not sink the screws entirely. You now have the basis for your door panel assembly, called a speaker pod.
-
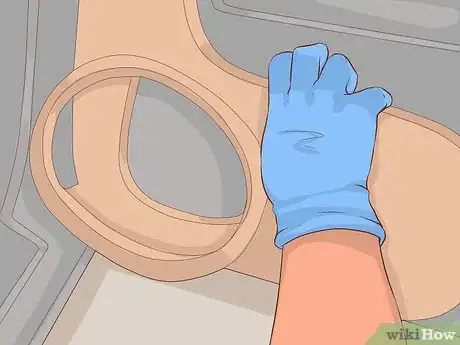
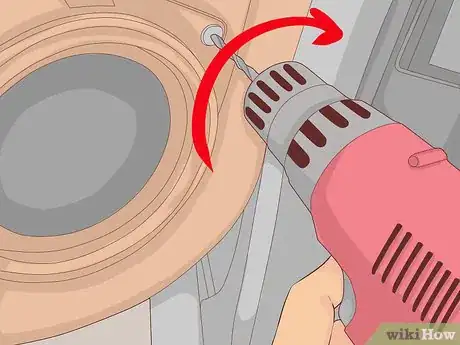
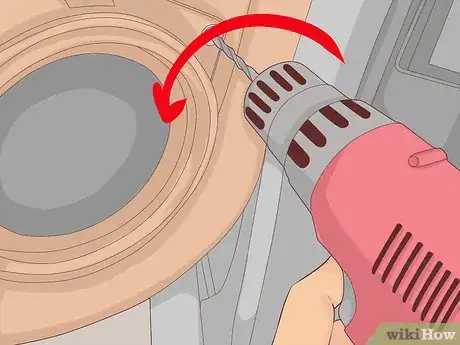
11Place the speaker pod onto the front of the door panel and finish drilling the screws so they sink completely, catching the door panel to hold the pod in place.
-
12Test the new speaker enclosure door panel to make sure it fits in your car.
- Mount the door panel, speaker pod attached, in its place on the door.
- Open and close the door to make sure nothing catches.
-
13Remove the door panel again and separate it from the speaker pod.
-
14Use the speaker pod template to trace the speaker placement onto the door panel, and cut out any part of the door panel that is necessary for the accommodation of the new speaker.
-
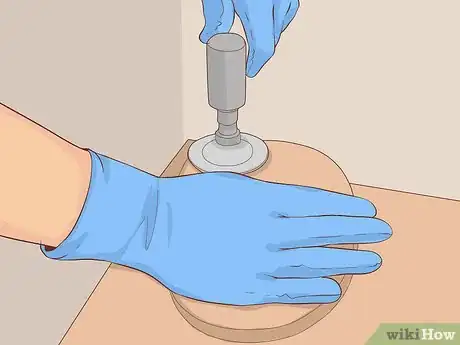
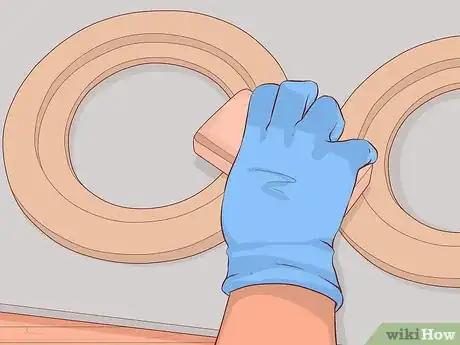
15Sand all of the rough edges of the speaker pod to ensure professional-looking speaker enclosure construction. Your speaker pod should appear to be made of 1 piece, rather than 2.
-
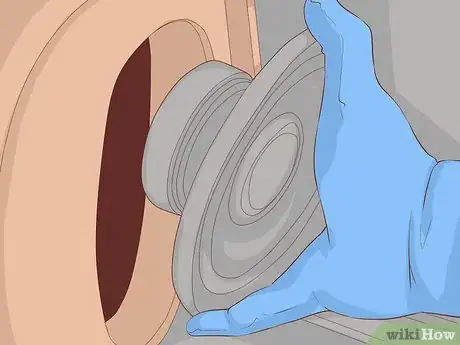
16Insert the speaker into the speaker enclosure to make sure it fits. Sand the speaker hole down, if need be.
-
17Create the speaker grille.
- Trace the upper-template face of the speaker pod onto a piece of Masonite.
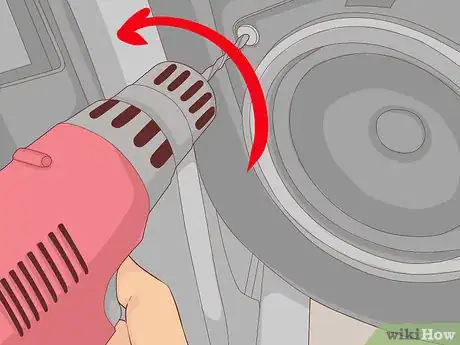
- Drill 20 small holes into the Masonite where the speaker will be.
- Sand the drill holes so there is no excess Masonite on the surface, left by the drilling process.
- Spray the Masonite liberally with spray glue.
- Wrap the Masonite with black grille cloth.
-
18Cover the speaker enclosure.
- Cut a piece of foam rubber padding and a piece of vinyl to a size that is slightly larger than entire speaker pod you created.
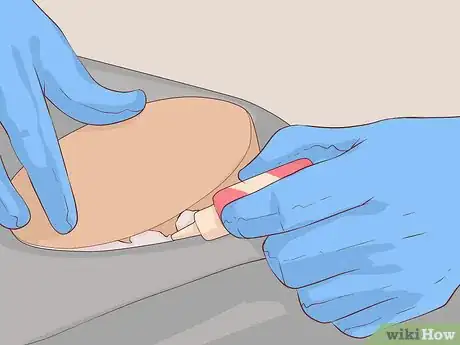
- Spray the speaker pod liberally with spray glue.
- Wrap the padding over the top of the pod, leaving about 1 inch (2.54 cm) excess around the entire back edge.
- Spray the padding with spray glue, then wrap the pod tightly with the vinyl piece, also leaving about 1 inch (2.54 cm) excess around the back edge.
- Pull the vinyl over the back and edge staple into place with a staple gun.
- Trim any excess padding or vinyl with scissors and cut a hole for the speaker.
-
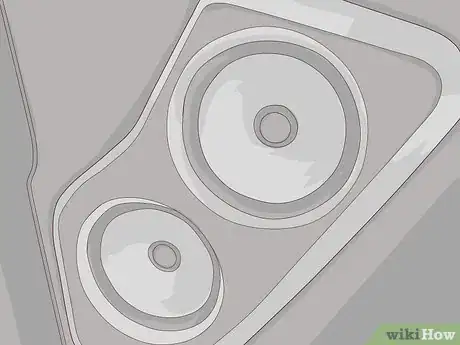
19Attach the speaker grille to the new door panel using Velcro. The speaker enclosure construction is now finished. You may install the speaker and reattach the door panel.
Advertisement
Things You'll Need
- Tape measure
- Poster board
- Pencil
- Scissors
- Tape
- Scalpel
- Medium density fiberboard
- Drill
- Screws
- Sander
- Spray glue
- Foam rubber padding
- Vinyl
- Staple gun
- Velcro
About This Article
Advertisement
