This article was co-authored by James Sears. James Sears leads the customer happiness team at Neatly, a group of cleaning gurus based in Los Angeles and Orange County, California. James and the team have nine years of experience and offer green cleaning, interior and exterior window washing, and general apartment cleaning services. He provides transformative cleaning experiences by reducing clutter and renewing your home environment. James is a Trustee Scholar at the University of Southern California.
There are 9 references cited in this article, which can be found at the bottom of the page.
This article has been viewed 106,281 times.
With a Keurig coffee maker, brewing a steaming cup of joe has never been easier. But how easy are they to clean? While some parts of a Keurig can be disassembled and run through the dishwasher, other components, like the removable water reservoir, need to be cleaned by hand. The good news is that this process is quick and painless. You can gently scrub your Keurig’s water reservoir with warm soapy water for routine cleanings, or run it through a few brewing cycles using diluted white vinegar for a more thorough descaling.
Steps
Washing the Water Reservoir by Hand
-
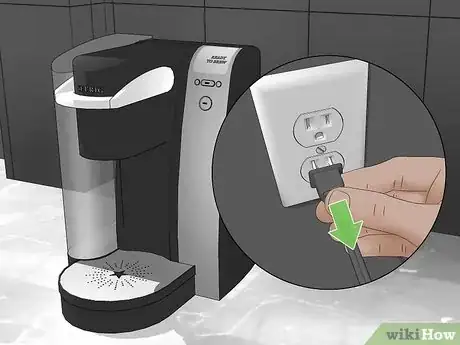
1Turn off the Keurig. Before you begin cleaning, make sure your Keurig is shut off and unplugged.[1] You’ll be using a lot of water in and around the unit, so you’ll want to safeguard the electrical components. If there’s a K-cup pod in the brewing chamber, take it out and dispose of it.[2]
- You can turn off your Keurig by flipping the on/off switch on the back of older models, or pressing and holding the power button on newer touch-screen models.[3]
- Wait until the display and power light are completely off before proceeding.
-
2Remove and empty the water reservoir.[4] Lift the reservoir tank straight off of its base, then pry off the lid and set it aside. Dump the old water out into the sink. Shake out as much excess moisture as you can.[5]
- You should get in the habit of changing the water in your Keurig’s reservoir daily, even when it’s between cleanings.
Advertisement -
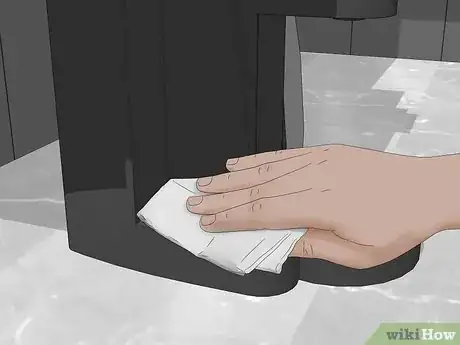
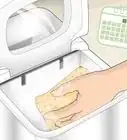
3Wipe the base clean with a damp cloth.[6] Once you’ve detached the reservoir itself, quickly spot-clean the area of the unit where it rests. There may be hard water stains or coffee grounds built up on the base. These will get worse with time if left untreated.[7]
- While you’re at look, look for other parts of the machine that could use a wipe down, like the spout, mug tray or the area around the brewing chamber.[8]
- You can clean most of the exterior of the Keurig by simply wiping it down with warm water.
-
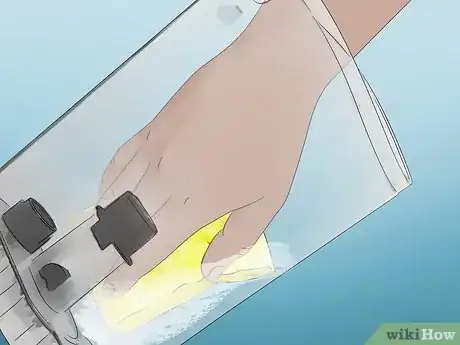
4Scrub the inside of the reservoir with warm, soapy water. Add a small amount of a mild liquid detergent to a sink full of warm water and stir it by hand. Submerge the reservoir in the soap solution and gently go over the interior with a sponge or clean cloth. Concentrate on the small port and mesh screen at the bottom of the reservoir where the buildup is likely to be heaviest.[9]
- For especially heavy stains or buildup, allow the reservoir to soak in the soap solution for 10-15 minutes before scrubbing.
- Don’t forget to go over the underside of the lid as well.
EXPERT TIPBridgett Price is a Cleaning Guru and Co-Owner of Maideasy, a maid service company that services the Phoenix, Arizona metropolitan area. She holds a Master of Management from the University of Phoenix, specializing in digital and traditional marketing.House Cleaning Professional
 Bridgett Price
House Cleaning ProfessionalOur Expert Agrees: Once you take all of the parts out, you can clean them with soap and water, and use a scrubber with a handle to access any tight areas. You also want to make sure the tubes are completely cleaned.
-
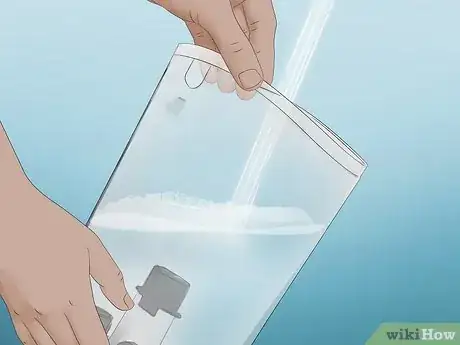
5Rinse the water reservoir thoroughly. Run fresh, hot water over the reservoir inside and out. Direct the stream over the port and screen for several seconds to make sure they’re sufficiently clear. Completely drain the reservoir of water when you’re done rinsing.[10]
- Be sure to rinse off any lingering traces of soap, or it could create a film on the plastic surface and affect the flavor of the coffee.
-
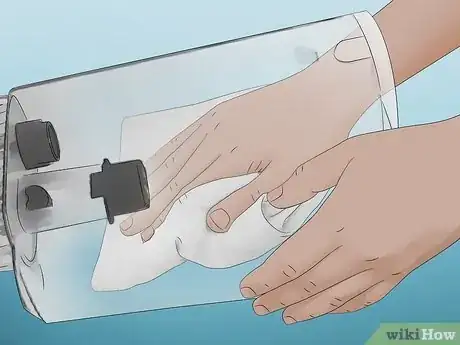
6Dry the reservoir with a clean, soft towel. A microfiber towel or absorbent chamois will provide the best results. You can also set the reservoir upside and leave it to air dry completely for a few hours. Once it’s dry, return the reservoir to its base, replace the lid and enjoy your next cup of coffee![11]
- Be sure to leave the lid off of the reservoir while it’s air drying to prevent moisture from becoming trapped inside.
- Drying the reservoir with a paper towel or ordinary cloth could leave behind small fibers that can then find their way into your coffee.
Descaling Your Keurig
-
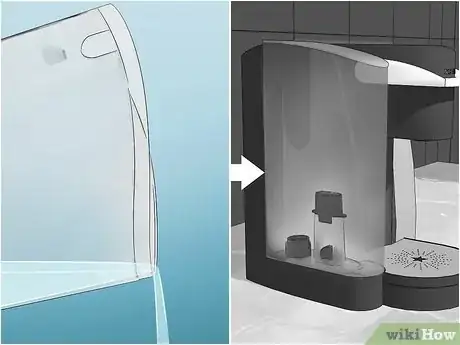
1Clear out the water reservoir.[12] If you use your Keurig very frequently and it hasn’t been cleaned in a long time, it may be in need of a total descaling. Start by pouring any remaining water out of the reservoir and returning it to the base empty. From here, you’ll be using the reservoir to disperse a special homemade cleaning solution through the machine.[13]
- ”Scale” refers to the natural mineral deposits from water that accumulate on surfaces over time.[14]
- If you decide to descale your Keurig, be sure to clean the water reservoir separately once you’re finished.
-
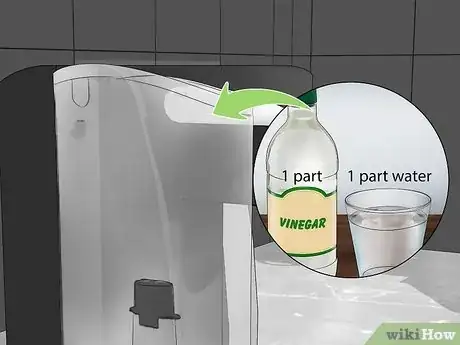
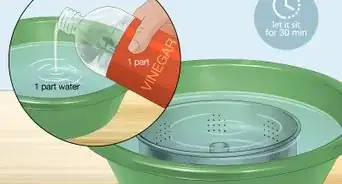
2Fill the reservoir with equal parts water and distilled white vinegar.[15] Ordinary white vinegar can be used to safely descale your Keurig without the need for harsh chemicals. Run a few ounces of cool water in with the vinegar to dilute it. Fill the reservoir about two thirds of the way full.[16]
- Vinegar is an excellent natural cleaning agent. It’s mild, non-toxic and rinses away easily, leaving your coffee maker clean and sanitized.[17]
- When the brew cycle is activated, the vinegar mixture will be pulled through the water line and spout of the machine, eliminating buildup from the inside.
-
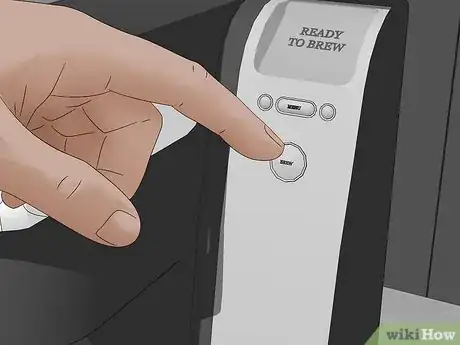
3Run a few brew cycles with the hot vinegar solution.[18] The acidity of the vinegar will help dissolve calcium deposits and hard water stains inside the machine. Use a large mug or another container to catch the hot contents as it emerges from the spout. Continue cycling the vinegar solution until nothing is left in the reservoir.[19]
-
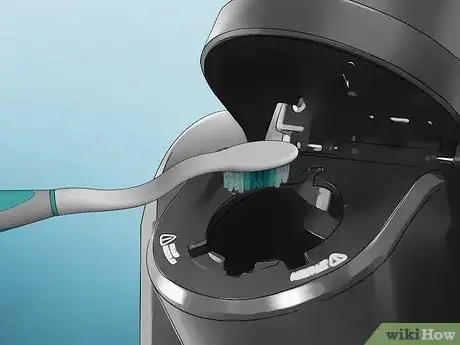
4Spot clean other areas as needed.[22] Some parts of the Keurig, such as the spout and brewing chamber, may be accessible to clean by hand. If there’s any mineral buildup remaining in these areas, you can scrub them with an unused toothbrush or the corner of a sponge.[23]
- Detail small holes and crevices, such as the grooves around the K-cup compartment, with a toothpick or paperclip.[24]
-
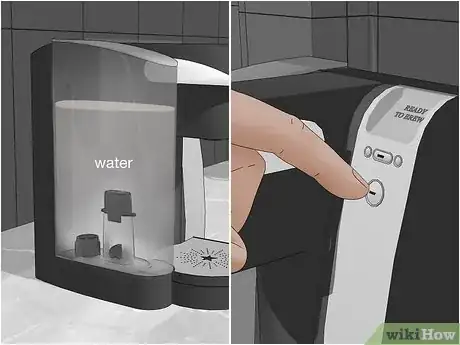
5Perform repeated brew cycles with only water.[25] Empty the reservoir and fill it back up with fresh or distilled water. Run the two or three more cycles to ensure that all the vinegar has been rinsed out. Keep running the Keurig until the water is completely clean and odorless.[26]
- You may need to drain and refill the reservoir a couple of times before the lingering notes of vinegar are fully dissipated.[27]
- If your Keurig is especially dirty, it may be a good idea to let the vinegar solution sit in the machine for 20-30 minutes before rinsing it out.
Community Q&A
-
QuestionHow do I get the reservoir off?
 HoldencaulfieldCommunity AnswerIf you pull straight up from both sides of the plastic reservoir, it should effortlessly detach from the device.
 -
QuestionReservoir tank will not come out, what do I do?
 HoldencaulfieldCommunity AnswerIf you pull straight up from both sides of the plastic reservoir, it should detach from the device effortlessly. Try cleaning any dirt that may have built up in the event that you have not removed the reservoir prior to this attempt.
 -
QuestionDo I take the filter out of the reservoir before cleaning?
 MicheleTop AnswererYes. The filter should be removed and cleaned separately, but it won't hurt anything if you leave it in.
Warnings
- Although some components of your Keurig may be labeled as dishwasher safe, exposure to intense heat can cause plastic parts to become cloudy or even partially warp or melt.⧼thumbs_response⧽
- Avoid using harsh chemical cleansers to sanitize your Keurig. Not only will these ruin the flavor of your coffee, they can be hard to get rid of and may be harmful to ingest, even in small amounts.⧼thumbs_response⧽
Things You'll Need
- Soft cloth or sponge
- Mild liquid dish soap
- Hot water
- Distilled white vinegar
- Microfiber towel or chamois
- Bottle brush or unused toothbrush
- Toothpick, paperclip or pipe cleaner (optional)
References
- ↑ James Sears. House Cleaning Professional. Expert Interview. 28 August 2019.
- ↑ https://www.kitchensanity.com/coffee/how-to-clean-a-keurig/
- ↑ https://www.youtube.com/watch?v=-prGzSJk5LY
- ↑ James Sears. House Cleaning Professional. Expert Interview. 28 August 2019.
- ↑ https://www.youtube.com/watch?v=-prGzSJk5LY
- ↑ James Sears. House Cleaning Professional. Expert Interview. 28 August 2019.
- ↑ http://www.thekitchn.com/how-to-clean-a-keurig-cooking-lessons-from-the-kitchn-218103
- ↑ http://www.today.com/series/how-often-should-you/how-often-you-should-clean-your-keurig-right-way-do-t97986
- ↑ http://www.today.com/series/how-often-should-you/how-often-you-should-clean-your-keurig-right-way-do-t97986
- ↑ https://www.youtube.com/watch?v=-prGzSJk5LY
- ↑ http://www.today.com/series/how-often-should-you/how-often-you-should-clean-your-keurig-right-way-do-t97986
- ↑ James Sears. House Cleaning Professional. Expert Interview. 28 August 2019.
- ↑ http://www.keurig.com/descale-instructions
- ↑ http://resources.urnex.com/blog/whats-the-difference-between-descaling-and-cleaning-a-coffee-maker
- ↑ James Sears. House Cleaning Professional. Expert Interview. 28 August 2019.
- ↑ https://delishably.com/cooking-equipment/CleanAndCareForAKeurig
- ↑ https://www.kitchensanity.com/coffee/how-to-clean-a-keurig/
- ↑ James Sears. House Cleaning Professional. Expert Interview. 28 August 2019.
- ↑ http://www.thekitchn.com/how-to-clean-a-keurig-cooking-lessons-from-the-kitchn-218103
- ↑ https://delishably.com/cooking-equipment/CleanAndCareForAKeurig
- ↑ http://www.keurig.com/descale-instructions
- ↑ James Sears. House Cleaning Professional. Expert Interview. 28 August 2019.
- ↑ http://lifehacker.com/5923457/clean-your-keurig-coffee-maker-with-vinegar-and-a-toothbrush
- ↑ https://www.kitchensanity.com/coffee/how-to-clean-a-keurig/
- ↑ James Sears. House Cleaning Professional. Expert Interview. 28 August 2019.
- ↑ http://www.thekitchn.com/how-to-clean-a-keurig-cooking-lessons-from-the-kitchn-218103
- ↑ http://www.keurig.com/descale-instructions
- ↑ James Sears. House Cleaning Professional. Expert Interview. 28 August 2019.
About This Article
While some parts of your Keurig can be disassembled and run through the dishwasher, other components, like the removable water reservoir, need to be cleaned by hand. Before you begin cleaning, make sure your Keurig is shut off and unplugged. Lift the reservoir tank straight off of its base, then pry off the lid and set it aside. Dump the old water out into the sink, and shake out as much excess moisture as you can. Once you’ve detached the reservoir, wipe the base clean with a damp cloth. You can then scrub the inside of the reservoir with warm, soapy water. For heavy stains or buildup, let the reservoir soak in the soapy solution for 10 to 15 minutes before scrubbing. When you’re done cleaning, rinse the reservoir thoroughly with hot water and completely drain it of water when you’re done. Finally, dry the water reservoir with a clean, soft towel or leave it to air dry for a few hours before returning it to the base, replacing the lid, and enjoying a cup of coffee. To learn how to descale your Keurig, keep reading!
