This article was co-authored by Andrii Gurskyi and by wikiHow staff writer, Caroline Heiderscheit. Andrii Gurskyi is the owner and founder of Rainbow Cleaning Service, a New York City cleaning company specializing in apartments, homes, and moving cleanup using non-toxic and artificial fragrance free cleaning solutions. Founded in 2010, Andrii and Rainbow Cleaning Service has served over 35,000 customers.
There are 7 references cited in this article, which can be found at the bottom of the page.
This article has been viewed 57,008 times.
Your countertop ice maker is convenient, easy to use, and makes for yummy drinks—but wait too long to clean it, and you could end up consuming dirty ice. In this article, we'll walk you through the simple cleaning process and explain how often to do it so your ice always tastes fresh and clean. If you're ready to rid your ice maker of dirt and grime, read on!
Things You Should Know
- Use dish soap to clean the scoop and basket.
- Scrub the rest of the machine with a vinegar or lemon juice and water solution.
- Clean your ice maker at least once every two months.
Steps
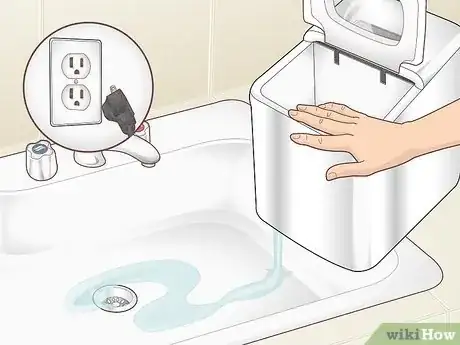
Unplug the ice maker and drain the reservoir.
-
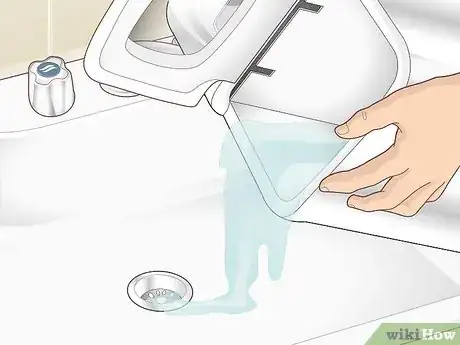
Prep the ice maker by unplugging it and dumping the water. Hold your ice maker over your sink, remove the latch (which is white on most models) on the back of the appliance, and let the water empty out from the reservoir.[1] X Research source
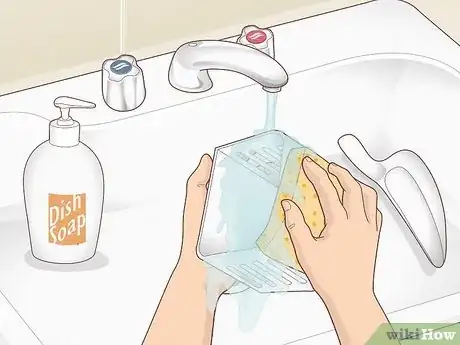
Clean the scoop and basket with dish soap.
-
Wash these 2 removable pieces separately from the ice maker. Mold and debris can build up all over your ice maker, not just in the main compartments. Give your ice maker’s scoop and basket a good scrub with dish soap, just like you would wash any other dirty dish. Use a sponge and gently scrub their surfaces.[2] X Research source
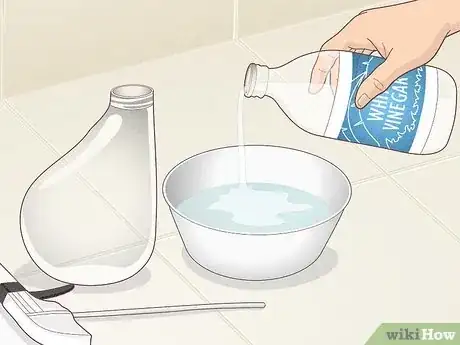
Mix equal parts water and vinegar in a bowl.
-
Use vinegar to make a safe, effective cleaning solution. Don't have vinegar to spare? That's okay! Lemon juice works as a replacement, and it should still follow the same 1:1 ratio. Mix your solution well in a cup or a bowl.[3] X Research source
- Vinegar is a natural and effective cleaning solution. If you clean with chemicals, they might end up in your ice.
- Vinegar can disinfect and descale. So not only can it remove bacteria, but it can also remove chalky buildup that becomes noticeable on metal appliances over time.
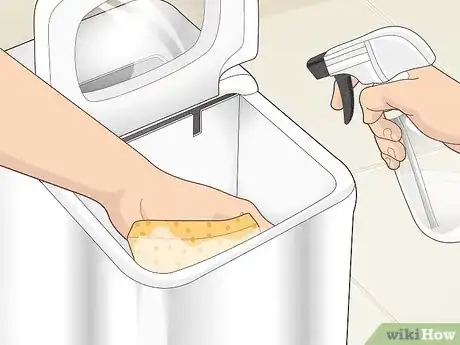
Scrub the ice maker with the vinegar solution.
-
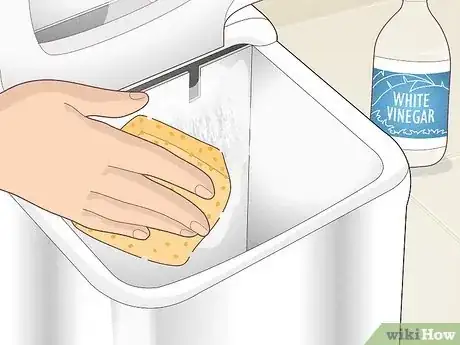
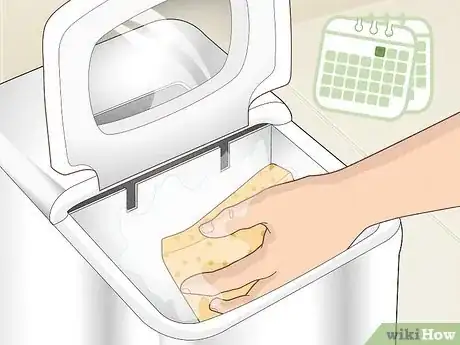
Spray the inside with your solution and scrub with a rag or sponge. Now, it’s finally time to get cleaning and descaling. Fill a spray bottle with your mixture. Using a clean rag or a soft scrub brush, clean the sides and bottom of the reservoir, the underside of the lid, and the remaining sections of the ice maker.[4] X Research source
- Do your best to hit all of the appliance's surfaces—anything that gets left uncleaned has the chance to build up grime for another 2 months.
Remove tough stains with undiluted vinegar.
-
Undiluted vinegar is strong enough to lift hard or stubborn grime. If you encounter a rough, dark patch or particularly stubborn stains, don’t use your DIY cleaning solution. Instead, dip your rag or sponge directly into the vinegar or lemon juice, and scrub away.[5] X Research source
Clean hard-to-reach spots with a toothbrush.
-
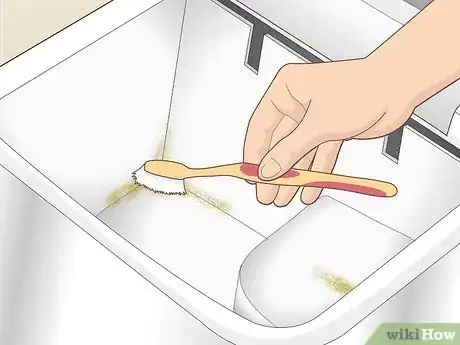
Scrub the ice maker's teeth with a toothbrush or Q-tip. You’ve already washed your main basket and reservoir with your rag, but it can be much harder to reach your countertop ice maker’s inner nooks and crannies—even though these can be the dirtiest parts of your appliance! Dip a clean toothbrush or q-tip into your solution. Use it to scrub hard-to-reach spots.
Make ice with the vinegar solution.
-
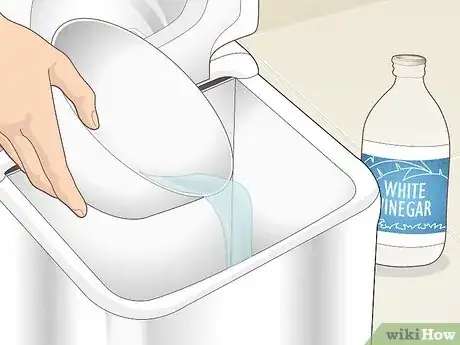
Fill the ice maker with the vinegar solution. If you don’t have much left, make more and then pour your new mixture in. Then, close the lid on your reservoir and press your machine’s “start” button (usually located on the front of your appliance).[6] X Research source
- Making ice fills the spaces most likely to have buildup, like the ice maker's teeth, with your solution.
- Once the ice is done, remove it from the machine.
Rinse out the ice maker with water.
-
After you rinse out the vinegar residue, you can make fresh ice. Now that you’ve managed to totally coat your machine in your cleaning solution, rinse it off again. Find a new clean rag and use plain water to give your ice machine another quick clean.[7] X Research source
- If you notice that you’re fresh batch of ice still tastes a little like vinegar or lemon, give it another, more thorough rinse and try again.
- Pro tip: filter the water for your ice in the future. This won’t just make for yummier ice, but it’ll also keep your ice maker from getting dirtier, faster.
Scrub your ice maker 6 times per year.
-
Do a deep-clean every 1-2 months to keep drinks safe and fresh. Mold, pests, dust, and dirt—debris of all kinds can affect the quality of your ice. Look out for green or black patches on your ice, because that’s a sure sign that it’s in need of a clean. But other dangers can be harder to spot, so to combat them, clean regularly—once every other month is perfect.[8] X Research source
- Among the dangers of a dirty ice maker are E-coli and norovirus. So it’s important to take your cleans seriously!
You Might Also Like


References
- ↑ https://youtu.be/jl47HiHi2ms?t=31
- ↑ https://coolrvers.com/3378/ice-maker-cleaning/
- ↑ https://ourprochef.com/how-to-clean-refrigerator-ice-maker-with-vinegar/
- ↑ https://ourprochef.com/how-to-clean-refrigerator-ice-maker-with-vinegar/
- ↑ https://www.realsimple.com/home-organizing/cleaning/cleaning-vinegar
- ↑ https://youtu.be/FXRM7cmt_qE?t=125
- ↑ https://applianceanalysts.com/clean-ice-maker/
- ↑ https://houseandbeyond.org/how-to-clean-ice-maker/
