This article was co-authored by wikiHow Staff. Our trained team of editors and researchers validate articles for accuracy and comprehensiveness. wikiHow's Content Management Team carefully monitors the work from our editorial staff to ensure that each article is backed by trusted research and meets our high quality standards.
There are 15 references cited in this article, which can be found at the bottom of the page.
This article has been viewed 138,769 times.
Learn more...
An air conditioning compressor creates cool air by circulating refrigerant through your AC unit. If your AC isn’t working, there’s a good chance that a faulty compressor could be the culprit. You can diagnose problems with your compressor by using a multimeter, or a device that can measure volts, amps, and ohms. Once you determine what the problem is, contact a heating and air specialist or an automotive mechanic to get the problem resolved.[1]
Steps
Inspecting a Home AC Compressor for Damage
-
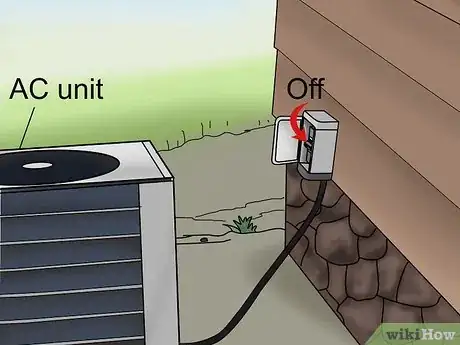
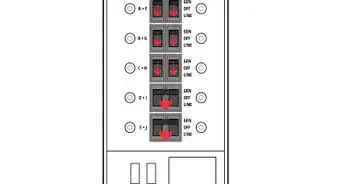
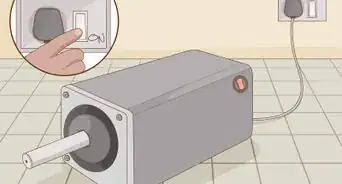
1Turn off the power leading to your air conditioning unit. It’s important that your power is off so that you don’t shock yourself when checking the compressor. Many central air units will have a power shutoff switch on the wall next to the unit. Find the switch and switch it to the off position.[2]
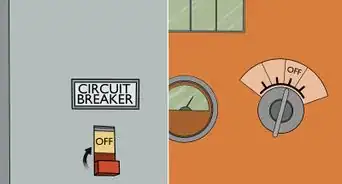
- If there is no switch, find the circuit breaker that controls the power to the area of the house where the AC unit is. Flip the circuit to the off position to turn off the power.
- You can unplug the AC to shut down the power if it’s a window unit.
-
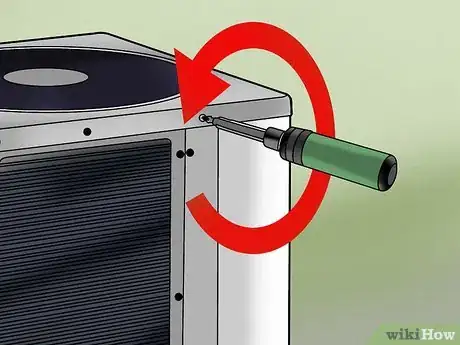
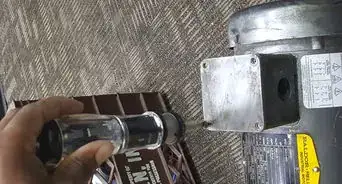
2Unscrew and remove the faceplates from your AC unit. To inspect the compressor, you’ll have to remove the faceplates of the unit to see the internal components. One side of the unit will have a faceplate that has ventilation holes and screws attaching it to the unit. Use a Phillips head screwdriver to remove the screws and place them in a safe place for later. Repeat the process on the top of the unit as well. Once all the screws are removed, you should be able to pop out the faceplates to reveal the inside of the unit.[3]Advertisement
-
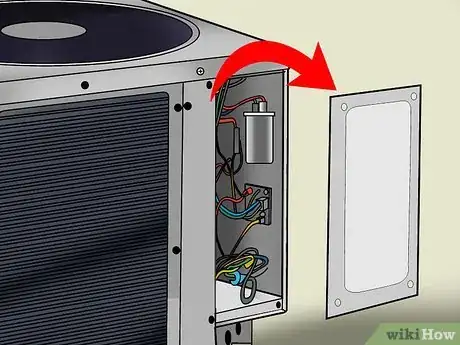
3Remove the electric access panel if you have one. Once you remove the faceplate, you’ll need to remove another panel to unveil the wiring of the AC unit. Use a screwdriver and loosen the screws on the access panel, just like you did AC the faceplates. Once they are removed, pop out the access panel to reveal the unit’s wiring.[4]
-
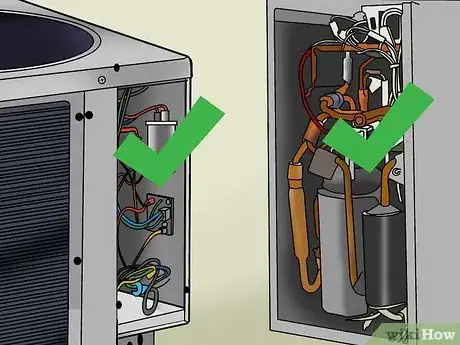
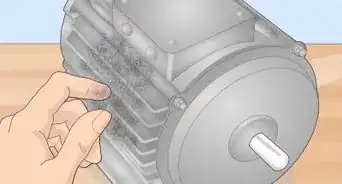
4Look for damage to the wires and compressor itself. The compressor will look like a cylindrical metal tank. Examine the compressor and make sure that none of the wires are frayed or damaged. If you do notice frayed or damaged wires running from the compressor, the wires are likely what’s causing it to fail. Take notice of the compressor itself. If there is visible damage to the compressor, you will most likely need to replace it.[5]
- If you need to repair your compressor’s wires, you should call a certified air and heating specialist to replace them. This will be cheaper than replacing the compressor itself.
-
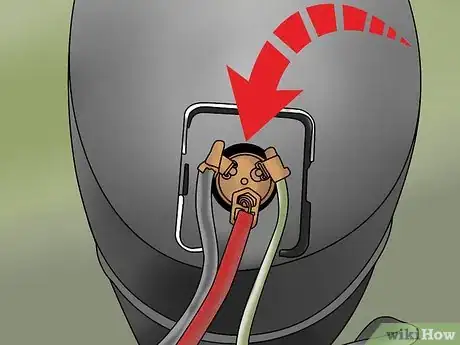
5Look for burnt or damaged terminals on the compressor. The terminals are the metal nodes that the wires connect to and are usually on the side of the compressor. Make sure that there are no burns or damage to the terminals. If there isn’t visible damage to the terminals or wires, you’ll have to test the terminals with a multimeter to make sure that they still can hold a current.[6]
Testing an Exposed Home AC Compressor
-
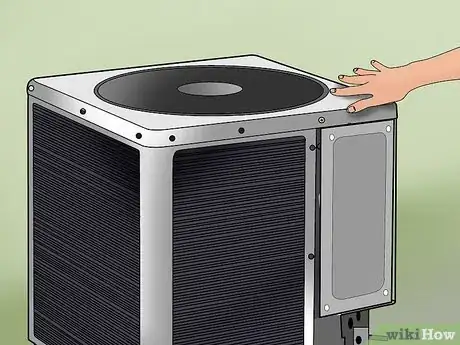
1Wait for the unit to cool down. Touch the top of the AC unit with the palm of your hand. If the unit is still warm, it may throw off your multimeter settings. Wait until the AC unit completely cools down before trying to test the voltages.[7]
- Remember to make sure that there isn’t any power running to the unit or you’ll shock yourself.
-
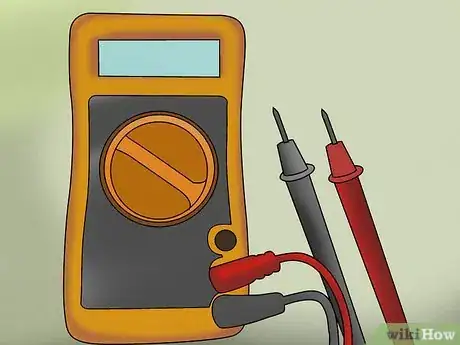
2Purchase a multimeter and set it to continuity. There should be a dial on the front of your multimeter. Set this dial to continuity so that you can test each individual terminal to determine where the fault is. Continuity tests whether there is an electrical flow between the terminals. If there is no flow, it’s likely that the terminal is broken or damaged.[8]
-
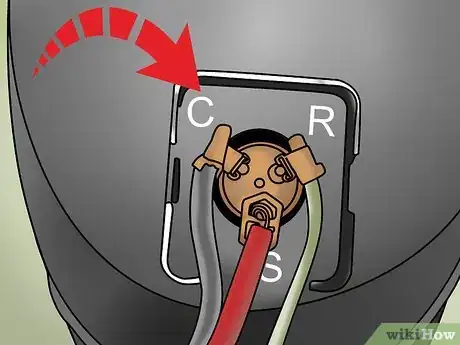
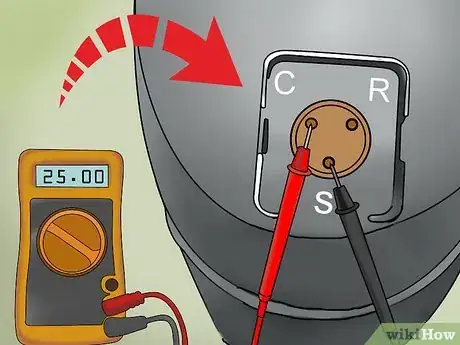
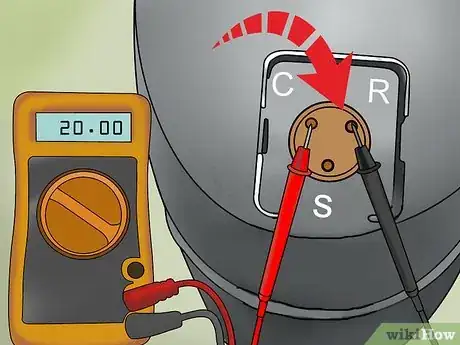
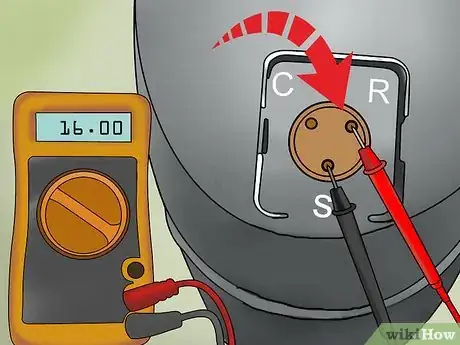
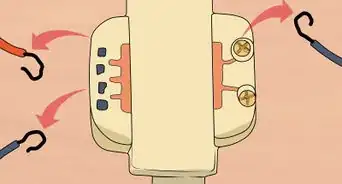
3Find the terminals marked C, R, and S. Your compressor should have three terminals on it or in the access panel. The terminals should be marked C, R, and S.[9]
- These letters stand for common, run, and start.
-
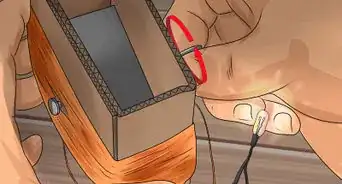
4Place the red pin on C and the black pin on S. Place the pins on the black and red wire from your multimeter onto the terminals. Once you place the pins on the terminals, your multimeter should have an ohm reading of less than 30. Anything significantly above this reading indicates that your compressor may be broken.[10]
-
5Place the red pin on C and the black pin on R. Repeat the process, this time checking the continuity between the common and run terminals. Again, the continuity should read under 30.[11]
-
6Put the red pin on R and the black pin on S. The final test is between the run and start terminals.The continuity between these terminals should be under 30.[12]
-
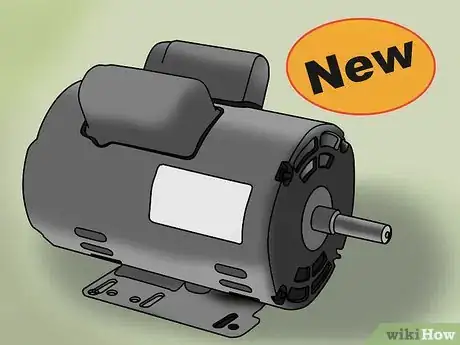
7Purchase a new compressor motor if your ohm readings are high. If your ohm readings are above 30, it means that your compressor motor is likely faulty and you’ll need to get it replaced. A heating and air specialist may be able to repair the broken compressor motor instead of having to buy an entirely new compressor.[13]
-
8Purchase an entirely new compressor if your ohm readings are low. If your ohm readings are near 0, it means that the connection between your terminals is faulty and you’ll need to get a replacement compressor. If you want to make sure that this is indeed the case, refer to a heating or air specialist to get a second opinion.[14]
Checking a Car’s AC Compressor
-
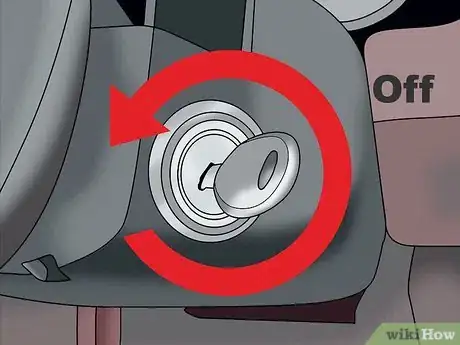
1Turn off your vehicle. Turn off the engine so that the moving parts under your hood are stationary. If your engine or internal parts are hot, wait for them to cool down before checking your compressor.
-
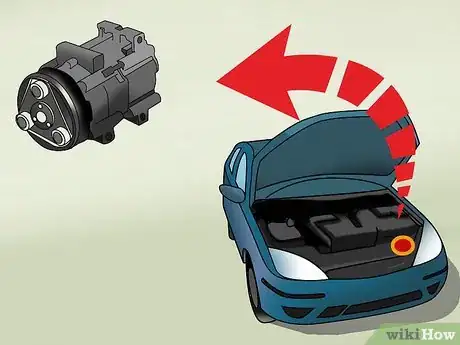
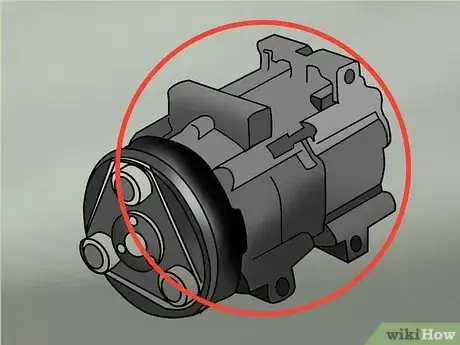
2Open the hood of your car and locate your AC compressor clutch. The compressor clutch will usually be located under your hood on the left side near the front of your car. It will look like a cylindrical metal piece with tubes and wires running from it.
-
3Examine the compressor for damage. Compressors are prone to rust on older vehicles. Check the compressor itself for holes or rust damage. You should also check the tubing and wires to make sure that they aren’t disconnected, frayed, or damaged. If they are, you can replace them more cheaply than it would cost to get an entirely new compressor.[15]
-
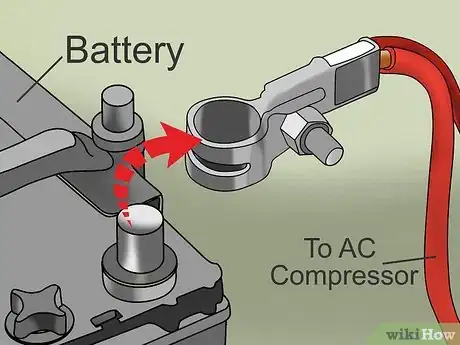
4Disconnect the wires running from your battery to the AC compressor. There should be wires running from the top or side of the compressor. The white wire is your live wire that carries electric current, while the black wire is your ground wire. Press on the sides of the plastic fittings and pull on the wires to remove them. This should reveal the contacts that you’ll use to test the compressor.[16]
-
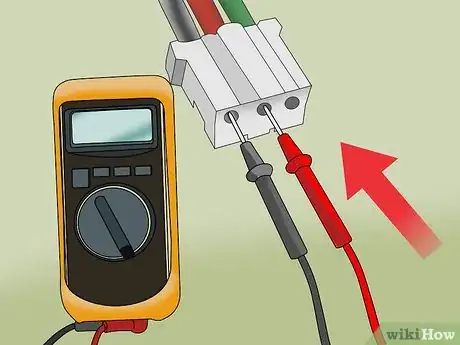
5Insert the multimeter pins into the plastic fittings to get a reading. Set your multimeter to continuity and place the pins on the contacts. Setting the dial on your multimeter to continuity will test if current is properly running through your compressor clutch.[17]
-
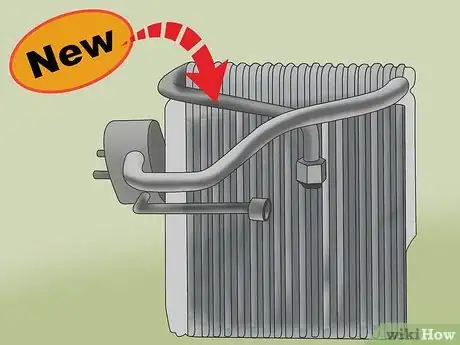
6Replace the coil if the reading is below 3 ohms or above 5 ohms. If you get a reading of 0 ohms, it means that your wires are bad and you’ll have to get them replaced. If your reading is over 5 ohms, it most likely means that you have a bad coil, and your diodes will need to be checked by a mechanic.[18]
-
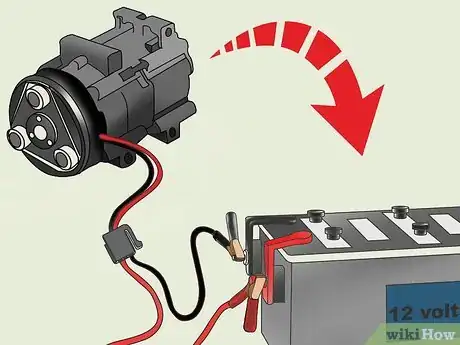
7Connect your AC compressor clutch to a 12-volt battery to see if it engages. Connect your negative, or black battery cable with the grounded contact in the compressor. Then, attach the black wire to the negative side of the battery. Connect the positive, or red wire, to the positive side of the battery. Touch the metal end of the wire to the live compressor clutch wire. This should engage the clutch back and forth. If the clutch does not move or make a noise, it means there is an issue with the contacts or the clutch itself.[19]
Things You’ll Need
Checking a Home AC Compressor
- Phillips head screwdriver
Testing the Voltages in an AC Compressor
- Multimeter
Checking a Car’s AC Compressor
- Multimeter
- 12-volt battery
- Battery cables
References
- ↑ https://www.swtc.edu/ag_power/air_conditioning/lecture/compressor.htm
- ↑ https://www.familyhandyman.com/heating-cooling/air-conditioner-repair/clean-your-air-conditioner-condenser-unit/view-all/
- ↑ https://youtu.be/JZt9tnMnodU?t=44s
- ↑ https://youtu.be/JZt9tnMnodU
- ↑ https://youtu.be/JZt9tnMnodU?t=4m49s
- ↑ https://youtu.be/EOE-xLI3dfw?t=28s
- ↑ https://www.hvac-for-beginners.com/air-conditioner-compressor.html
- ↑ http://en-us.fluke.com/training/training-library/test-tools/digital-multimeters/how-to-test-for-continuity-with-a-digital-multimeter.html
- ↑ https://www.hvac-for-beginners.com/air-conditioner-compressor.html
- ↑ https://youtu.be/EOE-xLI3dfw?t=30s
- ↑ https://youtu.be/EOE-xLI3dfw?t=43s
- ↑ https://youtu.be/EOE-xLI3dfw?t=51s
- ↑ https://www.hvac-for-beginners.com/air-conditioner-compressor.html
- ↑ https://www.hvac-for-beginners.com/air-conditioner-compressor.html
- ↑ https://youtu.be/ult2ivD30FM?t=131
- ↑ https://youtu.be/RFC5jMhUm4s?t=24s
- ↑ https://youtu.be/sRF2BVsiOi0?t=29s
- ↑ https://www.freeasestudyguides.com/ac-clutch-coil-test.html
- ↑ https://www.freeasestudyguides.com/ac-clutch-coil-test.html
About This Article
Before you check your home's AC compressor for damage, shut off the power so you don't shock yourself. Once the power is off, unscrew the face plate and electric access panel from the AC unit so you can take a look inside. Then, look at the wires and compressor, which will look like a cylindrical tank. If the wires are frayed, call an AC and heating specialist to repair them, which will be cheaper than replacing the compressor. However, if you see damage to the compressor itself, you’ll likely need to replace it. For tips on how to check your AC compressor in your car, keep reading!
