This article was co-authored by Ashley Crawford and by wikiHow staff writer, Dan Hickey. Chef Ashley Crawford is a Private Chef and the Founder of A Taste of Chef Ash. Chef Ashley started in the culinary industry when she was 14. She specializes in Creole and Cajun cuisine but has experience in all culinary topics. She has been featured in ESPN and Sports Illustrated for her culinary work with athletes.
There are 11 references cited in this article, which can be found at the bottom of the page.
This article has been viewed 44,678 times.
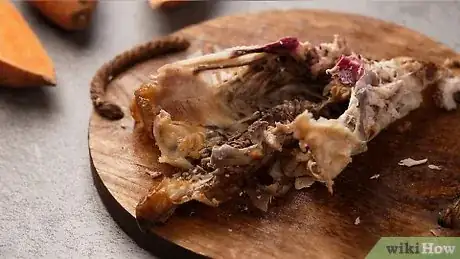
A roasted chicken looks appetizing when it’s fresh out of the oven, but how do you keep it looking delish when you carve it up? Carving a chicken into appetizing pieces is a breeze when you know where to cut and where to start. That’s why we’ve put together a step-by-step guide to perfectly carving a whole roasted chicken. If you’re ready to wow your guests at your next dinner party, read on!
Things You Should Know
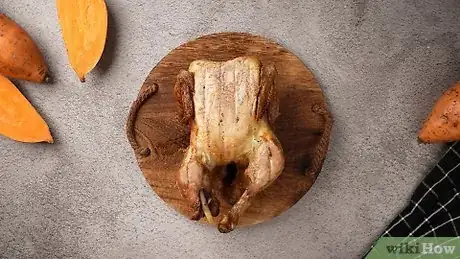
- Place the chicken on a clean cutting board and let it rest for at least 15 minutes before carving.
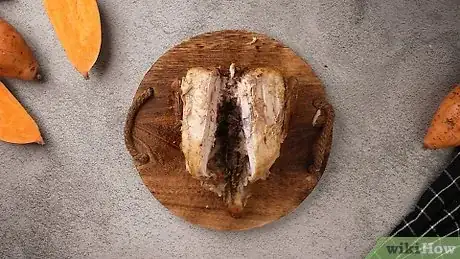
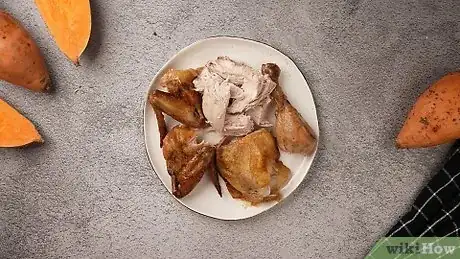
- Separate the legs (drumsticks and thighs) first, then continue on to the breasts and finish by removing the wings.
- If you hit bone while cutting through a joint, reposition the knife to find a softer path through the connective tissue.
Steps
Community Q&A
-
QuestionHow do you slice the breast?
 wikiHow Staff EditorThis answer was written by one of our trained team of researchers who validated it for accuracy and comprehensiveness.
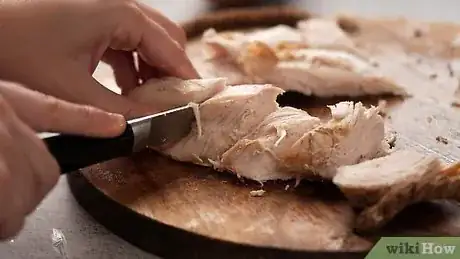
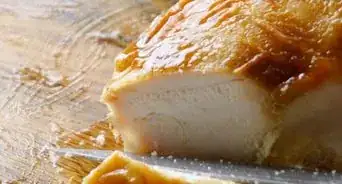
Staff Answer wikiHow Staff EditorStaff AnswerSlice the breast across the grain. Make the slices as thin or thick as you like and keep some skin each piece.
Things You’ll Need
- Large cutting board
- Carving knife
- Carving fork
- Serving platter or tray
- Paper towels
Warnings
- Use a food thermometer to make sure the chicken has reached 165 °F (74 °C) before carving. This is the recommended safety temperature for all poultry.[19]⧼thumbs_response⧽
References
- ↑ https://www.recipetips.com/kitchen-tips/t--330/carving-chicken.asp
- ↑ https://www.thekitchn.com/food-science-resting-meat-46678
- ↑ https://www.recipetips.com/kitchen-tips/t--330/carving-chicken.asp
- ↑ https://www.food.com/how-to/carve-a-roasted-chicken-59
- ↑ https://thecookful.com/how-to-cut-a-chicken/
- ↑ https://www.thekitchn.com/how-to-carve-a-roast-chicken-t-108231
- ↑ https://www.bonappetit.com/test-kitchen/how-to/article/carve-a-chicken-like-dai-due
- ↑ https://thecookful.com/how-to-cut-a-chicken/
- ↑ https://www.food.com/how-to/carve-a-roasted-chicken-59
- ↑ https://www.eatingwell.com/article/15621/how-to-carve-a-whole-roasted-chicken/
- ↑ https://www.southernliving.com/food/how-to/how-to-carve-chicken
- ↑ https://thecookful.com/how-to-cut-a-chicken/
- ↑ https://www.eatingwell.com/article/15621/how-to-carve-a-whole-roasted-chicken/
- ↑ https://www.eatingwell.com/article/15621/how-to-carve-a-whole-roasted-chicken/
- ↑ https://www.food.com/how-to/carve-a-roasted-chicken-59
- ↑ https://thecookful.com/how-to-cut-a-chicken/
- ↑ https://www.simplyrecipes.com/recipes/how_to_make_chicken_stock/
- ↑ https://www.bbcgoodfood.com/videos/techniques/how-carve-turkey-video
- ↑ https://www.usda.gov/media/blog/2011/05/25/cooking-meat-check-new-recommended-temperatures
