X
This article was co-authored by wikiHow staff writer, Nicole Levine, MFA. Nicole Levine is a Technology Writer and Editor for wikiHow. She has more than 20 years of experience creating technical documentation and leading support teams at major web hosting and software companies. Nicole also holds an MFA in Creative Writing from Portland State University and teaches composition, fiction-writing, and zine-making at various institutions.
This article has been viewed 144,405 times.
Learn more...
This wikiHow teaches you how to anchor an image to a specific position in a Microsoft Word document.
Steps
-
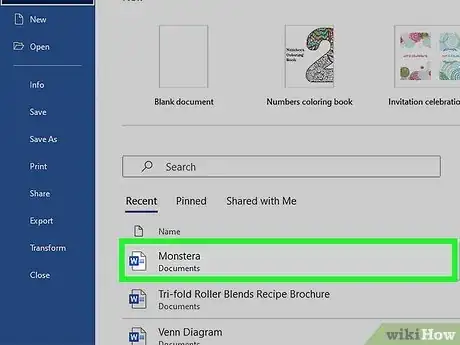
1Open your Word document. Double-click the file to open it in Word.
- Another way to open the document is to open Word (in the Windows menu on a PC or the Applications folder on a Mac), click File, click Open, then double-click the file.
-
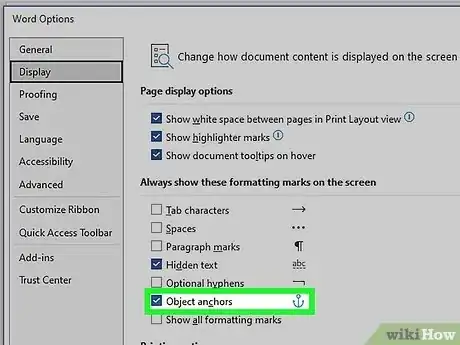
2Enable anchor labeling. This will help you keep track of where your anchors are set.
- Click the File menu.
- Click Options.
- Click Display.
- Check the box next to “Object anchors.”
- Click OK.
Advertisement -
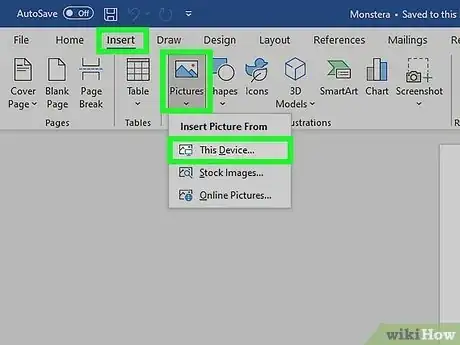
3Insert the image you wish to anchor. If you’ve already inserted your image, just scroll down to it now. Otherwise, here are a few different ways to get an image into your document:
- Click Picture on the Insert tab, then select the image.
- Drag an image to the document.
- Copy an image from somewhere else on your computer, then press Ctrl+V (Windows) or ⌘ Cmd+V (macOS) to paste.
-
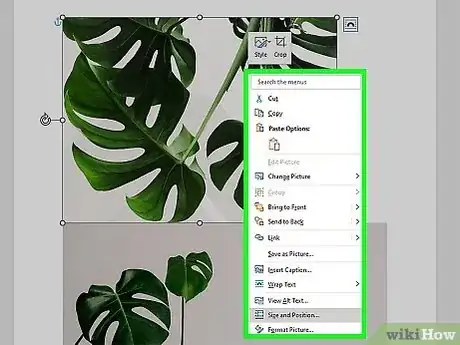
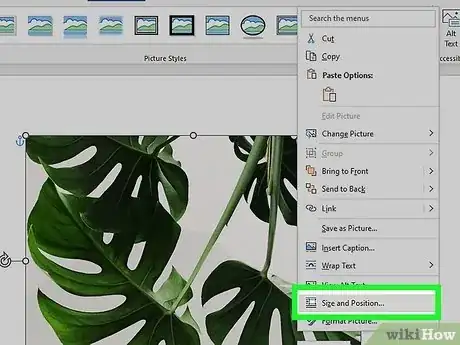
4Right-click the image. A menu will appear.
- If you don’t have a right mouse button, hold down Ctrl as you click with the left button.
-
5Click Size and Position…. This brings you to the “Position” tab.
-
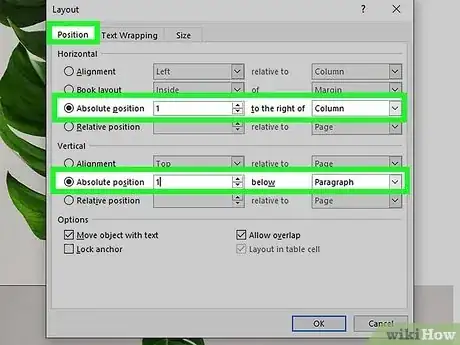
6Set the image’s absolute position. This defines where the image will be anchored. You’ll have a section for both horizontal and vertical absolute positions drop-downs.
- Horizontal: Select a distance from the first drop-down, and then select a relative page element. For example, to anchor the image 1” to the right of a column, select 1” and Column from the menus.
- Vertical: This is the same principal, but defines how far below a page element the image will be anchored. For example, to anchor an image 1” beneath the paragraph where it’s anchored, select 1" from the first drop-down, and Paragraph from the second.[1]
-
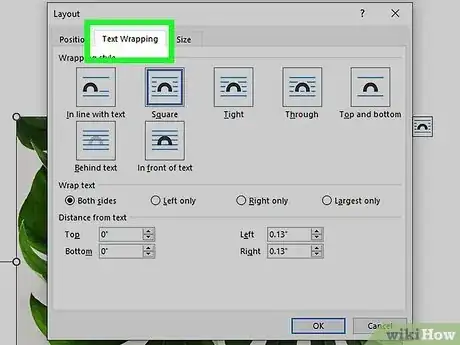
7Click Text Wrapping.
-
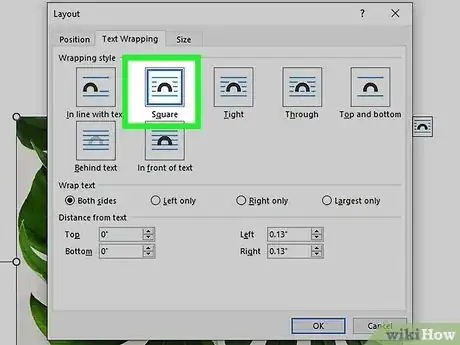
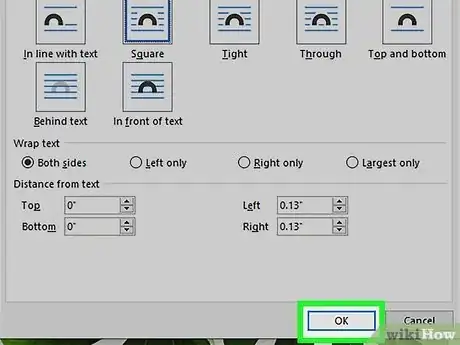
8Select a wrapping option. You can wrap text around an anchored image with every option except "In line with text.” Choose any option other than that.
-
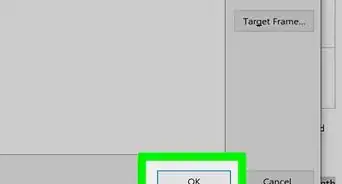
9Click OK. You should now see an anchor icon above the image’s top-left corner, meaning the image is now anchored to its position.
Advertisement
About This Article
Advertisement
