This article was co-authored by wikiHow staff writer, Hunter Rising. Hunter Rising is a wikiHow Staff Writer based in Los Angeles. He has more than three years of experience writing for and working with wikiHow. Hunter holds a BFA in Entertainment Design from the University of Wisconsin - Stout and a Minor in English Writing.
There are 10 references cited in this article, which can be found at the bottom of the page.
This article has been viewed 31,485 times.
Learn more...
Animals can smell the metal in traps, so coating them with a thin layer of wax can help hide their scent. Wax also keeps the springs and metal from rusting so your traps last longer when they’re out in the elements. You can either dip the traps in a wax and water solution or in a double boiler filled with wax. No matter which method you use to wax your traps, make sure to clean and dye them first so they’re more camouflaged!
Steps
Cleaning and Preparing the Traps
-
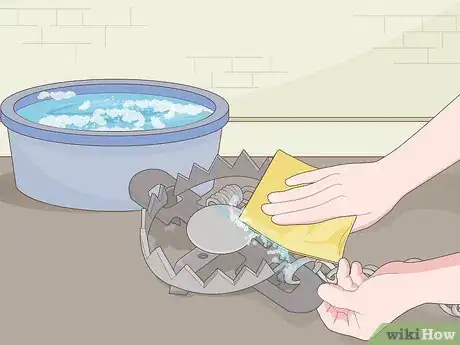
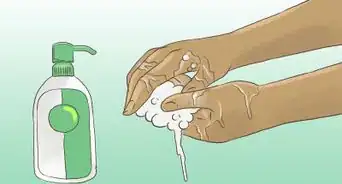
1Clean the grease off of a new trap with soapy water and a degreaser. Fill a bucket or large sink with water and mix in a few drops of dish soap. Dip the trap in the water and scrub them with a cleaning cloth. If the grease doesn’t come off in the water, use a commercial degreaser to clean it off. Wipe the trap dry with a clean cloth.[1]
- If you have an old trap, clean off any dirt or blood that may still be on it.
-
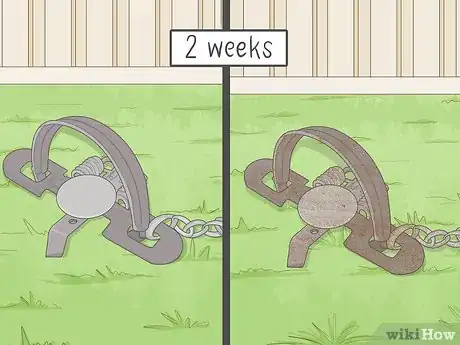
2Leave the trap outside for about 2 weeks to develop rust. Dye can’t stick to your trap when it’s brand new because the metal is too smooth. Set your trap outside and leave it alone for 2 weeks so it can start rusting. Once there’s a thin coat of rust around the trap, you can start dyeing it.[2]
- If an old trap already has a layer of rust, you don’t need to leave them outside.
Tip: Spray the trap with white vinegar to help it develop rust faster.
Advertisement -
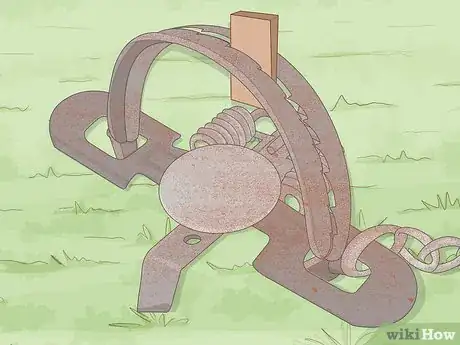
3Put a piece of wood between the trap’s jaws. Pry open the jaws on your trap so you can fit a thick piece of wood or branch between them. Make sure the jaws don’t snap closed and break the piece of wood. Opening the jaws allows the dye and wax to coat the inside of the trap.[3]
-
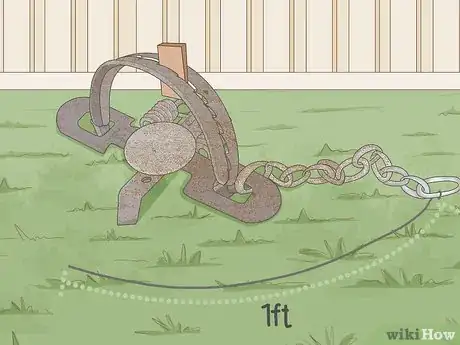
4Wrap a 1–2 feet (0.30–0.61 m) piece of wire around the trap’s chain. Feed the end of a thick wire through one of the chain links and loop it 2-3 times around the chain. Make sure the wire is long enough so you can easily pull the trap out of the dye and wax later on.[4]
- You can string multiple traps on the same length of wire if you need to dye and wax more than one.
Dyeing Your Traps
-
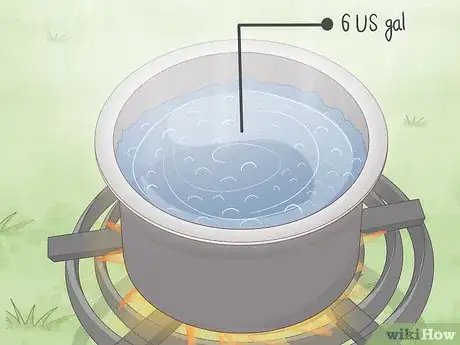
1Bring 6 US gal (23 L) of water to a simmer. Use a large pot on an outdoor heat source, such as a campfire or propane grill. Pour at least 6 gallons (23 L) of water in the pot and heat it until it comes to a rolling simmer. Don’t let the water boil or else it could damage your traps.[5]
- If you plan on dyeing more than one trap, then use 12 gallons (45 L) of water instead.
-
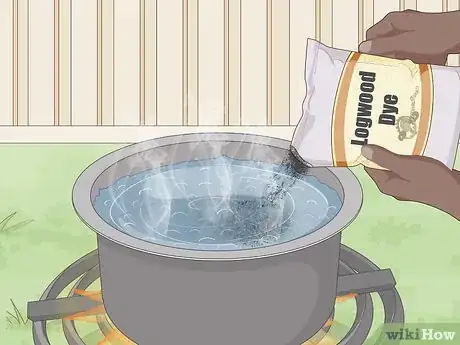
2Mix 1 pound (0.45 kg) of logwood dye into the water. Logwood is a natural dye that helps darken your traps so they turn black. Once the water’s simmering, pour in 1 pound (0.45 kg) of logwood dye and stir it with a spoon or stir stick. Wait until the dye is thoroughly mixed with the water before moving on.[6]
- You can buy logwood dye online or from outdoors stores.
- Logwood dye comes as powder or crystals. Either type will work for dyeing your trap.
Tip: If you’re dyeing multiple traps at a time, use 1 pound (0.45 kg) of dye for every 6 gallons (23 L) of water in your pot.
-
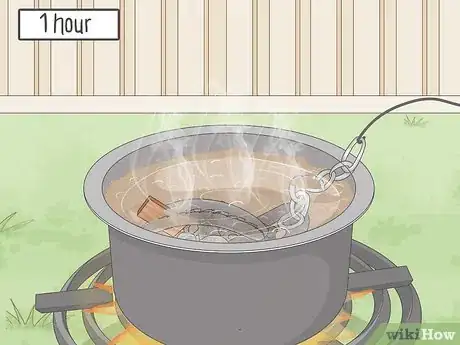
3Set the trap in the dye and let it soak for up to 1 hour. Make sure the trap is completely submerged in the dye solution. Bend the end of the wire slightly so you can hook it over the edge of the pot. Check the trap every 15 minutes to see how dark the color is. Soak the trap for up to 1 hour until its black before removing it.[7]
- Wear heat-resistant gloves while working with the dye solution. That way, you protect your hands from getting burnt or stained.
-
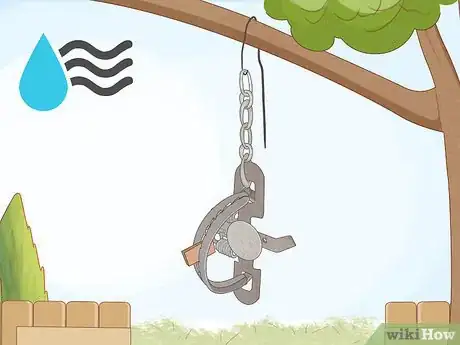
4Pull your trap out and hang it up to dry. Grab the end of the wire and lift the trap out of the dye solution. Shake off any excess solution until the trap doesn’t drip anymore. Hang the trap by the wire outside on a branch or wooden post so it can dry completely. Once the trap is dry, it’s ready to be waxed.[8]
- Save the dye solution if you plan on using it for waxing your traps.
Dipping the Traps a Wax Solution
-
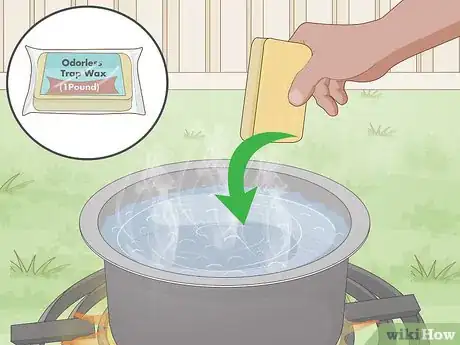
1Drop 1 pound (0.45 kg) of trap wax in the dye solution and let it melt. Trap wax is odorless and melts on the surface of the dye solution. Drop in 1 pound (0.45 kg) of wax for every 6 gallons (23 L) of water in the pot. Stir the wax into the water until it melts completely.[9]
- You can buy trap wax online or from outdoors stores.
- Make sure the wax you use doesn’t contain beeswax since it could chip off of the trap when it gets cold.
-
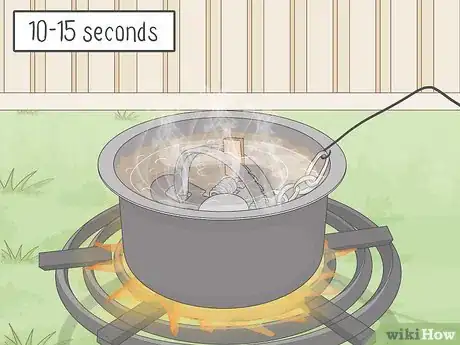
2Submerge the trap in the wax solution for about 10-15 seconds. Lower the trap into the wax solution so it doesn’t spill over the sides of the pot. Make sure the trap and chain get completely submerged under the surface of the solution. After about 10-15 seconds, slowly pull the trap out of the solution so it gets a coating from the layer of wax on the surface. Shake off any excess solution back into the pot.[10]
- Wear heat-resistant gloves so you can handle the wire tied to the trap without burning yourself.
Warning: Wax catches on fire easily and burns quickly. If there is a wax fire, smother it with the lid of your pot.
-
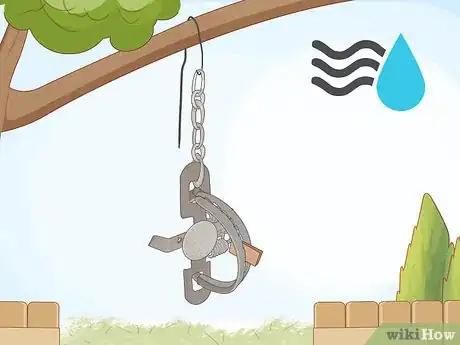
3Hang the trap to dry. Find a branch or post outside where you can hang the trap to cool and dry. Hook the wire over the post and leave it alone for at least 1 hour so the wax can harden. Once the trap is dry, it will have a shiny appearance because of the wax coating. Pull the piece of wood out from the trap’s jaws once it’s completely dry.[11]
Heating the Wax in a Double Boiler
-
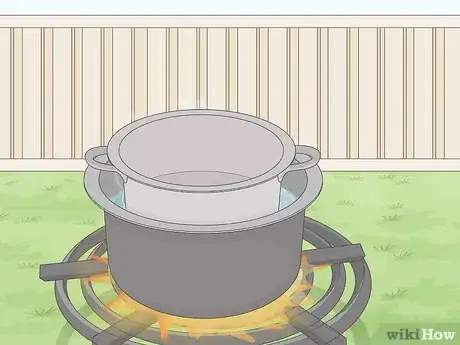
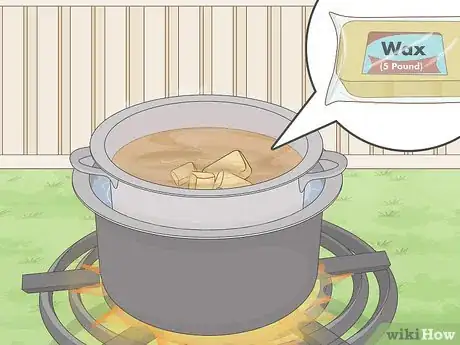
1Put a smaller pot inside a larger pot with boiling water. Put a large pot on your heat source and fill it halfway full with water. Put a second pot that’s smaller inside the first pot so it’s slightly submerged in the water. Make sure the second pot is sturdy and doesn’t rock back and forth. Turn your heat to medium-high and bring the water to a boil.[12]
- Using a double boiler helps prevent your wax from catching on fire.
-
2Melt 5 pounds (2.3 kg) of trap wax in the second pot. Put your trap wax in the second pot and let it melt. Use at least 5 pounds (2.3 kg) of wax so you can submerge your traps completely. Stir the wax with a stir stick to break apart any chunks while it is melting.[13]
- Don’t use trap wax that contains beeswax since it’s more likely to chip after it dries.
-
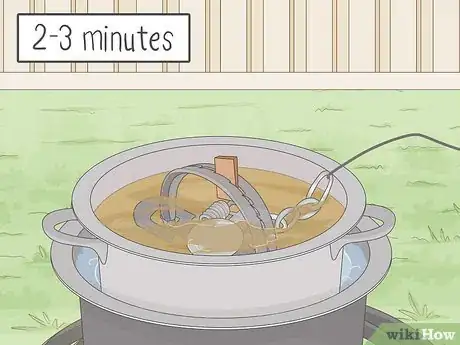
3Put the trap in the wax for 2-3 minutes. Slowly lower the trap into the wax so it doesn’t spill over the edge of the pot. Make sure the trap is completely submerged in the wax or else animals still may be able to smell it after it dries. Bend the end of the wire over the edge of the pot so it stays in place. Leave the traps in the wax for 2-3 minutes so traps heat up and absorb the wax.[14]
- Wear heat-resistant gloves while you dip your traps to protect yourself from burns.
-
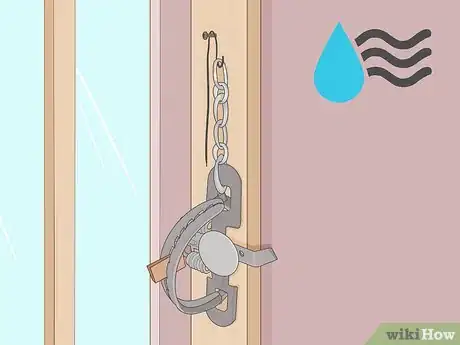
4Hang the trap to cool and dry it. Pull the wire to take the trap out of the wax, and shake off any excess that’s dripping off. Hook the wire over a sturdy post or branch so the wax can dry. Let the traps cool down and harden completely before using them. Take out the wood holding the trap open once it’s dried completely.[15]
Warnings
- Wax is very flammable and can catch on fire quickly. If the wax starts on fire, smother it with a pot lid.[16]⧼thumbs_response⧽
Things You’ll Need
Cleaning and Preparing the Traps
- Degreaser
- Wood or branches
- Metal wire
Dyeing Your Traps
- Pot
- Fire or outdoor heat source
- 6 gallons (23 L) of water
- 1 pound (0.45 kg) of logwood dye
- Gloves
- Stir stick
Dipping the Traps in a Wax Solution
- Gloves
- 1 pound (0.45 kg) of trap wax
Heating the Wax in a Double Boiler
- 2 pots
- Gloves
- 5 pounds (2.3 kg) of trap wax
References
- ↑ https://www.wideopenspaces.com/how-to-traditionally-dye-and-wax-traps-for-a-more-successful-trapping-season/
- ↑ https://www.wideopenspaces.com/how-to-traditionally-dye-and-wax-traps-for-a-more-successful-trapping-season/
- ↑ https://www.wideopenspaces.com/how-to-traditionally-dye-and-wax-traps-for-a-more-successful-trapping-season/
- ↑ https://www.wideopenspaces.com/how-to-traditionally-dye-and-wax-traps-for-a-more-successful-trapping-season/
- ↑ https://youtu.be/cTSAWw_eUSo?t=254
- ↑ https://youtu.be/cTSAWw_eUSo?t=300
- ↑ https://youtu.be/cTSAWw_eUSo?t=344
- ↑ https://youtu.be/cTSAWw_eUSo?t=379
- ↑ https://youtu.be/xNhEs-FHucM?t=93
- ↑ https://youtu.be/xNhEs-FHucM?t=139
- ↑ https://youtu.be/xNhEs-FHucM?t=172
- ↑ https://youtu.be/xNhEs-FHucM?t=224
- ↑ https://youtu.be/xNhEs-FHucM?t=238
- ↑ https://www.wideopenspaces.com/how-to-traditionally-dye-and-wax-traps-for-a-more-successful-trapping-season/
- ↑ https://www.wideopenspaces.com/how-to-traditionally-dye-and-wax-traps-for-a-more-successful-trapping-season/
- ↑ https://www.wideopenspaces.com/how-to-traditionally-dye-and-wax-traps-for-a-more-successful-trapping-season/
