This article was co-authored by Ryaan Tuttle and by wikiHow staff writer, Eric McClure. Ryaan Tuttle is a Home Improvement Specialist and the CEO of Best Handyman, Inc. in Boston, Massachusetts. With over 17 years of experience, he specializes in building home service businesses, focusing on creating scalable and efficient brands. With the help of his global team, the companies have achieved over 10+ million in sales and received recognition through magazine features, and enjoy partnerships with wikiHow and Jobber field service software. Boston Magazine and LocalBest.com have named Best Handyman Boston the Best Handyman in Boston. Ryaan holds Construction Supervisor and Home Improvement Contractor Licenses.
wikiHow marks an article as reader-approved once it receives enough positive feedback. In this case, 93% of readers who voted found the article helpful, earning it our reader-approved status.
This article has been viewed 393,937 times.
Wall plugs, commonly referred to as "Rawlplugs" or "rawl plugs" after the company that invented them, are small plastic fittings capable of gripping and holding screws when installed in hard walls. These plugs can be used in walls made of various materials but work especially well in walls made from materials that do not expand, like plasterboard, brick, or cement.
Steps
Part One: Choose the Correct Plug
-
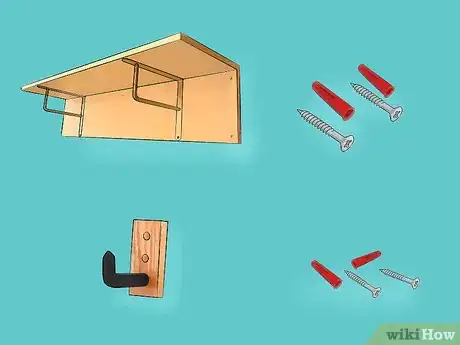
1Consider the weight of the object.[1] The weight of the object you wish to hang will determine the screw gauge you'll need, and the screw gauge will determine the correct wall plug.
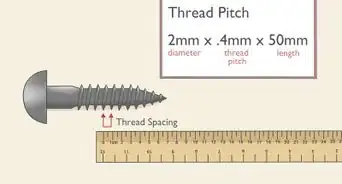
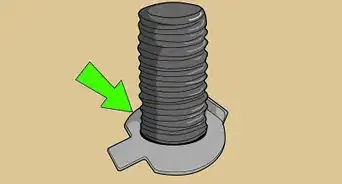
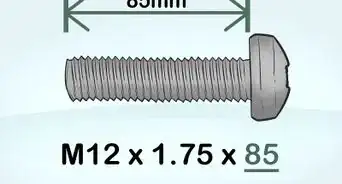
- The gauge of a screw is the diameter of the non-threaded portion. Larger numbers indicate a larger diameter.[2]
- As a general rule, the heavier the object is, the larger screw gauge you'll need.
- If the object comes packaged with manufacturer's instructions, review those instructions for advice on the proper screw gauge.
- If no instructions are available, use the following notes as a general guide:
- Standard kitchen cupboards may need size 10 (5.0 mm) screws.
- Internal doors may need size 8 (4.0 mm) screws.
- A shelf measuring 1 yard (0.91 m) (1 m) in length may require size 8 (4.0 mm) screws.
- A 12-inch (30.5-cm) by 8-inch (20-cm) picture frame may need size 6 (3.5 mm) screws.
- When in doubt, use screw that might be too large instead of using one that might be too small.
-
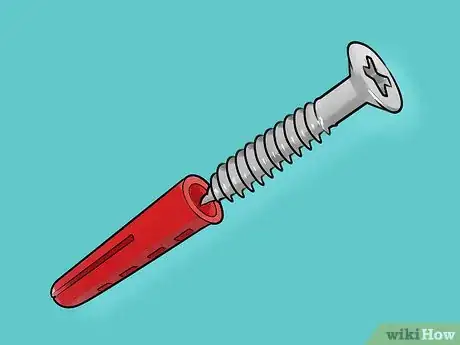
2Match the wall plug to the screw. The correct wall plug size will primarily depend upon the screw gauge being used.
- More precisely, the wall plug size will change based on the drill bit used to create the hole.
- As a general rule:[3]
- Yellow plugs fit into 5.0 mm holes and work best with screw sizes 3 and 4, but can be used for screw sizes 3 through 8.
- Red plugs fit into 6.0 mm holes and work best with screw sizes 6 and 8, but can be used for screw sizes 6 through 10.
- Brown plugs fit into 7.0 mm holes and work best with screw sizes 8 through 12, but can be used for screw sizes 8 through 14.
- Blue plugs fit into 10.0 mm holes and work best with screw size 14, but can be used for screw sizes 14 through 18.
- Note that not every brand follows the same color guidelines. Check the package or the wall plug itself for information concerning hole size before you begin working with any set of plugs.
Advertisement -
3Examine the wall. Determine whether the wall is solid or hollow before purchasing wall plugs for it.[4]
- Solid walls will need the standard bullet-shaped wall plug.
- Hollow walls will need wall plugs with wings, also known as plasterboard plugs.
Part Two: Install a Rawl Plug
-
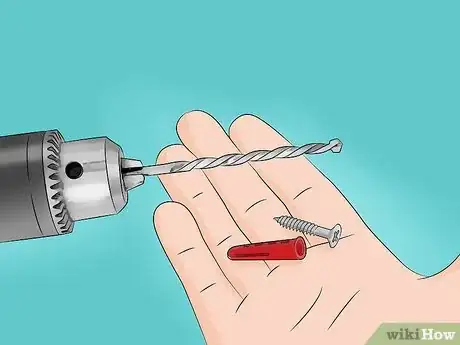
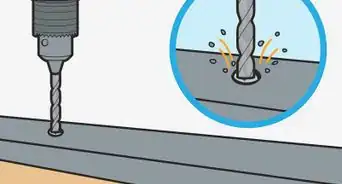
1Insert the correct bit into the drill. Insert the required drill bit into a power drill, firmly locking it into place.
- Choose a drill bit that corresponds to the necessary pilot hole size for the wall plug you intend to use. In other words, use a 5.0 mm drill bit for a yellow plug, a 6.0 mm drill bit for a red plug, a 7.0 mm drill bit for a brown plug, or a 10.0 mm drill bit for a blue plug.
- If in doubt, compare the drill bit with the large drill bit hole on the left side of the wall plug strip. The bit should tightly fit into this guide hole.
-
2Drill a pilot hole straight into the wall. Hold the drill bit to the wall and slowly drill your pilot hole.
- The drill itself should be positioned at a right angle against the wall.
- Work slowly and only drill a hole that is just long enough to accommodate the screw you intend to use.
-
3Remove a plug. Remove one wall plug from the strip by twist and snapping it off.
- The thin plastic connecting the plug to the strip must break, but the body of the plug must remain intact and undented.
-
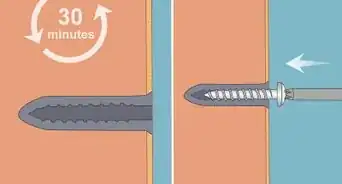
4Insert the plug into the pilot hole. Using your fingers, push the wall plug into the pilot hole.[5]
- After pushing it into the wall as far as possible with your fingers, use a hammer to carefully push it in further. Stop once the head of the wall plug is flush against the wall.
- Note that it must fit snugly into the hole. If it feels loose, the plug will be unable to grasp the screw properly and will only spin around as you attempt to install the screw. If the plug is loose, increase the plug size and adjust the screw size as needed to match.
-
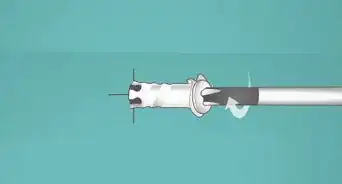
5Gently twist in the screw. Insert the tip of the screw into the installed wall plug, then gently twist the head of the screw in between your fingers until the tip enters the first few millimeters of the plug.
- Note that the screw must be equal to or larger than the minimum screw size hole indicated on the wall plug strip. It must also be equal to or smaller than the maximum screw size hole on the same strip.
- If you are unable to get the screw to grip properly when using your fingers, you could screw the first few millimeters in using a manual screwdriver. You could also gently tap the first few millimeters in using a hammer.
- Inserting the tip into the plug in this manner can reduce the amount of pressure put on the wall when you tighten the screw, thereby reducing the risk of cracking or otherwise damaging the wall material.
-
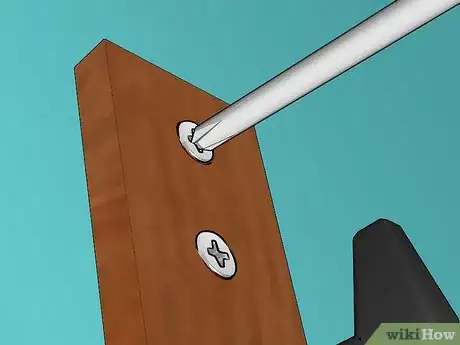
6Switch to the proper tool. You can finish tightening the screw using a Phillips screwdriver or an electric drill, but you'll need to make sure that you have the right size tool before you begin.
- Check the width of the screwdriver or drill bit against the slot of the screw. The two must be a close match.
-
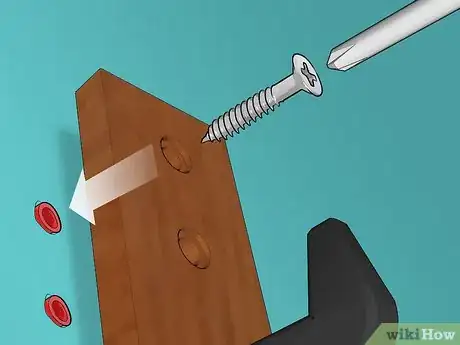
7Tighten the screw firmly. Slowly tighten the screw into the wall plug as needed using the drill or screwdriver.
- If you decide to use a power drill, run the drill on its slowest speed to reduce the risk of overtightening the screw.
- Do not overtighten the screw. If it feels too tight and working it into the wall takes too much effort, you should reverse the tool and pull the screw out. Switch to a smaller screw or start over with a larger pilot hole before trying again.
- Once the screw is securely tightened into the wall plug, the installation process is complete.
Expert Q&A
-
QuestionHow do you hang with a French cleat?
 Ryaan TuttleRyaan Tuttle is a Home Improvement Specialist and the CEO of Best Handyman, Inc. in Boston, Massachusetts. With over 17 years of experience, he specializes in building home service businesses, focusing on creating scalable and efficient brands. With the help of his global team, the companies have achieved over 10+ million in sales and received recognition through magazine features, and enjoy partnerships with wikiHow and Jobber field service software. Boston Magazine and LocalBest.com have named Best Handyman Boston the Best Handyman in Boston. Ryaan holds Construction Supervisor and Home Improvement Contractor Licenses.
Home Improvement Specialist You take a board with the length of the item you're trying to hang and you rip it through the SAR and a 45. That will make two different angles: you hang one side on the wall and screw the other side into whatever you're hanging on the wall.
 -
QuestionWhat size Rawl plug do I need for a 16 mm hole in concrete, and what size coach screw would be best?
 Community AnswerFor a 16 mm hole, I do not believe there is a Rawl plug. Use a Dyna bolt or AnkaScrew.
 -
QuestionHow do I tell if there is an electricity cable in the wall?
 Community AnswerBy reading the building plan. The utility cable plan will show the routing of cable within the wall.
Things You'll Need
- Screws
- Wall plugs/fittings (rawl plugs)
- Electric drill with appropriate drill bits
- Screwdriver
- Hammer
References
- ↑ Ryaan Tuttle. Home Improvement Specialist. Expert Interview. 17 February 2022.
- ↑ http://handycrowd.com/screws-explained-gauge-size-pilot-holes-and-wall-plugs/
- ↑ http://www.diydoctor.org.uk/projects/fixing-to-masonry.htm
- ↑ http://www.theguardian.com/lifeandstyle/house-and-homes-blog/2011/nov/16/toolbox-tips-drilling-fixing
- ↑ https://www.youtube.com/watch?v=Qid6RuO8MXk
About This Article
To use a rawl plug, which is a plastic fitting that grips and holds screws when installed in hard walls, pick larger gauges for objects that weigh more. You’ll also want to make sure that the wall plug fits the screw gauge. If you’re dealing with a solid wall, use standard bullet-shaped wall plugs. However, for hollow walls, use wall plugs with wings. When you’re ready to install your rawl plug, insert the right size bit into the drill and make a pilot hole straight into the wall. Put the plug into the pilot hole with your fingers, then use a hammer to get it flush with the wall. Then, gently twist in the screw before tightening it down with your drill or screwdriver. To learn how to tell the size of a wall plug based on its color, keep reading!
