X
wikiHow is a “wiki,” similar to Wikipedia, which means that many of our articles are co-written by multiple authors. To create this article, volunteer authors worked to edit and improve it over time.
This article has been viewed 21,413 times.
Learn more...
If you have a Buffalo LinkStation or TeraStation, the WebAccess for Windows allows you to manage your folders and files in your NAS just as if they were locally shared folders on your PC. You can easily do all sorts of things to them, like moving, deleting, and renaming them, directly from your PC. To learn more, scroll down to part 1.
Steps
Part 1
Part 1 of 3:
Downloading and Installing WebAccess
-
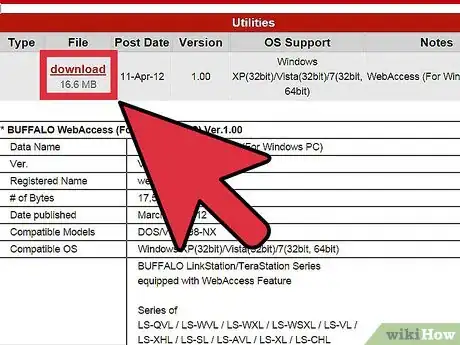
1Go to Buffalo’s website. Go to www.buffalotech.com and download WebAccess for Windows.
-
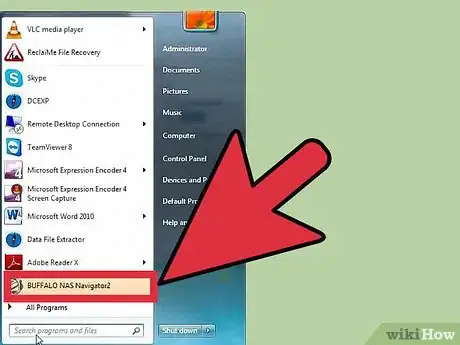
2Install WebAccess. Locate the setup file on your desktop and double-click on it to run it.Advertisement
-
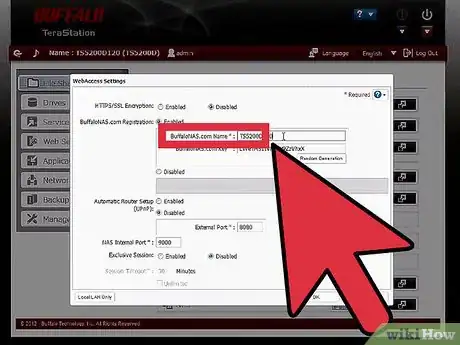
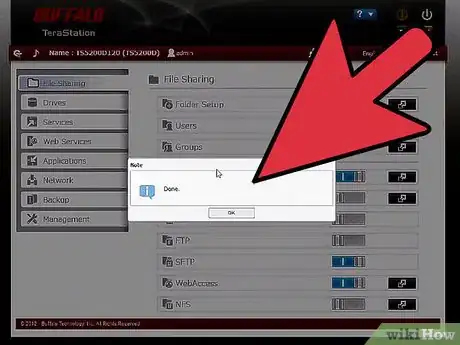
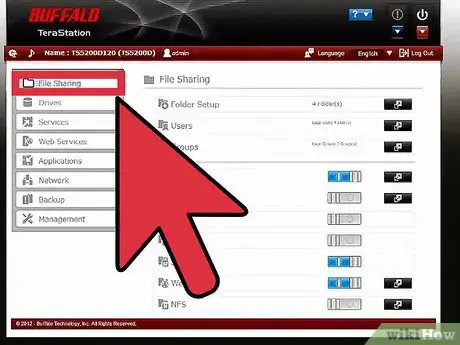
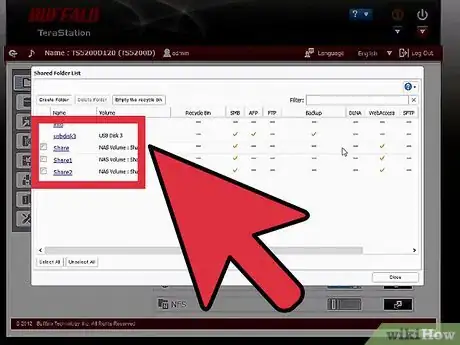
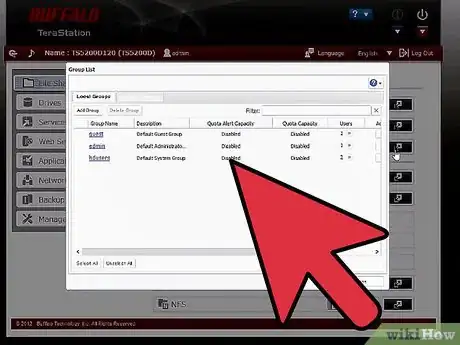
3Do the initial setup for WebAccess. Before you’re able to access your files and folders in your NAS, you have to properly link the device to your computer. The NAS should have a proper name, and WebAccess should be enabled.
-
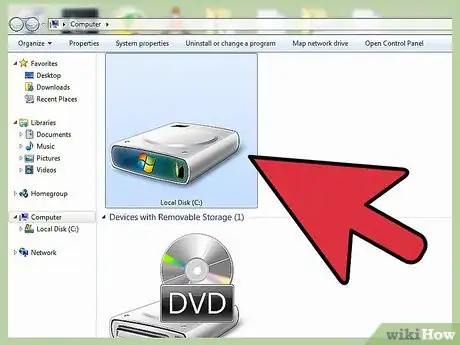
4Locate WebAccess. Open My Computer on Windows Explorer and look for the Buffalo WebAccess icon. It’s a red house with green and blue arrows. Double-click on it to open.
-
5Create your NAS directory. On the empty folder that opens up, right-click on the space and select “New.”
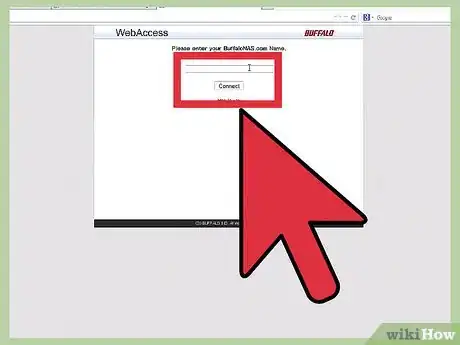
- On the Add window, input the BuffaloNAS.com name of your NAS. This is the name you used to register your NAS at BuffaloNAS.com.
- Click “Add” when you’re done.
-
6View your NAS directory. Upon successful creation, you will see the NAS drive created with its corresponding icon. Double-click on this to view the folders and files you’ve shared with WebAccess.
Advertisement
Part 2
Part 2 of 3:
-
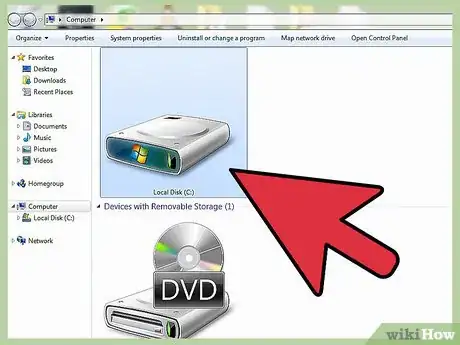
1Open My Computer. From your desktop, double-click on “Computer" or “My Computer.”
-
2Open WebAccess. Inside the My Computer directory, you’ll find the WebAccess directory you’ve created in part 1; double-click on this to open WebAccess.
- You will see the NAS directory inside.
-
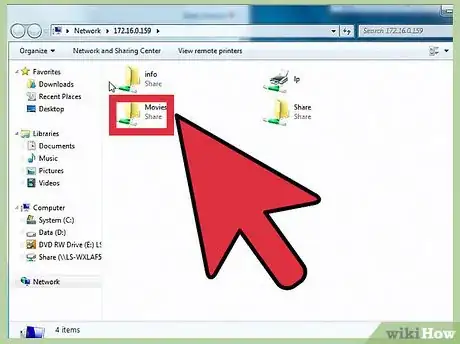
3Open NAS. Double-click on the NAS directory to view all the shared folders and files.
-
4Navigate through the shared folders and files. Once you’ve accessed the shared folders and files, normal file operations (from Windows) can be done directly on this folder. You can move, copy, rename, and delete folders and files, as needed.
Advertisement
Part 3
Part 3 of 3:
-
1Open My Computer.
-
2Open WebAccess.
-
3Open NAS.
-
4Select the folder or file to share. Navigate through the folders and files until you find the one you’d like to share.
-
5Select “E-mail share URL.” Once you find the folder or file you’d like to share, right-click on it and select “E-mail share URL.”
- You also have an option to just copy the share URL by selecting “Copy share URL” instead.
-
6Set share validity. A pop-up window will appear requesting for a validity period. Indicate the appropriate share period and click “OK.”
- This is the period when the link you’ve just created will be valid. After this period, others won’t be able to access your folder or file anymore.
-
7Send an e-mail. Your default e-mail software will be started with a new e-mail containing the shared URL.
- Complete your e-mail and enter the recipients’ e-mail addresses.
- Send your e-mail.
- Your recipients will get a link where they can directly access the folder or file you’ve just shared.
Advertisement
About This Article
Advertisement

