This article was co-authored by Ivy Boyd and by wikiHow staff writer, Hannah Madden. Ivy Boyd is a Makeup Artist and the Creator of the beauty blog, Ivy Boyd Makeup. With nearly a decade of makeup experience, Ivy specializes in makeup services for weddings, special events, and editorial photoshoots. She holds a BA in Graphic Design from The University of Northern Iowa. Ivy was a finalist in the Allure Beauty Blogger Awards and has been featured in numerous media publications such as People Magazine and Brides Magazine.
There are 15 references cited in this article, which can be found at the bottom of the page.
This article has been viewed 9,885 times.
Mineral makeup is the top choice for people with oily, acne-prone skin. There are many different brands that sell mineral makeup, but one of the leading ones is Bare Minerals. If you’d like to try out mineral makeup but you aren’t sure how, use a small amount of powder foundation and buff it thoroughly into your skin to have a flawless, airbrushed look in no time. Finish your makeup look with Bare Minerals concealer, highlighter, and eyeshadow.
Steps
Applying Foundation
-
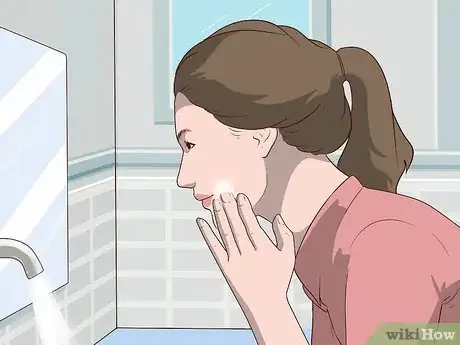
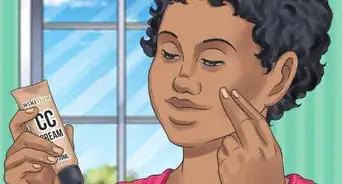
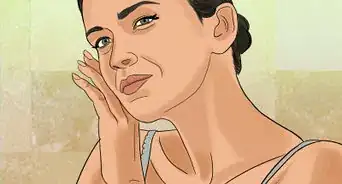
1Wash your face with a gentle cleanser and apply moisturizer. Pat your skin dry with a towel after you wash your face. Apply a light coating of moisturizer if you have dry skin.[1]
- Let your moisturizer sit on your skin for about 2 minutes before you start applying any makeup to make sure it is absorbed.
-
2Tap a dime-sized amount of Bare Minerals foundation onto the product lid.[2] Bare Minerals foundation is a powder, so it will be loose in its container. Try not to spill the foundation as you tap it into the lid. If you do, wipe it up gently with a damp towel.[3]
- Mineral foundation is best for normal or oily skin. Powder foundation can enhance dry-looking skin and make it look even more dry.
Tip: Make sure you have a Bare Minerals foundation in your shade. To shade match, hold the makeup up to your neck and see if it matches.
Advertisement -
3Swirl a Bare Minerals kabuki brush around the lid to pick up the foundation.[4] Bare Minerals foundation is fairly concentrated, so a little goes a long way. Pick up the powder on the lid of the makeup by swirling your brush around. Then, tap the excess foundation off of the brush back into the lid.[5]
- A stiff brush will help you buff in your foundation and make sure that it is blended.
- Your brush should look like it has no makeup on it at all. This will help the makeup deposit slowly onto your face so that it blends well.
- If you have sensitive skin, use a synthetic kabuki brush to get the best coverage and minimize irritation.[6]
-
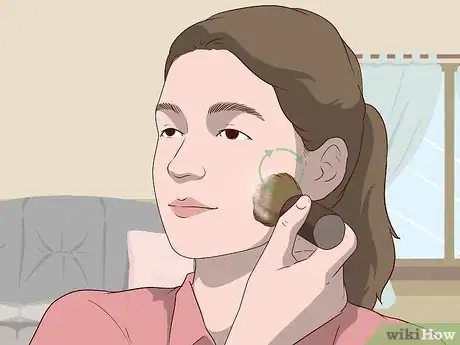
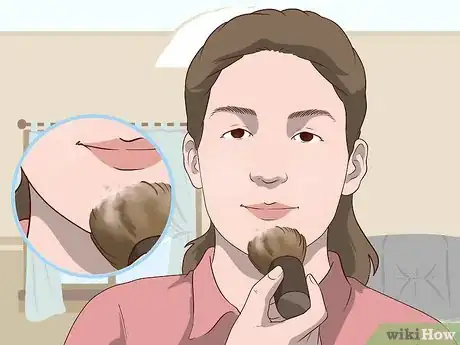
4Use circular motions to apply a light layer of foundation to your whole face.[7] Start with the center of your face and move outwards, using your stiff brush in a circular motion. Buff the foundation into your face until it is blended well. Pay special attention to your hairline, and blend the foundation in well there.[8]
- Do not press hard with your brush or rub the foundation into your skin.
-
5Add another layer of foundation to problem areas. After your initial coverage, you may have some blemishes or red spots you’d like to cover. Add more foundation to your brush and buff it into your problem areas until they are covered up.[9]
- Mineral foundation takes a while to deposit on your skin, so try buffing with your brush for a few minutes before you add more.
Concealing and Highlighting
-
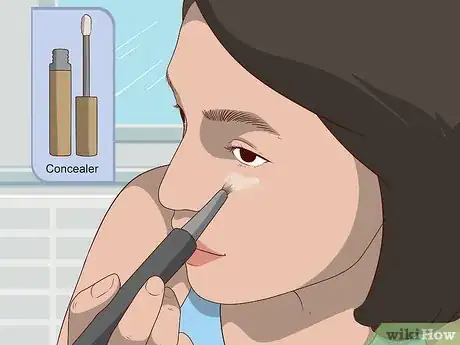
1Dab concealer on any problem areas and blend it in with a stiff brush. Bare Minerals has many concealer types, but it's best to use powder concealer on top of powder foundation. Use a small, stiff brush to pat the concealer on the areas you need it and blend it in.[10]
- Problem areas are usually under the eyes, the forehead, and any blemishes that you want covered up.
- You can also use their foundation as a concealer if you concentrate it in a specific area.
-
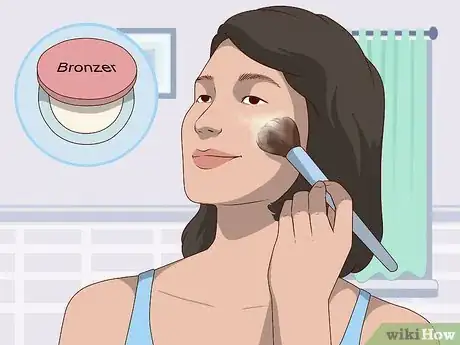
2Apply bronzer with a Flawless Finish brush to the sun-kissed areas of your face. Use a Bare Minerals Flawless Finish face brush to pick up a small amount of Bare Minerals bronzer. Swipe the bronzer on your cheekbones, forehead, and jawline to give yourself a sun-kissed look.[11]
- You can use bronzer to contour with a small angled brush.
-
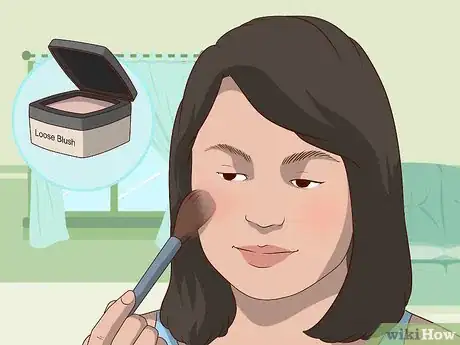
3Blend loose blush onto your cheeks with a Flawless Finish brush. Loose blush is very concentrated. Pick it up with a Bare Minerals Flawless Finish brush and blend it onto your cheekbones for a flushed, youthful look.[12]
- Many Bare Minerals blushes have a slight sparkle to them.
-
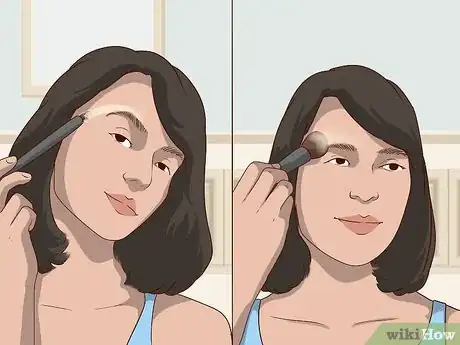
4Brush Bare Minerals highlighter on with a stiff brush, then blend it out. Like most of their products, Bare Minerals highlighter is very concentrated, so a little goes a long way. Use a Bare Minerals Diffused Highlight brush to pick up a small amount of highlighter and put it onto your brow bones and cheekbones. Then, use a Flawless Finish brush to blend the highlighter into your skin so that it is not so bright.[13]
Tip: Don’t highlight any problem areas, like blemishes you may have. This will draw attention to them and make them more noticeable.
Adding Eyeshadow, Lipstick, and Finishing Powder
-
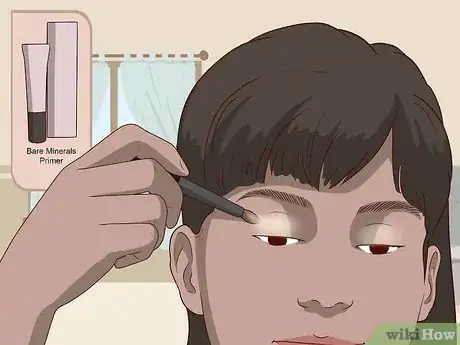
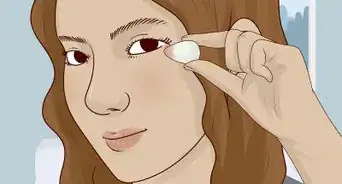
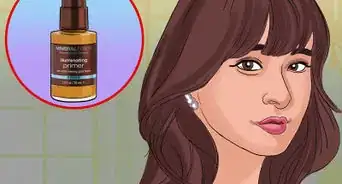
1Prime your eyelids with a Bare Minerals primer. Eye primers make your eyeshadow stay on longer without creasing. Dab a pea-sized amount of primer onto your fingertip and rub it onto your eyelids. Let it sit for about 1 minute before you apply your eyeshadow.[14]
- You can use any brand of eyeshadow primer, although the Bare Minerals formula works best with their eyeshadow.
-
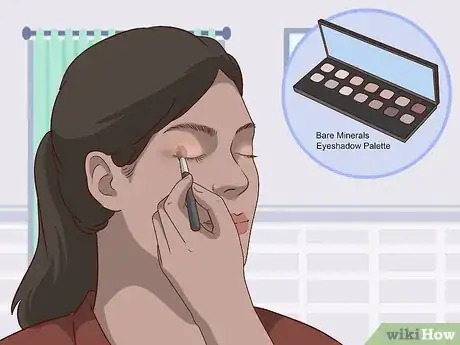
2Use a Bare Minerals eyeshadow palette to create a look of your choice. Use a Bare Minerals Detail Shader Eyeshadow Brush to blend multiple eyeshadows onto your eyelid. Add softer shades near the inner corner of your eye and work outward with darker ones. Blend all the colors that you use onto your eyelid so that they look seamless. Go for a natural look by choosing neutral colors, or be bold with bright colors.[15]
- Bare Minerals has many eyeshadow palettes to choose from. You can mix and match between them to create even more looks.
- Use a loose pigment on your eyes for extra shine. Take a small, flat brush and dab it into your pigment. Then, tap it gently onto your eyelid.
-
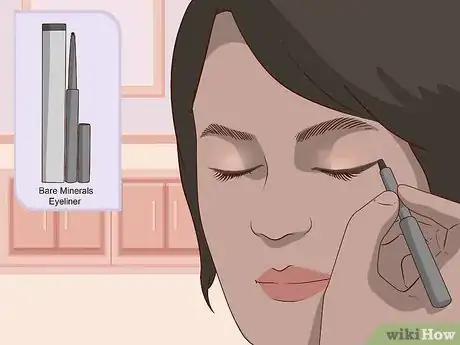
3Add Bare Minerals eyeliner to create definition. Use a black eyeliner pencil to draw attention to your eyes. Draw a line right above your lash line on your eyelid. If you like a bolder look, wing it out slightly outside of your eye. Blend it into your eyeshadow for a more subtle option.[16]
- You can use Bare Minerals eyeliner or your preferred brand.
- You can use a colored eyeliner, like brown or blue, to bring out the color of your eyes.
-
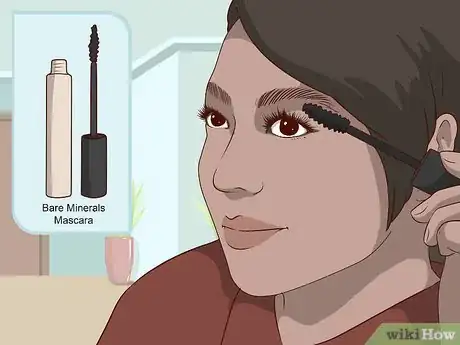
4Use Bare Minerals mascara to elongate your lashes. Curl your eyelashes with an eyelash curler. Apply a coat of Bare Minerals mascara to your lashes. Add more coats of mascara for an intense look, or keep it natural with just one.[17]
-
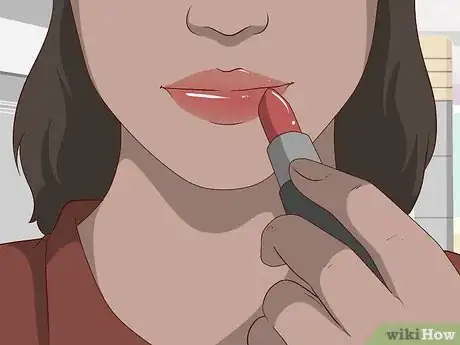
5Apply lipstick or lip gloss to complete your look. If you’d like to have a full face of Bare Minerals makeup, add a lip color that goes with your eye look. If your eyeshadow is brightly colored, go with a neutral lip. Or, make your lips pop with a fuschia or magenta color. Choose a gloss for a shiny lip, or stay matte with a lipstick.[18]
-
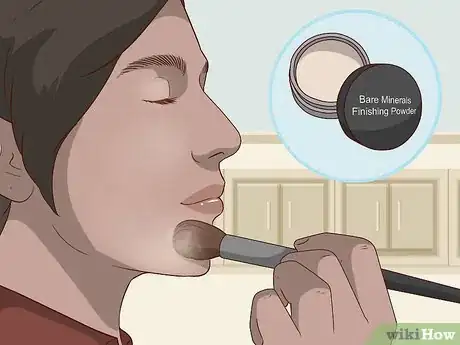
6Add Bare Minerals finishing powder to set your makeup and create a matte look. If you have oily skin or you will be wearing your makeup for a long time, tap some finishing powder into the lid of its container and swirl a Flawless Finish brush into it, then tap the brush to remove excess powder. Use your Flawless Finish brush to blend the powder all over your face in a circular motion. Make sure the powder is fully blended into your skin and you can’t see it anymore.[19]
Tip: If you have dry skin, you will probably not need to use a finishing powder. Mineral foundation is already pretty dry on its own.
Expert Q&A
-
QuestionWhat is Bare Minerals known for?
 Ivy BoydIvy Boyd is a Makeup Artist and the Creator of the beauty blog, Ivy Boyd Makeup. With nearly a decade of makeup experience, Ivy specializes in makeup services for weddings, special events, and editorial photoshoots. She holds a BA in Graphic Design from The University of Northern Iowa. Ivy was a finalist in the Allure Beauty Blogger Awards and has been featured in numerous media publications such as People Magazine and Brides Magazine.
Makeup Artist Bare Minerals is best known for their mineral powders, but they also offer liquid and cream coverage options.
Things You’ll Need
- Face cleanser
- Moisturizer (optional)
- Bare Minerals powder foundation
- Bare Minerals kabuki brush
- Bare Minerals powder concealer
- Bare Minerals Detail Shader Eyeshadow brush
- Bare Minerals bronzer
- Bare Minerals Flawless Finish brush
- Bare Minerals blush
- Bare Minerals highlighter
- Bare Minerals eyelid primer
- Bare Minerals eyeshadow palette
- Bare Minerals eyeliner
- Bare Minerals mascara
- Bare Minerals lipstick or lipgloss
- Bare Minerals finishing powder (optional)
References
- ↑ https://www.bareminerals.com/blog/hybrid-beauty-products-makeup-skincare-benefits.html
- ↑ Ivy Boyd. Makeup Artist. Expert Interview. 4 August 2021
- ↑ https://www.youtube.com/watch?v=wU0Kpfc0c4U&feature=youtu.be&t=57
- ↑ Ivy Boyd. Makeup Artist. Expert Interview. 4 August 2021
- ↑ https://www.youtube.com/watch?v=wU0Kpfc0c4U&feature=youtu.be&t=73
- ↑ Ivy Boyd. Makeup Artist. Expert Interview. 4 August 2021
- ↑ Ivy Boyd. Makeup Artist. Expert Interview. 4 August 2021
- ↑ https://www.youtube.com/watch?v=CHSdVYyp7XQ&feature=youtu.be&t=467
- ↑ https://www.youtube.com/watch?v=CHSdVYyp7XQ&feature=youtu.be&t=467
- ↑ https://www.youtube.com/watch?v=CHSdVYyp7XQ&feature=youtu.be&t=522
- ↑ https://www.youtube.com/watch?v=4xxAf_Ibnzk&feature=youtu.be&t=242
- ↑ https://www.youtube.com/watch?v=sB88SFG71SU&feature=youtu.be&t=270
- ↑ https://www.bareminerals.com/blog/your-no-glitter-glow-guide.html
- ↑ https://www.youtube.com/watch?v=Sw3nAHs9h5M&feature=youtu.be&t=32
- ↑ https://www.youtube.com/watch?v=sB88SFG71SU&feature=youtu.be&t=570
- ↑ https://www.youtube.com/watch?v=EixxHeC5wxM&feature=youtu.be&t=168
- ↑ https://www.youtube.com/watch?v=6a0hAKPS2i8&feature=youtu.be&t=84
- ↑ https://www.youtube.com/watch?v=sB88SFG71SU&feature=youtu.be&t=669
- ↑ https://www.youtube.com/watch?v=8IFBV1EKCC8&feature=youtu.be&t=64
