X
wikiHow is a “wiki,” similar to Wikipedia, which means that many of our articles are co-written by multiple authors. To create this article, 12 people, some anonymous, worked to edit and improve it over time.
This article has been viewed 34,159 times.
Learn more...
Are those graphics just not quite up to par? If you're a hardcore gamer/game developer, video editor, or just an average user wanting more speed in intensive applications, then you want only the best. However, you probably don't want a new laptop. Replacing those slow graphics for shiny new ones has never been easier. Let's get started.
Steps
-
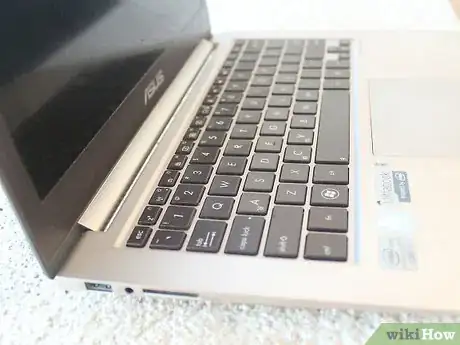
1Remember to save all of your work and turn off the device. Once you've turned it completely off, make sure to unplug the laptop from the wall, if it is connected. If possible, make sure to also take out the battery from the laptop, just to be safe. You don't want to be messing around with expensive electronics only to have your laptop start up and short circuit.
-
2Select a screwdriver that best matches the screws on your device. Most laptops have Phillips screw heads for the outer panel, but yours might be different depending on the manufacturer of the laptop.Advertisement
-
3Flip over your device and remove the screws from the larger panel. Make sure not to strip the screws, as you'll need those to put the cover(s) back on again. This is where you will find the "Guts" of your laptop.
- There will be a silver casing surrounding a large part of the circuits inside. Do not touch this. It is the bare bones of the laptop and contains BIOS chips and default ram. The exposed part is what you will be looking at. The graphics card is a large chip that is coming out of the side of the casing. You will want to unscrew the card from the outside. (Screws vary with laptop)
-
4Observe a gap on the side of the laptop. Write down or take a picture of which wires connect to which parts of the card. Remove these wires and put the old graphics card aside.
-
5Insert the new graphics card (It may not fit if it is water-cooled) and connect the wires as they were to the previous card. Screw everything back in place.
-
6Screw the back panel in place and boot your laptop after putting the battery back in if you removed it and/or putting the power cable back into the wall. If there is an error, consult your hardware provider.
Advertisement
Warnings
- Do not mess up with the wiring. Serious harm could be caused to the computer.⧼thumbs_response⧽
- Static buildup from your hands can be devastating to components. Don't complete these steps on the carpet if you can, and touch a large metal object before editing your laptop as to discharge any lingering static.⧼thumbs_response⧽
- Make sure to research thoroughly if your specific laptop can support a new graphics card. You don't want to spend money on a new card only to have it not work. Then you would only have two pieces of useless technology.⧼thumbs_response⧽
Advertisement
Things You'll Need
- Screwdriver
- Camera to take pictures of wiring/screws if you want.
About This Article
Advertisement


