This article was co-authored by wikiHow staff writer, Darlene Antonelli, MA. Darlene Antonelli is a Technology Writer and Editor for wikiHow. Darlene has experience teaching college courses, writing technology-related articles, and working hands-on in the technology field. She earned an MA in Writing from Rowan University in 2012 and wrote her thesis on online communities and the personalities curated in such communities.
This article has been viewed 31,550 times.
Learn more...
Visual Studio is mostly used for developing applications, so you might wonder why it's on your computer if you aren't a developer or coder. On the other hand, if you get an error for Visual Studio and have unsuccessfully tried repairing it, you'll want to uninstall and install it. This wikiHow article will teach you how to uninstall Visual Studio on Windows and Mac.
Steps
Uninstalling Visual Studio on Windows 10
-
1Launch the Visual Studio Installer. You can search for Visual Studio Installer by pressing the Win key, then entering "installer" to search for it.
- You can also usually find it in
"C:\Program Files (x86)\Microsoft Visual Studio\Installer\vs_installer.exe".
- You can also usually find it in
-
2Click More. It's usually the last item in the menu on the right side of the window and will drop down more menu options.Advertisement
-
3Click Uninstall. This is usually the second option in the menu under Repair.
- A window will pop up to warn you that you're about to uninstall Visual Studio.
-
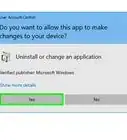
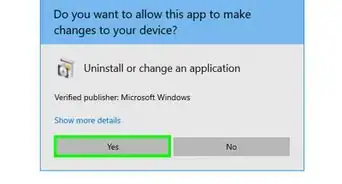
4Click OK. The uninstall process should take a few seconds and you'll see the progress bar of the uninstallation in the middle of your screen.[1]


Uninstalling Visual Studio on Mac
-
1Find the program that you want to uninstall. Scroll through the programs in Finder > Applications until you find the icon for the program that you want to remove.
-
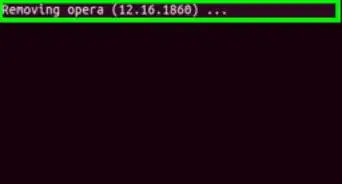
2Drag the icon to the trash. Other than dragging the app icon to the trash, you can right-click the icon and select Move to Trash.
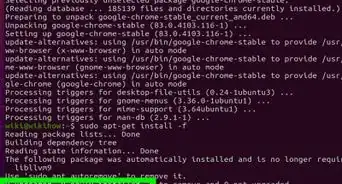
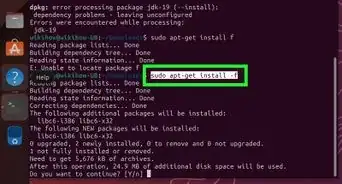
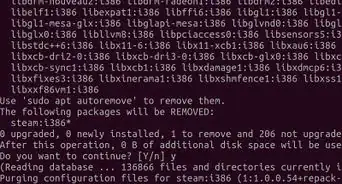
- Although Visual Studio will be uninstalled that way, you'll still have lingering files associated with it. To delete all of them, enter each of the following commands into Terminal (press Return after each line to enter the command):[2]
sudo rm -rf "/Applications/Visual Studio.app"rm -rf ~/Library/Caches/VisualStudiorm -rf ~/Library/Preferences/VisualStudiorm -rf ~/Library/Preferences/Visual\ Studiorm -rf ~/Library/Logs/VisualStudiorm -rf ~/Library/VisualStudiorm -rf ~/Library/Preferences/Xamarin/rm -rf ~/Library/Application\ Support/VisualStudiorm -rf ~/Library/Application\ Support/VisualStudio/7.0/LocalInstall/Addins/rm -rf ~/Library/Application\ Support/VisualStudio/8.0/LocalInstall/Addins/
- Although Visual Studio will be uninstalled that way, you'll still have lingering files associated with it. To delete all of them, enter each of the following commands into Terminal (press Return after each line to enter the command):[2]


References
About This Article

1. Launch the Visual Studio Installer.
2. Click More.
3. Click Uninstall.
4. Click OK.