wikiHow is a “wiki,” similar to Wikipedia, which means that many of our articles are co-written by multiple authors. To create this article, volunteer authors worked to edit and improve it over time.
This article has been viewed 29,916 times.
Learn more...
Secure boot ensures that only digitally signed operating systems run on your Surface device. Secure boot helps protect against bootkits, or malware that infects the master boot record (MBR) on your computer. While there should be no need to change this setting, if you plan on installing an older operating system such as Windows 7 and earlier or run operating systems that are unsigned such as some distributions of Linux, you may need to disable secure boot to be able to run these needed operating systems. This wikiHow will show you how to disable secure boot so you can boot a legacy operating system or an OS that does not support secure boot.[1]
Steps
Surface Pro 4 and Later[2]
-
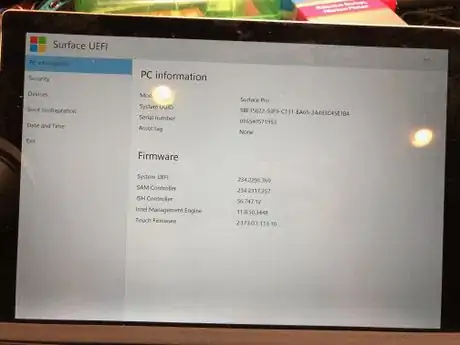
1Boot into the Surface UEFI. With your Surface powered down, hold the volume up key on the tablet (not keyboard) or the F6 key on Surface Laptop. Then press the power button. Keep on holding the buttons down.
- The Surface UEFI is only available in English.
- If neither of these options work, then hold the shift key while restarting your computer, then choose Troubleshoot > Advanced options > UEFI firmware settings, then choose Restart.
-
2Choose the Security tab. This tab is on the left pane of the UEFI screen.
- If text is upside down, then make sure that the keyboard cover connector is oriented downward.
Advertisement -
3Choose Change configuration under "Secure boot".
-
4Choose None from the drop-down popup that appears. If you are installing a third party signed operating system, choose Microsoft and 3rd party CA instead. Then choose OK.
-
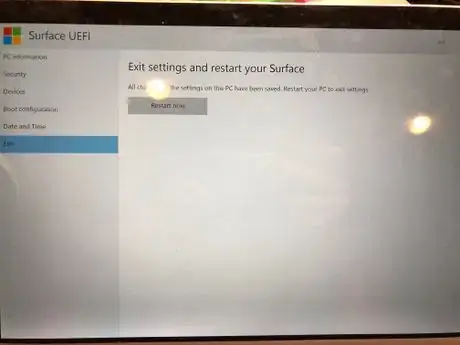
5Choose "Exit", then choose Restart now. You know if your Surface has secure boot off if you see a red screen or red bar when you power it on.
Surface Pro 3 and Earlier[3]
-
1Boot into the Surface UEFI. With your Surface powered down, hold the volume up key on the tablet (not keyboard). Then press the power button. Keep on holding the buttons down.
-
2Choose Secure boot control.
-
3Choose Disabled or Delete secure boot keys on the popup that appears.
-
4Choose Exit setup.
-
5Choose Yes. You know if your Surface has secure boot off if you see a red screen or red bar when you power it on.
Community Q&A
-
QuestionThe Secure Boot option on my Surface 3 is grayed out and I can only access the "Device Information" tab. How do I access the other tabs?
 AasimTop AnswererDid you or your organization set a firmware password? If so, then you will need to enter it to change firmware settings. Note that you cannot recover your firmware password if you lose it, so keep it safe. (There is probably software that can crack the firmware password of any computer.)
Warnings
- Under normal circumstances, you should not turn off secure boot. This makes your computer more vulnerable to rootkits or bootkits.⧼thumbs_response⧽


