This article was co-authored by wikiHow staff writer, Jack Lloyd. Jack Lloyd is a Technology Writer and Editor for wikiHow. He has over two years of experience writing and editing technology-related articles. He is technology enthusiast and an English teacher.
The wikiHow Tech Team also followed the article's instructions and verified that they work.
This article has been viewed 521,883 times.
Learn more...
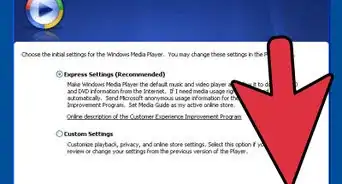
This wikiHow teaches you how to take a screenshot of a video frame while using Windows Media Player. Windows Media Player (WMP) is no longer included in Windows 10 or available for download, but if you have it on your computer from a previous version of Windows, you'll be able to use WMP on Windows 10. You can also take a screenshot of Windows Media Player content in Windows 7.
Steps
Windows 10
-
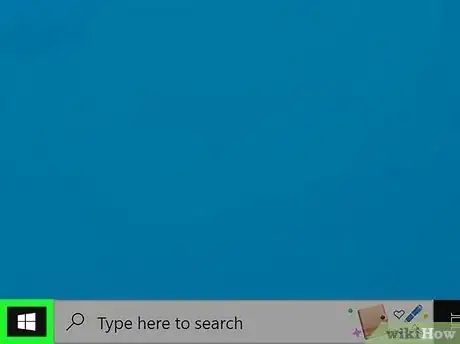
1
-
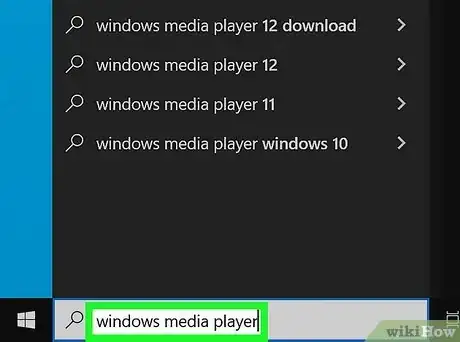
2Type in windows media player. Doing so will search your computer for the Windows Media Player application.
- Windows Media Player doesn't come included in most Windows 10 computers unless you upgraded to Windows 10 from Windows 7.
Advertisement -
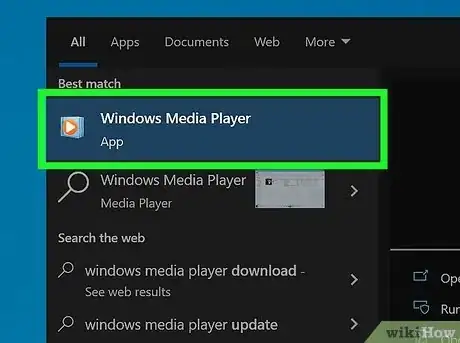
3Click Windows Media Player. It's a blue icon with an orange-and-white "Play" button on it. Windows Media Player will open.
- If you don't see Windows Media Player in the search results, it isn't installed on your computer and you won't be able to use WMP on your current computer.
-
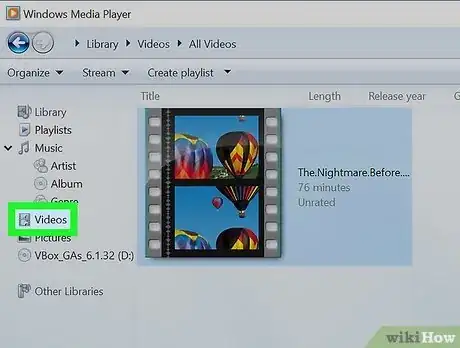
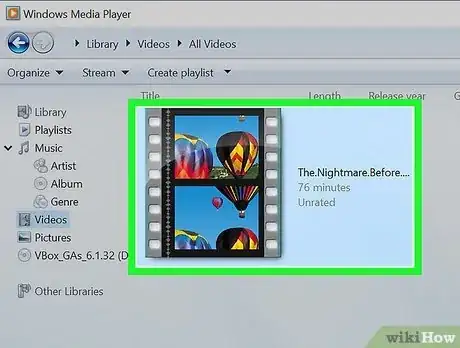
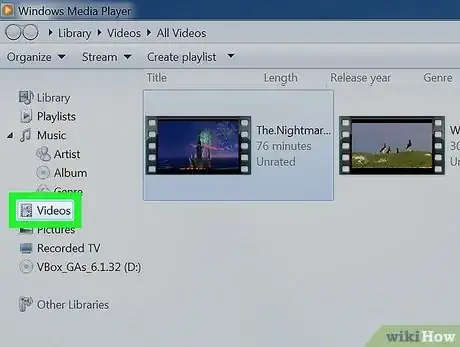
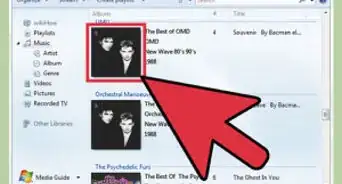
4Click Videos. It's a tab in the upper-left side of the WMP window.
- If this is your first time opening Windows Media Player in a while, the Videos tab may take several minutes to load.
-
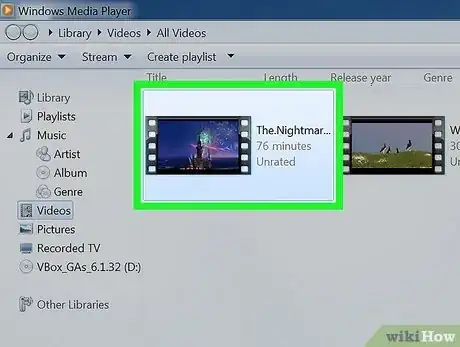
5Open a video that you want to watch. Double-click the video for which you want to take a snapshot.
-
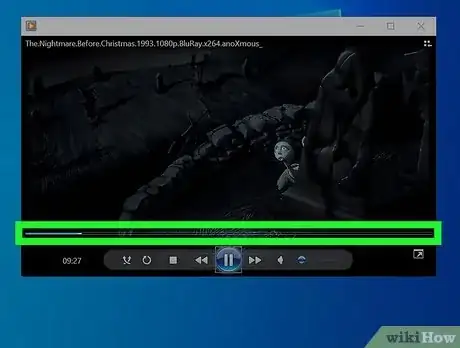
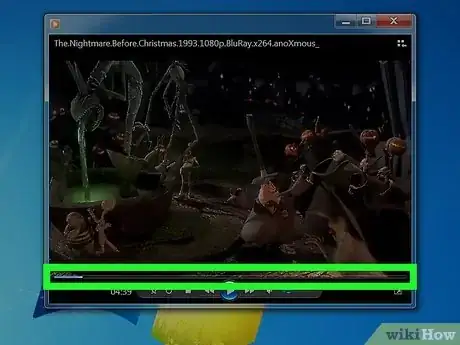
6Go to the point in the video that you want to screenshot. Click and drag the slider at the bottom of the Windows Media Player window to the right until you arrive at the frame that you want to screenshot.
-
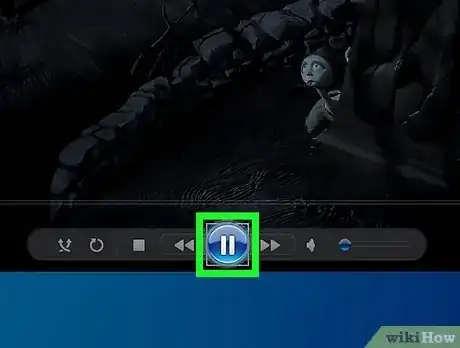
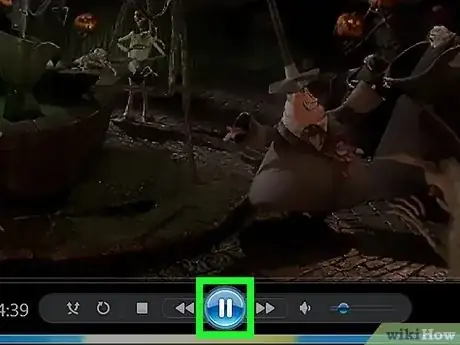
7Pause the video. Click the "Pause" button at the bottom of the window, or press the space bar on your computer's keyboard.
-
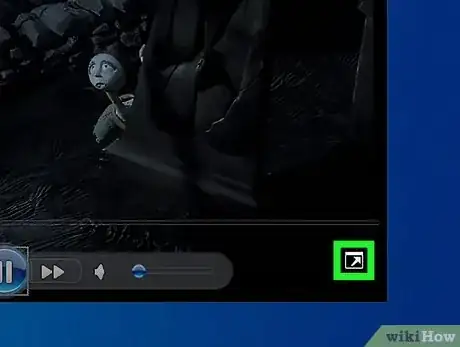
8Full-screen the video if needed. Simply double-click the middle of the video's window.
-
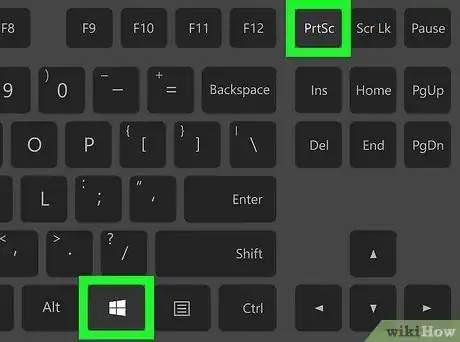
9Press the ⊞ Win key and the PrtScn key at the same time. The ⊞ Win key is in the bottom-left side of the keyboard, while the PrtScn ("Print Screen") key is in the upper-right side of the keyboard. You should see the screen dim for a brief moment, signifying that the screenshot has been taken.
- You can find the screenshot in your computer's "Screenshots" folder, which will appear in the "Pictures" folder after you've taken at least one screenshot.
- The PrtScn key may also have Prt Sc or Prt Scr on it.
- If you don't have the PrtScn button on your keyboard, try the Snipping Tool method in the next section of this article.
Windows 7
-
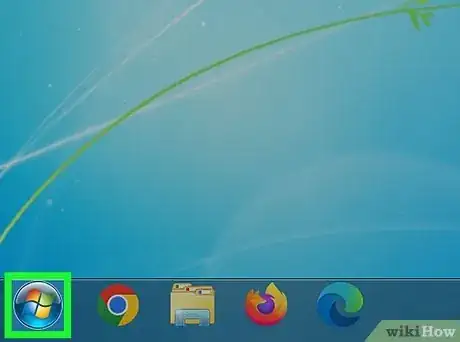
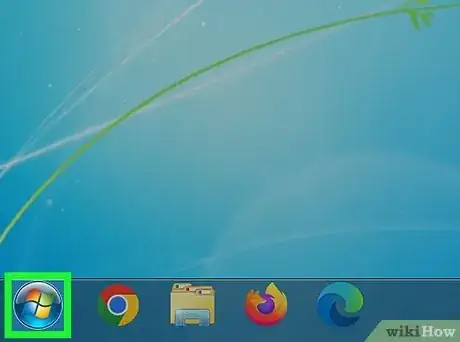
1
-
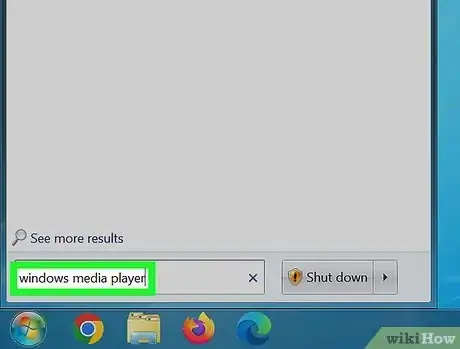
2Type windows media player into Start. Doing so will search your computer for the Windows Media Player program.
-
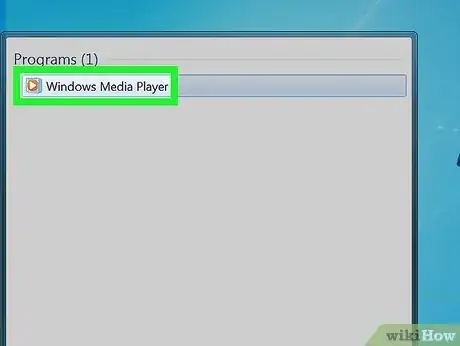
3Click Windows Media Player. It's a blue icon with an orange-and-white "Play" button on it. Windows Media Player will open.
-
4Click Videos. It's a tab in the upper-left side of the WMP window.
- If this is your first time opening Windows Media Player in a while, the Videos tab may take several minutes to load.
-
5Open a video that you want to watch. Double-click the video for which you want to take a snapshot.
-
6Go to the point in the video that you want to screenshot. Click and drag the slider at the bottom of the Windows Media Player window to the right until you arrive at the frame that you want to screenshot.
-
7Pause the video. Click the "Pause" button at the bottom of the window, or press the space bar on your computer's keyboard.
-
8
-
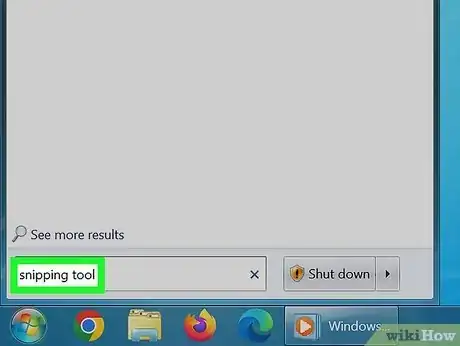
9Type in snipping tool. This will search your computer for the Snipping Tool app, which is the best way to take screenshots in Windows 7 (or Windows 10 if you don't have a "Print Screen" button).
-
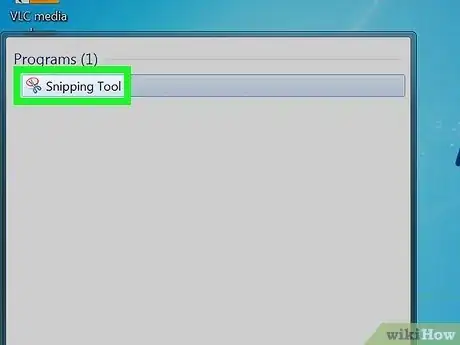
10Click Snipping Tool. It resembles a pair of scissors. You'll find this at the top of the window.
-
11
-
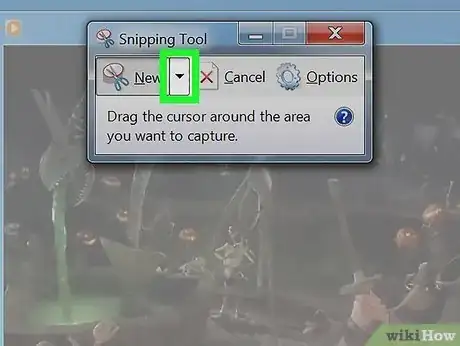
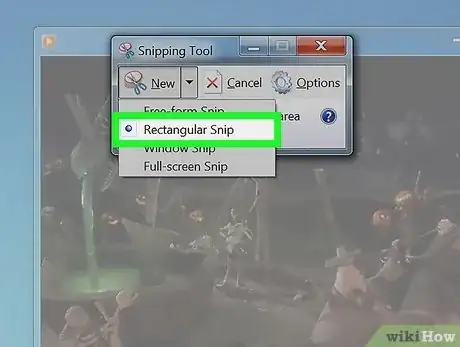
12Select Rectangular Snip. It's in the drop-down menu. This option will allow you to draw a box around the area that you want to screenshot without including non-video sections of the screen.[1]
-
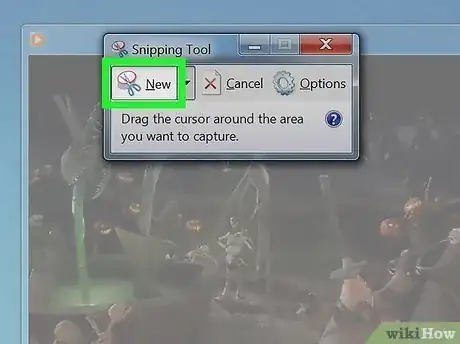
13Click New. It's in the top-left corner of the Snipping Tool window.
-
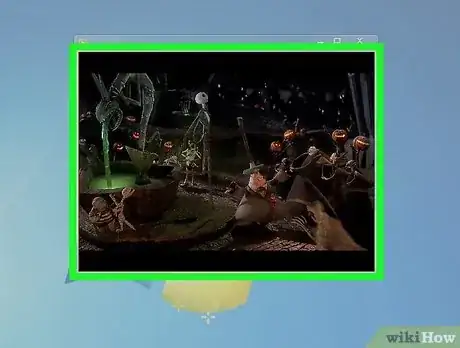
14Select the Windows Media Player window. Click the top-left corner of the video's window and drag down into the bottom-right corner of the window.
-
15Release the mouse button. Doing so will take a screenshot of everything inside of the rectangle that you drew.
-
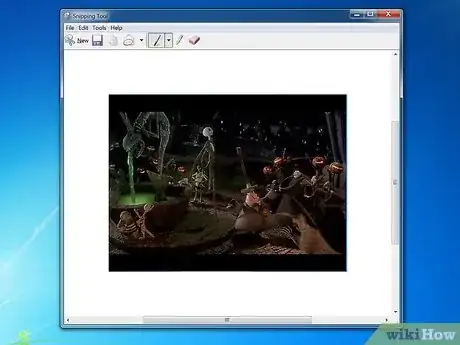
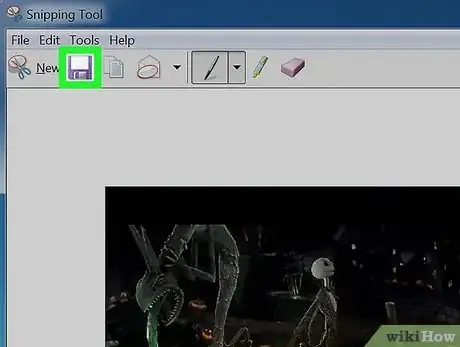
16Click the "Save" button. It's a square, floppy disk-shaped item at the top of the Snipping Tool window.
-
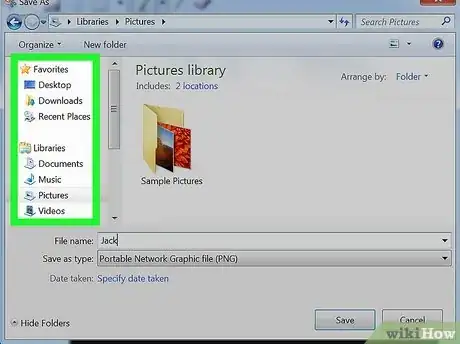
17Select a save location. Click a folder on the left side of the window to set it as the place in which you'll save your screenshot.
-
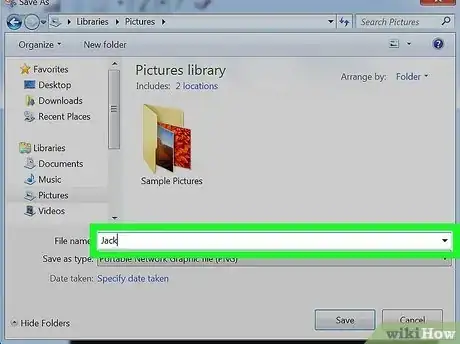
18Enter a name. Type a name for your screenshot into the "File name" text box.
-
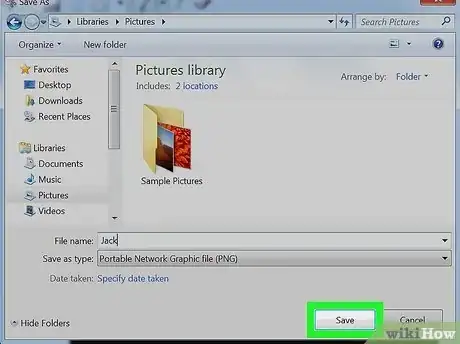
19Click Save. It's in the bottom-right corner of the window. Doing so will save your snapshot in the selected folder under the name that you chose.
Warnings
- In some cases, the "Screenshots" folder won't appear until you've taken a few screenshots. Prior screenshots will still show up in the "Screenshots" folder once it does appear.⧼thumbs_response⧽
References
About This Article
1. Start playing the video.
2. Pause the video at the right spot.
3. Make the video full screen.
4. Press the Windows Key + PrtScn at the same time.
