This article was co-authored by Jear Keokham. Jear Keokham is a Marketing Professional and the Director of Operations and Creative Strategy at Aerial Canvas, a full-service agency providing real estate marketing solutions in California. With 6 years of experience and education, he specializes in marketing strategy, content production, creative processes, and organizational systems. Jear holds a BA in Art with a Minor in History of Art from The University of California, Berkeley. His dedication to high-quality photography, cinematography, and aerial drone services has allowed for Aerial Canvas’ work to be featured on various platforms including Compass, Sotheby's, Coldwell Banker Realty, and Vanguard.
There are 17 references cited in this article, which can be found at the bottom of the page.
This article has been viewed 44,464 times.
Buildings can be awe-inspiring in their design, size, and detail. Whether they are historical, modern, abandoned, tall, or small, they all tell a story about a place and the people in that place. Taking dramatic and artistic photographs of buildings can help you share your impressions of architecture with others.
Steps
Choosing the Building
-
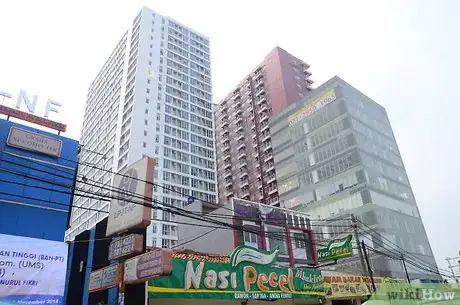
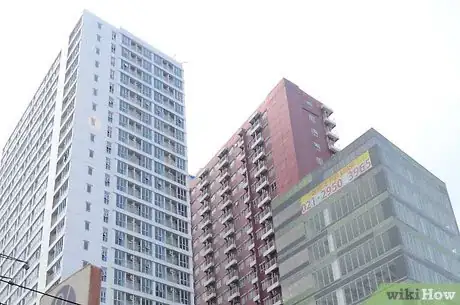
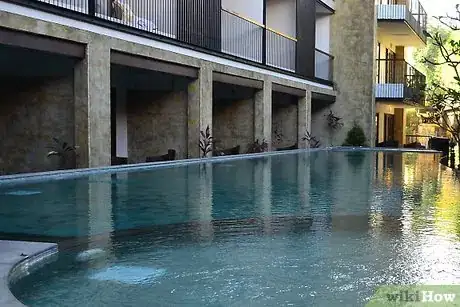
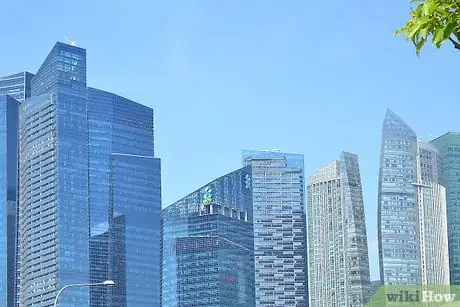
1Find a building with a unique story to tell. Old and new buildings each have a different story and can equally make excellent photograph subjects. Similarly, large and small buildings can both provide dramatic material for architectural photography. You may want to take pictures of the most photographed buildings in the world, such as the Louvre or the Empire State Building. But there are many other kinds of buildings that will also make excellent subjects. Take a picture of the smallest house in your city or a building with daring and unusual architectural design.
-
2Know your rights. Be aware of any restrictions that there might be in photographing your chosen building. Taking pictures in a public place (from a sidewalk, for example) typically does not have any restrictions. Going into someone’s home or walking onto private property, however, can potentially have limitations. You may need to obtain permission to take photographs if you are on private property, although if a private space is open to the public, it can technically be counted as public and therefore open to photographs. Keep in mind that these rights may not hold for locations outside of the United States, so you will want to be aware of legalities when taking pictures elsewhere.[1]
- When taking pictures of federal buildings in the U.S., you may rouse the attention of security guards who may tell you not to take pictures. You do, in fact, have every right to take pictures of federal buildings from public spaces, including sidewalks, plazas, parks, and streets.[2]
- If you are taking pictures in a building of worship, such as a church, synagogue or mosque, respect the customs and procedures that are observed here.
Advertisement -
3Discover the building’s history. If the building is a historical or cultural landmark, there should be a staff person who can tell you more about the building. They may also be able to point out fascinating features of the building that are meaningful to the building’s significance. If the building is abandoned, use photography to capture the spirit of the building and to help the viewer understand the building’s previous glory.[3] [4]
- In the case of an abandoned building, be sensitive to conservation efforts as well as your own safety. There may be groups trying to save part or all of the building, so leaving loose boards, materials and other elements in their original places is important. Similarly, with peeling paint, exposed wiring or rotting floors, abandoned buildings can be dangerous places. Be attentive to these safety concerns.
Assembling Your Equipment
-
1Choose your camera.
- Use a point-and-shoot camera or phone camera. Using a point-and-shoot or phone camera can be convenient but can also be limiting in terms of the versatility of your photography. Point-and-shoots are certainly cheaper (although prices for DSLRs are becoming more reasonable). They are lighter and easier to carry. They have a fixed lens, so you do not need to worry about deciding which lens to use or carry around extra lenses. Everything in a picture taken with this camera will be in focus. It can also be difficult to capture light, especially if you are taking nighttime photos.[5]
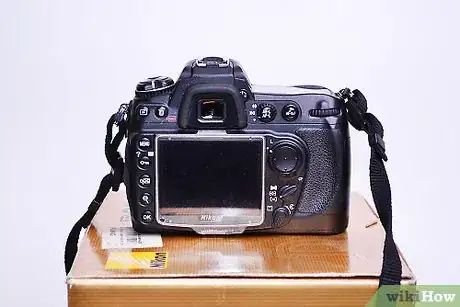
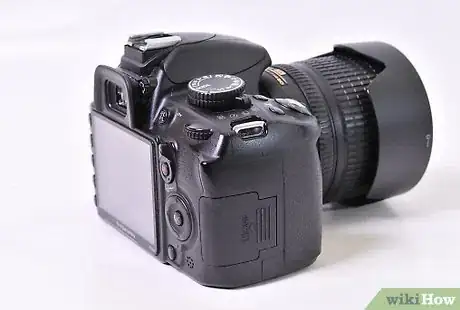
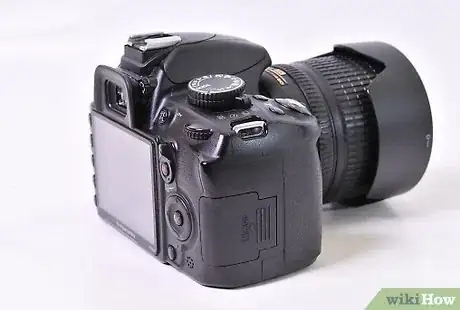
- Use a higher-end DSLR camera. A DSLR (digital single lens reflex) camera will give you more flexibility and adaptability in taking photos of buildings. You can manipulate focal and lighting settings. They have interchangeable lenses and have faster shutter speeds. They are also more durable, intended to withstand variable weather conditions (shooting in cold, heat, dusty conditions, etc.), and they should last longer than a point-and-shoot camera. These cameras range widely in terms of price, with cheaper DSLRs costing $200-$500 and high-end ones costing $10,000 or more.[6]
- Try a 35mm film camera. While traditional 35mm film cameras are less common today, passionate photographers may still choose to go with this medium. Film cameras have better control over lighting, and color and light work better together. There can also be a grainy feel to 35mm photographs, which can add a more natural, textural feel to the pictures.[7] One of the downsides to 35mm film is the added expense of working with 35mm film: you need to buy film, typically with 24 or 36 exposures per roll, and you need to develop this film.
-
2Choose your lens.
- Use a wide angle lens. A wide angle lens has a short focal length and has a wider field of view that is more akin to how the human eye sees. A wide angle lens can capture immense landscapes and buildings within one photograph. They often, however, often result in distorted photos, with vertical lines bending somewhat so that the full image is accommodated within the frame.[8] [9]
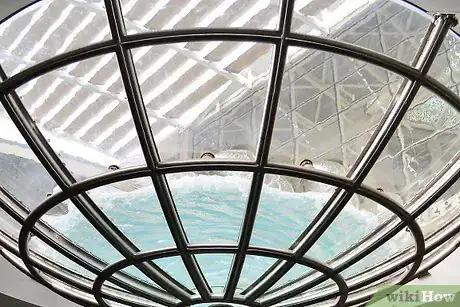
- Use a fisheye lens. A fisheye lens provides a broad view, from 180 to 220 degrees. The result is an extreme distortion of the image. This type of lens does not represent a building accurately but instead provides a dramatic, artistic effect, particularly in pictures of buildings with symmetrical lines (one half of the picture mirrored in the other half of the picture).
- Use a telephoto lens. Telephoto lenses allow you to take pictures from far away. These can be useful when taking pictures of buildings because you can be far enough away to see the entire building in the picture, but then you can zoom in to frame up the photo. This type of lens can also help minimize distortion and bending of straight lines.[10] Telephoto lenses are highly sensitive to movement, so using a tripod or somehow stabilizing the camera is necessary. [11]
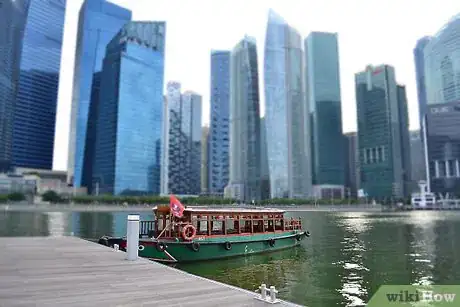
- Try a tilt-shift lens. Tilt-shift lenses allow the photographer to manipulate depth of field and perspective. These lenses move the lens’ center of perspective away from the actual center. These can allow for wider photos, such as panoramas, and straighten vertical lines that often can get distorted in pictures of tall subjects like buildings. Tilt-shift lenses can also create interesting miniaturizing effects. These lenses can be very expensive ($2,000-$3,000), and similar effects can be reproduced in some photo editing software programs.[12] [13]
-
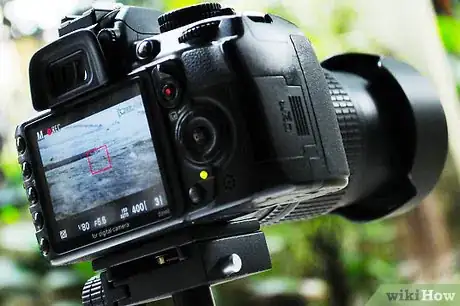
3Attach your camera to a tripod. This will ensure that your picture does not turn out shaky or blurry. This is particularly helpful when taking a photo in low light or at night. If you don’t have a tripod available, you can steady yourself against a tree or lamppost, or prop your camera on a ledge to keep it still.
-
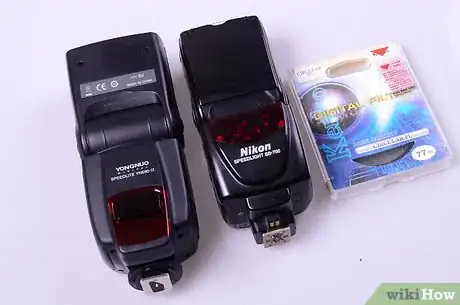
4Carry other necessary equipment. Be prepared with other equipment you might need. Depending on the location, you may find you’ll need other things to help you take good pictures. If you are taking pictures of an abandoned building, for example, bring a flashlight. A good backpack or camera case can keep your equipment organized and easily accessible while keeping your hands free to handle your camera.
Timing Your Photograph
-
1Consider the time of day. The direction of the sunlight will impact the quality of your photo. For example, glaring midday sun does little to highlight the nooks and crannies that will make for an interesting picture. It is much better to take shots in the early morning where natural light is crisp and clear, or in the early evening, when it's warm and filling. In both instances, the light is also coming in from the side, which highlights the building to its greatest advantage. Early morning may also be ideal because there tend to be fewer people walking around.[14] Consult an aerial map of the building to determine when the sun might be hitting the building. Will the sun cast a shadow of another building on your building?
-
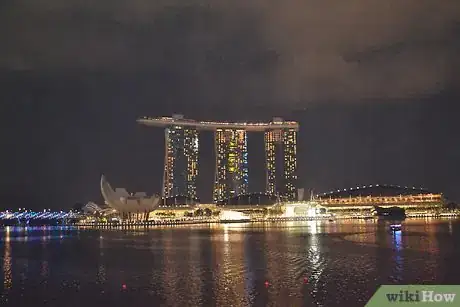
2Take a nighttime photo. Quite often, impressive-looking buildings are lit up like Christmas trees at night, and look like they'll make for an amazing photo. Beware of leaving your camera's settings on automatic as the low light and high levels of contrast can sometimes ruin your shot. Bright lights will become halos, while dark sections will be black as night. Instead, adjust your ISO settings to a night-time mode. Set a nice long exposure time to allow more light into the camera (you can use the camera’s self-timer or a cable release to ensure minimal shakiness or blurring). Any lights will look bolder and brighter with a longer exposure time, so practice getting this right.
-
3Consider the time of year. Photographing during different times of year can produce different portraits of the building. The building may be snow-covered in winter or be surrounded by leafy trees in the summer. Likewise, it may be hard to see the top of a building on a foggy or really rainy day. But that might also be an effect you’d like to capture.
-
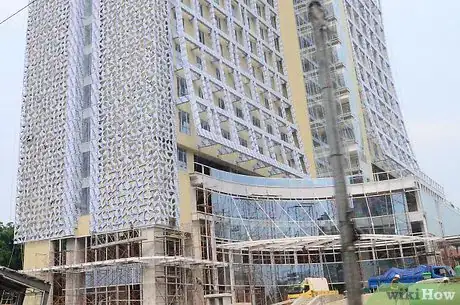
4Find out what is happening at the building. Is it under construction or renovation? Is there a major event being held there on the same day you’ll be there? These can be disruptive moments for your photograph, but they can also potentially lend special dimensions to your photograph; they allow you to capture some of the unique history of the building that may not be conveyed in a typical photo of that building.
Choosing Your Composition
-
1Explore the building’s exterior and interior. Take some time to find unique angles and details before settling on the precise focus of your photograph.[15]
-
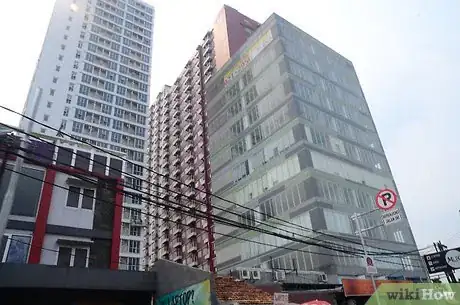
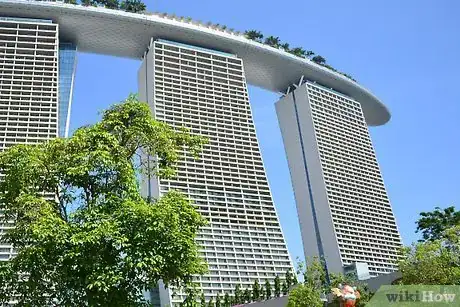
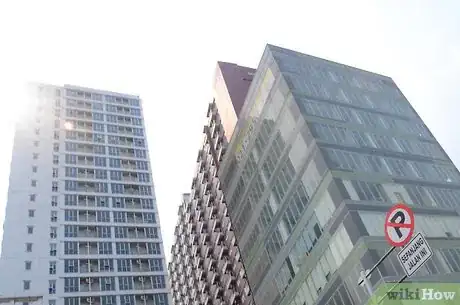
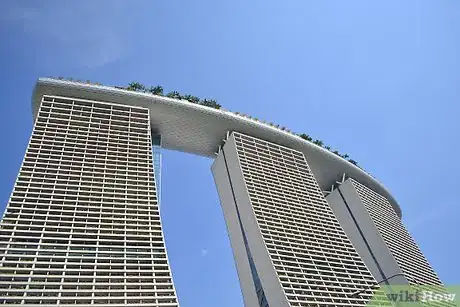
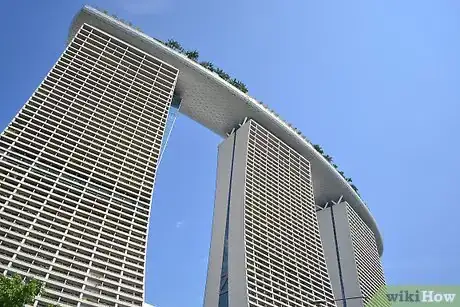
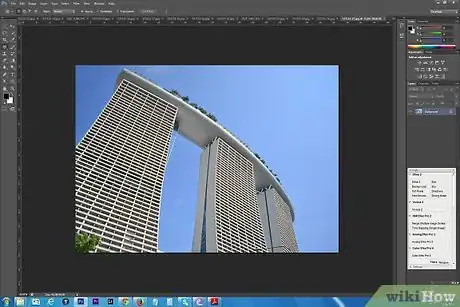
2Determine your perspective. When taking pictures of tall buildings, you may find yourself tilting your camera upwards in order to fit the entire building in the frame. This can create a distorted image in which the building looks like it is falling away. You can correct this by taking the picture from further away, using a different camera lens like a wide angle lens, or fixing the distortion with digital editing software. Alternatively, focus your picture on a different element of the building; a dramatic and creative photograph of a building does not always mean that you need the entire building in the picture. [16]
-
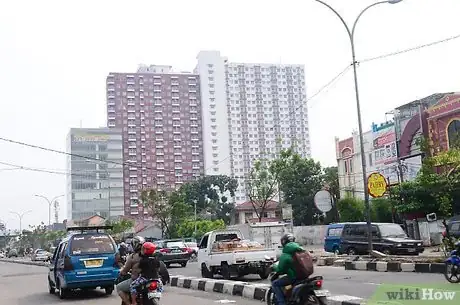
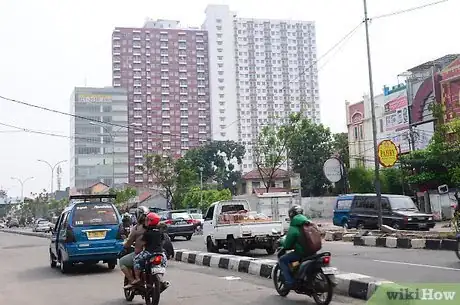
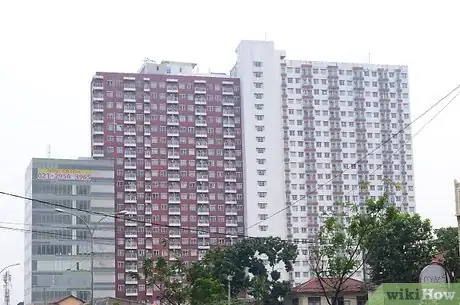
3Decide what else you want to include. Take a look at what surrounds the building: this may be the sky, other buildings, trees, or water. There may also be parked cars, garbage cans, trash, birds or pedestrians surrounding your building. Determine if these elements add to or detract from the overall sense you want to convey.[17] Be patient and wait until pedestrians pass by to snap the photo if you don’t want them in your photo.
-
4Decide on your framing. Use surrounding elements to create frames that draw attention to the main subject of your photo: the building itself. Framing can add depth and add context to your photograph. Some of the elements you can use to create a frame include windows, doorways, fences, the center of a staircase, tree branches, or people.[18]
-
5Decide on your depth of field. The depth of field is the area in your picture that will be in focus. A shallow depth of field means that objects in the foreground will be in focus and the background will be blurry. A deep depth of field will have both foreground and background in focus. Depth of field is controlled by your camera’s aperture. Set your camera to AV (aperture priority) mode. AV mode will allow you to control the aperture (how much light is let into the lens) while the camera automatically adjusts other controls. Having a larger depth of field – or having a longer range of what is in focus in your photograph – can improve a photograph of architectural structures. Set a small aperture (f/16 or above) to ensure the foreground and background are all in sharp focus.[19]
-
6Focus on details. Take close-ups of details such as gargoyles, interesting patterns on the building’s wall, or other unique features of the building. These can convey the building’s character in a way that wider shots cannot.
-
7Focus on elements of symmetry. Highlighting corners or lines that mirror each other can emphasize a building’s architectural uniqueness and design.
-
8Use water for a reflection. If you’re taking a picture near water, you might consider taking a picture of the building reflected in the water. Calm water will make a sharper reflection.
Ensuring Good Lighting
-
1Shoot outdoors. Use natural sunlight to light your building. Taking pictures in the early morning or late afternoon removes the harshness of midday sun and provides softer lighting to illuminate a building’s details.
-
2Check your white balance. Checking the white balance is a way to prevent color contrasts that are off. Cameras often reproduce whites with tinges of green, blue or orange. DSLRs usually have a white balance function in the controls; check your manual to locate and use the white balance function. White balance can also often be corrected with photo editing software.[20]
-
3Adjust your exposure: The length of your exposure will determine how light or dark the photo will be. Adjusting the lighting can correct problems of overexposure (too much light in a photo, resulting in a washed-out look) or underexposure (not enough light, resulting in a photo that is too dark). DSLRs typically have light meter functionality that will help correct the exposure. Point your camera at the main subject of your picture and make sure your light meter reading is at 0. If the meter is reading to the left of 0, it will be underexposed. If the meter is reading to the right of 0, it will be overexposed.
-
4Consult your camera’s histogram. A histogram is a feature on DSLR cameras that displays a mathematical graph of a photograph’s exposure. It depicts every pixel’s luminosity (brightness) and is useful in determining if areas of a photograph are too bright or too dark. This is especially helpful when taking pictures of a white building.[6]
Taking the Picture
-
1Be patient and double-check your subject and settings. Wait until birds or pedestrians have left the frame before snapping the photo. Check to see you have the correct aperture, focus, and exposure. Take a deep breath and press the shutter.
-
2Review your picture. Take a look on the camera’s LCD screen to review your photo. Make minor adjustments to settings, lighting, and framing, and take several more photos, adjusting each one.
-
3Keep track of your settings. Write down the camera settings and lighting conditions in a small notebook so you can see how different settings produce different effects.
-
4Don’t be afraid to experiment. Some of the most amazing photos are more happenstance than anything.
Editing Your Photos
-
1Choose your best photos. Be ruthless about choosing your top photos and put the remaining photos in another folder on your computer. Pick the photos that tell the most interesting stories, have the best lighting and composition, and convey something important about the building.
-
2Retouch your photos. Using photo editing software can correct minor imperfections in the photograph, such as eliminating a pedestrian who sneaked into the shot or a construction crane in the background that was unavoidable. Unwanted distortion can be fixed – to a certain degree – with photo editing software. This can help straighten some lines that are bent, pulling the picture straight to create truer vertical or horizontal lines. While PhotoShop is the standard and most well-known image editing software, it can be prohibitively expensive. There are cheaper – and even free – options to digitally alter images. Searching the internet for “free photo editing software” brings up a number of options and recommendations.
-
3Get feedback. Ask other photographers to critique your photos. Even asking the average person can give you insightful feedback about the elements that are the most noticeable or most moving about a photograph.
Expert Q&A
-
QuestionHow can I find inspiration?
 Jear KeokhamJear Keokham is a Marketing Professional and the Director of Operations and Creative Strategy at Aerial Canvas, a full-service agency providing real estate marketing solutions in California. With 6 years of experience and education, he specializes in marketing strategy, content production, creative processes, and organizational systems. Jear holds a BA in Art with a Minor in History of Art from The University of California, Berkeley. His dedication to high-quality photography, cinematography, and aerial drone services has allowed for Aerial Canvas’ work to be featured on various platforms including Compass, Sotheby's, Coldwell Banker Realty, and Vanguard.
Marketing Expert Take a walk around the space to get a sense for what makes it unique before you start shooting anything. Once you have a feeling for what the space communicates, you should have an idea for where you should focus.
 -
QuestionWhat should I think about if I'm shooting a house that's for sale?
 Jear KeokhamJear Keokham is a Marketing Professional and the Director of Operations and Creative Strategy at Aerial Canvas, a full-service agency providing real estate marketing solutions in California. With 6 years of experience and education, he specializes in marketing strategy, content production, creative processes, and organizational systems. Jear holds a BA in Art with a Minor in History of Art from The University of California, Berkeley. His dedication to high-quality photography, cinematography, and aerial drone services has allowed for Aerial Canvas’ work to be featured on various platforms including Compass, Sotheby's, Coldwell Banker Realty, and Vanguard.
Marketing Expert Take your audience into account. The kind of people who are interested in a brand new, modern building are going to be dramatically different from the kind of folks who would want to see a historic rowhome. That audience is going to have different aesthetic tastes and interests, so it should absolutely inform the way you shape your decisions.
References
- ↑ https://www.aclu.org/free-speech/know-your-rights-photographers
- ↑ http://documents.nytimes.com/photographing-federal-buildings-from-public-spaces
- ↑ http://digital-photography-school.com/how-to-photograph-abandoned-places/
- ↑ http://www.cnn.com/2014/02/12/travel/abandoned-buildings-irpt/
- ↑ http://photographylife.com/dslr-vs-point-and-shoot-camera
- ↑ http://photographylife.com/dslr-vs-point-and-shoot-camera
- ↑ http://www.slrlounge.com/film-still-better-digital/
- ↑ http://photography.tutsplus.com/articles/a-beginners-introduction-to-wide-angle-photography--photo-3765
- ↑ http://www.cambridgeincolour.com/tutorials/wide-angle-lenses.htm
- ↑ http://www.photographymad.com/pages/view/guide-to-architectural-photography
- ↑ http://www.lightstalking.com/the-beauty-of-the-super-long-telephoto-lens/
- ↑ http://www.cambridgeincolour.com/tutorials/tilt-shift-lenses1.htm
- ↑ http://photo.stackexchange.com/questions/23132/how-to-maximize-the-miniaturization-effect-with-a-tilt-shift-lens
- ↑ http://www.geofflawrence.com/photographing_buildings.html
- ↑ Jear Keokham. Marketing Expert. Expert Interview. 11 May 2021.
- ↑ http://digital-photography-school.com/a-true-perspective-photographing-buildings/
- ↑ Jear Keokham. Marketing Expert. Expert Interview. 11 May 2021.
- ↑ Jear Keokham. Marketing Expert. Expert Interview. 11 May 2021.
- ↑ http://www.peachpit.com/articles/article.aspx?p=2129763&seqNum=6
- ↑ http://www.cambridgeincolour.com/tutorials/white-balance.htm
