This article was co-authored by Heather Gallagher. Heather Gallagher is a Photojournalist & Photographer based in Austin, Texas. She runs her own photography studio named "Heather Gallagher Photography" which was voted Austin's Best Family Photographer and top 3 Birth Photographers in 2017, 2018, and 2019. Heather specializes in family Photojournalism and has over 15 years of experience documenting individuals, families, and businesses all over the world. Her clients include Delta Airlines, Oracle, Texas Monthly, and her work has been featured in The Washington Post and The Austin American Statesman. She is a member of the International Association of Professional Birth Photographers (IAPBP).
This article has been viewed 413,935 times.
Even with the advent of modern technology, using an old school camera gives your photographs a unique look. In addition, printing your own photographs can be a rewarding experience and a fun hobby. The most important requirement for this hobby is your darkroom and setting up this workspace is crucial. This doesn’t have to be complicated or expensive. You just need to make sure you to find the right space and set up the necessary equipment.
Steps
Setting Up Your Space
-
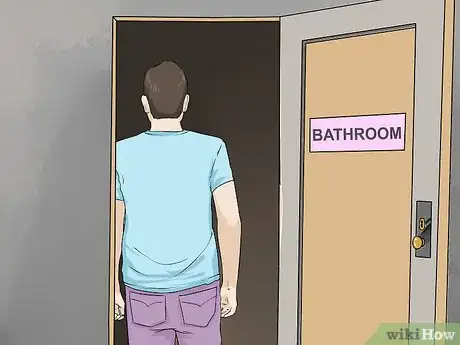
1Find a room in your home that can be made totally dark. A room with no windows is usually best, otherwise try to find a room with few small windows. A bathroom or basement room are usually best for this purpose. This room doesn’t have to be particularly big; a 25 square foot space is sufficient.[1]
- Make sure this room has an outlet for your equipment.
- Running water can also be useful but isn’t required.
-
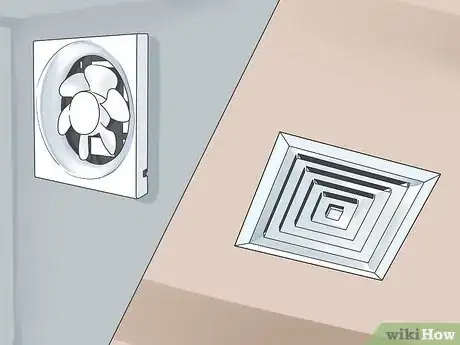
2Ensure the room is well-ventilated. If you situate your darkroom in a bathroom, you usually have a bathroom fan which can help keep the room ventilated. However, this is not ideal in the long run; chemicals are heavier than air, and most bathroom fans will struggle to completely clear the air. You’ll eventually want to invest in more powerful fans to preserve your health.[2]Advertisement
-
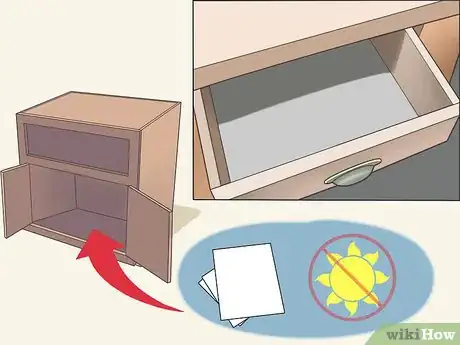
3Have a table or countertop in your darkroom. If space permits, this surface will make setting up your equipment and developing photos much easier. A desk with drawers will allow you to store some of your supplies, especially important if your darkroom has other purposes. Make sure your photo paper is stored in a drawer that doesn’t let light in.
-
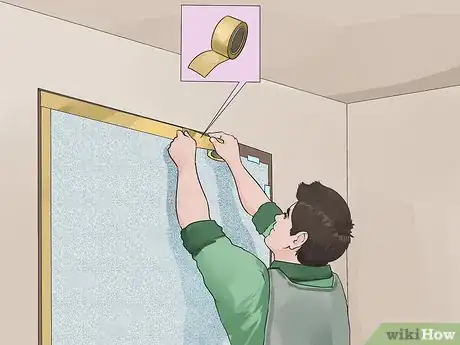
4Get your space completely dark. If your future darkroom has windows, you’ll need more than curtains or blinds to make it completely dark. Take some black fabric, cut slightly larger than the windows, and tape it around the edges of the windows. Alternatively, you can use cardboard or thin plywood to block of windows, with fabric and tape around the edges to completely seal out light. If light leaks in around the door, affix a strip of fabric along its edge in the same manner.
- You’ll have an easier time spotting encroaching light by turning off the room’s lights. As your eyes adjust to the dark, you’ll have an easier time spotting places where the light leaks in.[3]
-
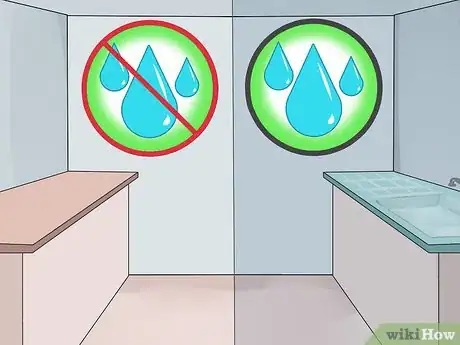
5Split your darkroom in two halves; a "wet" side and a "dry" side. You’ll want to establish this separation before you start setting up your equipment. This will protect your photos from costly mistakes, as well as make sure you don’t damage your equipment. The dry side will include your electronic equipment and should be close to the outlet. Having running water near the wet side of your darkroom will make the development process much simpler.
- Make sure to check the water quality in your darkroom; errant particles can negatively impact the development process. Run the water over a tray for 15 minutes. If there are visible particles at the bottom of the tray, you’ll need a water filter.[4]
Equipping Your Darkroom
-
1Buy used supplies. If you’re particularly knowledgeable, you can save quite a bit of money buying used. Check with friends or family in the hobby for hand me downs; knowing the previous owner means you’re more likely to get a good deal. You can also find used photo development gear on eBay and Craigslist. Make sure to check the condition of the equipment before buying.
- If you live near a college, check campus bulletin boards near the end of semesters for ads from students looking to offload supplies.
-
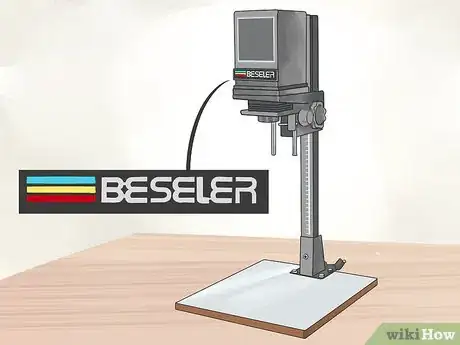
2Choose your enlarger carefully. The enlarger is the centerpiece of the darkroom, as well as the most expensive piece of equipment you’ll need to acquire. If you’re new to the hobby, look for an entry level enlarger that’s easy to use and store. Beseler has a line of enlargers aimed at newbies, made for developing 35mm film. These models also come with lenses. Not all enlargers come with a lens, especially at higher price ranges.
-
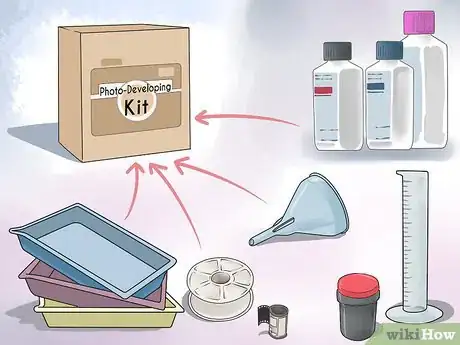
3Acquire your printing kit. You’ll get the best deal picking and choosing each article, but this requires a minimum of knowledge. Several companies have complete darkroom kits available; these give you all the equipment you need without having to shop around.[5] Keep in mind that some of these don’t include an enlarger, but will provide you with most of the equipment you’ll need.
-
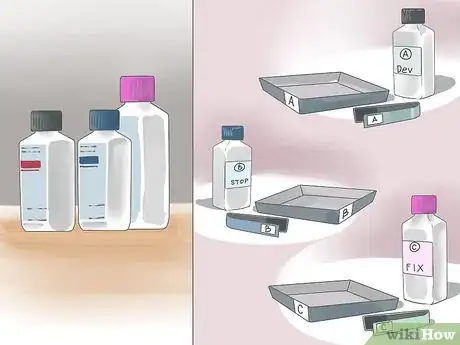
4Acquire and arrange your chemicals. Developing photographs requires three specific chemical solutions.[6] You’ll need developer, fixer and stop bath. The first two of these can be purchased from photography speciality store, while there are more options for your stop bath. You can either purchase acetic acid, pickling vinegar or a specialized premixed stop bath solution.[7]
- Make sure your trays and tongs are clearly marked, as putting chemicals in the wrong tray can contaminate your materials.
- You’ll also need a water tray close at hand to rinse your developed pictures.
-
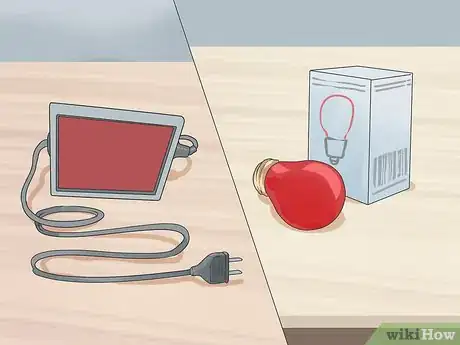
5Get a safelight. These lights provide just enough light to allow you to see your workspace, without compromising your photo paper or chemicals. These lights can get quite expensive, but many photography stores have safelight bulbs available for purchase.
-
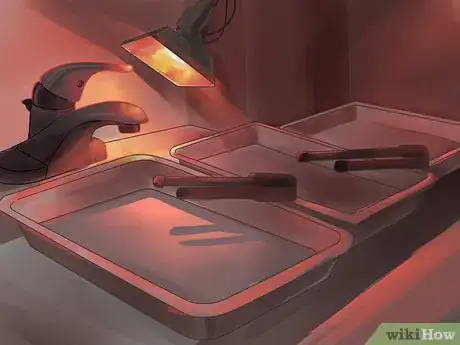
6Set up your equipment in the wet side of the darkroom. This is where the chemical processes involved in photo development takes place.[8] The equipment in this area will include:
- Funnel
- Trays
- Tongs
- Film clips (for drying processed film)
- Graduated Cylinder
- Chemicals (in their storage bottles)
-
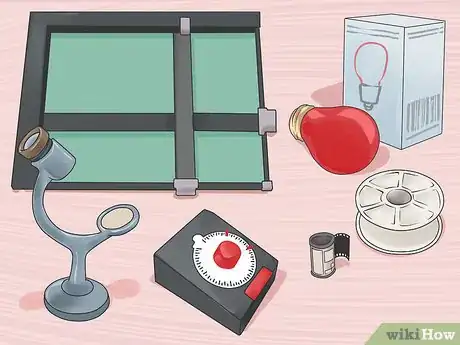
7Equip the dry side of your darkroom. This side of the room will house your enlarger and photo paper. The rest of the equipment here will include:
- Film tank and reels
- Safelight
- Easel
- Timer
- Grain magnifier
- Optional: Paper cutter used to trim your photo paper.
-
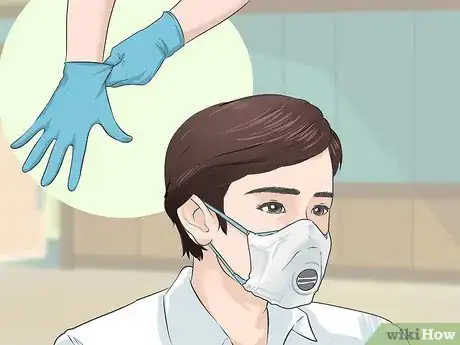
8Get the necessary safety equipment. The chemicals used in the development process can be harmful for your skin, especially if you’re planning to spend several hours in your darkroom at a time. As such, make sure to wear latex gloves when handling chemicals. Additionally, a face mask will help protect your respiratory system from the fumes created when you develop your pictures.
Expert Q&A
-
QuestionWhat are mistakes I can avoid when developing photos in a darkroom?
 Heather GallagherHeather Gallagher is a Photojournalist & Photographer based in Austin, Texas. She runs her own photography studio named "Heather Gallagher Photography" which was voted Austin's Best Family Photographer and top 3 Birth Photographers in 2017, 2018, and 2019. Heather specializes in family Photojournalism and has over 15 years of experience documenting individuals, families, and businesses all over the world. Her clients include Delta Airlines, Oracle, Texas Monthly, and her work has been featured in The Washington Post and The Austin American Statesman. She is a member of the International Association of Professional Birth Photographers (IAPBP).
Professional Photojournalist & Photographer Make sure to avoid rushing the process. It's a common mistake to not leave the photos in the stop bath for a long enough period of time. To develop properly, the photos need to run through each chemical for the proper amount of time.
 -
QuestionA gas boiler with an open flame - is that a danger in the darkroom?
 Community AnswerMost darkroom chemicals aren't too flammable, but some are. Look at the ingredients list on the packaging of the chemicals and make sure they do not contain alcohol. Also, if there is an open flame, it will most likely impact the photos by overexposing the photo paper. I suggest you find a way to block the light from the flame.
 -
QuestionWhat color should a safe bulb be?
 Community AnswerSafelight bulbs need to be red, however safelights for black and white photography paper can also use light brown glass filters, such as the Ilford 902 filter. These types of safelights only work with black and white paper; using them with color paper will fog (expose) the paper (color printing needs to be done in complete darkness).
Warnings
- Color processing is more complicated than black and white. If you wish to try color photography, be sure your lighting, enlarger, and chemicals are safe and appropriate for color printing.⧼thumbs_response⧽
- Certain jurisdictions don’t allow for the chemicals used in a darkroom to be dumped down the sink or flushed after use. Check with your local authorities.⧼thumbs_response⧽
Things You'll Need
- Enlarger and Lenses
- Three Plastic Trays
- Three Sets of Tongs
- Easel Sized for your Photo Paper
- Necessary chemicals: developer and fixer
- Optional chemicals: stop bath, hardener, washing aid and wetting agent.
- Photo Paper
- Darkroom Timer
- Tanks and Reels
- Storage bottles
- Graduated Cylinders
- Film Clips
- Thermometer
- Grain Focuser
- Multigrade Printing Filters
- Contact Printing Frame
- Funnel
- Latex Gloves and Face Mask
- Safelight[9]
References
- ↑ https://photography.tutsplus.com/tutorials/how-to-build-a-low-budget-darkroom--photo-14293
- ↑ https://www.bhphotovideo.com/explora/photography/buying-guide/traditional-darkroom-buying-guide
- ↑ https://photography.tutsplus.com/tutorials/how-to-build-a-low-budget-darkroom--photo-14293
- ↑ http://www.apogeephoto.com/the-10-steps-to-setting-up-a-home-darkroom-on-a-budget/
- ↑ https://photography.tutsplus.com/tutorials/how-to-build-a-low-budget-darkroom--photo-14293
- ↑ Heather Gallagher. Professional Photojournalist & Photographer. Expert Interview. 8 April 2020.
- ↑ https://photography.tutsplus.com/tutorials/a-simple-guide-to-setting-up-your-own-photographic-darkroom--photo-718
- ↑ Heather Gallagher. Professional Photojournalist & Photographer. Expert Interview. 8 April 2020.
- ↑ https://www.bhphotovideo.com/explora/photography/buying-guide/traditional-darkroom-buying-guide
About This Article
To build a darkroom, find a room in your house with no windows or small windows that can be easily covered. Then, tape black fabric around any windows to cut out the light. Next, split your room into a dry side and a wet side, with the dry side being for your electrical equipment and the wet side for developing photos. When your room is ready, bring in a table and your equipment, including your enlarger, chemicals, and printing kit. Finally, set up your funnel, trays, and film clips on the wet side and reels, easel, and safe light on the dry side. For tips on how to buy film equipment and how to stay safe in your darkroom, read on!
