This article was co-authored by David Zhang. David Zhang is a Professional Wedding Photographer and the Co-Owner of A Tale Ahead based in the San Francisco Bay Area. He works with his wife Annie to capture their clients’ happiest memories in life, from surprise proposals to wedding days and beyond. David and Annie are experts at capturing moments and emotions naturally and candidly, beautifully and artistically.
There are 14 references cited in this article, which can be found at the bottom of the page.
This article has been viewed 89,280 times.
If you're trying to set up a studio, you may not have the cash to purchase ready-made backdrops. For a professional backdrop, you can paint your own on a piece of canvas fabric. You can do this for backdrops at home, but it is an undertaking. If you're more interested in fun backdrops for simple home photo shoots, try streamers, fabric, or paper to create festive and bright backdrops.
Steps
Painting a Professional-Looking Backdrop
-
1Lay down a piece of plastic sheeting. Pick a big, open floor area to paint your backdrop. It needs to be big enough to lay everything flat. Put out a plastic sheet, and use painter's tape to secure it to the floor so it doesn't move around.[1]
- This sheeting needs to be big enough to go under your backdrop plus some, so pick one up from the hardware store.
- This will work best on a hard surface. If you only have a carpeted space, try putting a large piece of cardboard down.
-
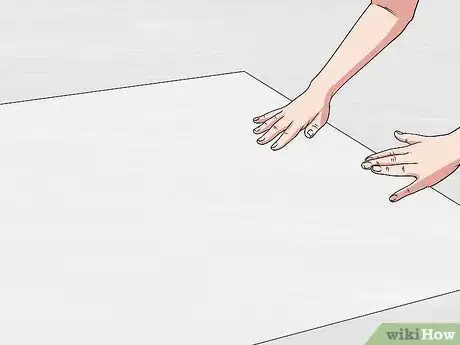
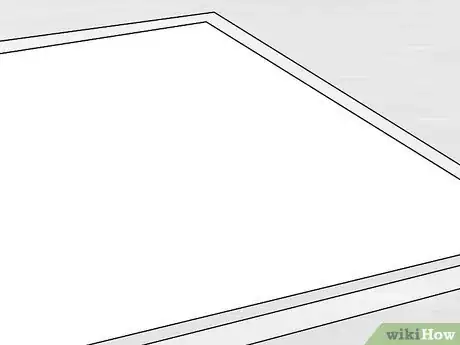
2Put your piece of canvas material on top of the sheet. Unfold the material and pull it over the plastic. Make sure to leave space around each edge on the plastic so you have room to go past the canvas a little when you're painting. You'll need at least 1 foot (0.30 m) on each side. Secure it to the plastic on the back with pieces of painter's tape rolled up on themselves to make double-sided tape.[2]
- You can purchase canvas from craft stores, but you can also buy a linen canvas dropcloth from the hardware store. The size is up to you, but 9 by 12 feet (2.7 by 3.7 m) is a good size. It should allow you to shoot full-body shots with small groups of people.[3]
Advertisement -
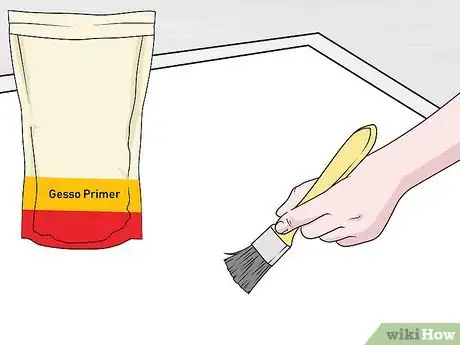
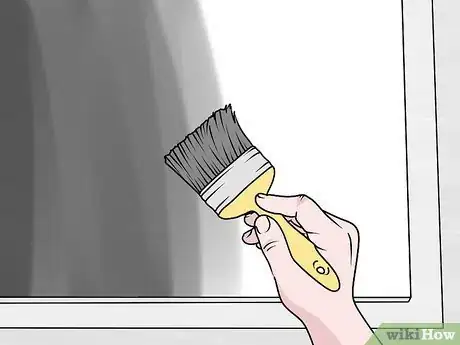
3Apply gesso primer/sealer to the canvas. Roll the primer onto the canvas, going one direction across it. Let it dry for 30 minutes, then go the other way across the fabric, perpendicularly to the direction you went the first time. Do the same for a third coat, going the same direction you went the first time. Make sure to let it dry completely before moving on to the next step.[4]
- You can also use 1 part PVA sealer mixed with 5 parts water. You may only need 2 coats with PVA.[5]
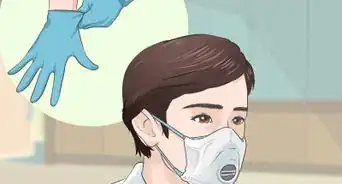
- You may want to wear gloves for this process!
-
4Paint on a dark background base color. This color will show up behind your other colors, so pick something neutral. Dark grey works well, as does dark brown. You could even use a midnight blue. Use a can of indoor acrylic paint for the best results. Apply the paint in an even coat across the canvas using a paint roller, painting in a v-shape as you move up and down the canvas.[6]
- An extended roller will make this process easier.
- Make sure this is your darkest color because it will allow the other colors to pop out in front.[7]
- Apply more than 1 layer to get an even coat.
- Wait for this layer to dry completely before moving on to the next coat. You may need to leave it for 24 hours. Wait 24 hour after you apply the second coat, too.
-
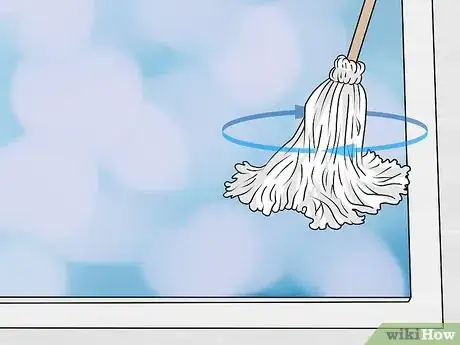
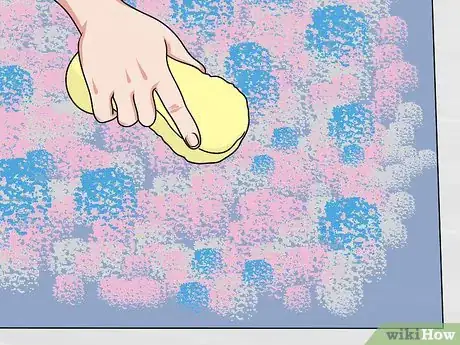
5Add your next colors, limiting it to 2-4 colors. You can add other colors in several ways. You can water one color down by 50% or so so it doesn't apply an even coat, giving it a fun splotchy effect. You can sponge it on, or you can even splatter it on. If you want the colors blended, use a clean string mop to rub the colors together using a circular motion. Make sure to blend the colors while they are still wet.[8]
- You can also splatter colors on after you've blended your other colors well.
- Pick colors that add depth to the painting but that don't stand out too much. For instance, if you start with a midnight blue as a background, you may want to add a dark grey and a muted olive green.
-
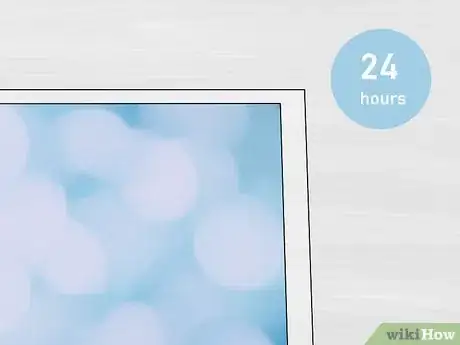
6Let the canvas dry completely before moving it or rolling it up. Let it dry for at least 24 hours, but 2 days is even better. With so many layers of paint, you want to be sure everything is solid before you try to move it. When you do roll it up, place an extra sheet of plastic on top of the canvas, and then roll it up with the layer of plastic underneath. Stick it in a cardboard tube made for backdrops to store it.[9]
- You can buy these tubes online or at photography stores.
- Store it in a cool, dark location.
Creating Fun and Colorful Backdrops
-
1Make a cheap and playful backdrop out of paint and plastic tablecloths. Lay a plastic tablecloth out on the floor. You can use any color you want. Pour some paint on a sponge in a contrasting color; washable or acrylic is fine for this. Sponge the paint all over the tablecloth. Let it dry and then go over it with another color if you want. Hang your tablecloth on a piece of string or rope, attaching it with binder clips, and you're done![10]
- For instance, try a blue tablecloth and sponge purple and grey on it.
- If you don't want to use paint, string multiple tablecloths next to each other so they hang down like gathered curtains, creating vertical stripes of color. You can use a selection of colors for a rainbow effect.
-
2Use a poster board for quick and easy headshots. You can get poster board for very cheap at dollar stores, and it comes in a variety of colors. You can tape it up to a wall, and then get in close for a headshot![11]
- If you want to make this more interesting, try stamping shapes like hearts or stars on it in contrasting colors.
-
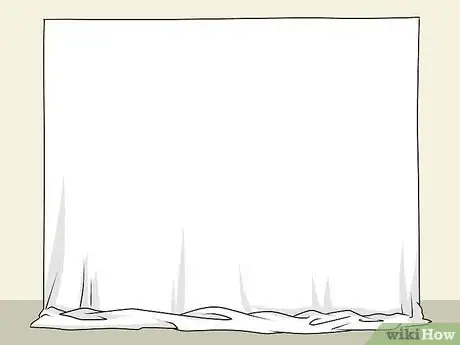
3Tape a sheet or piece of fabric to create an easy, large backdrop. Pick a pretty sheet or curtain with a fun pattern or solid color. Tape the fabric up on the wall using painter's tape, making sure to smooth out any wrinkles in the fabric. Let it hang down to the floor. You can even use the end of it on the floor for your subject to stand on.[12]
- You can also just go buy 1 to 2 yards (0.91 to 1.83 m) of fabric from a craft store. It's fairly cheap, and you won't need much to make a pretty backdrop.
-
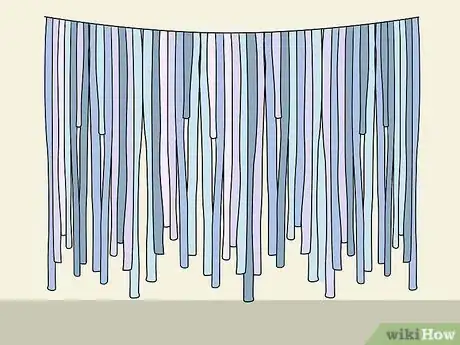
4Glue or tape streamers onto a string. Measure out a length of string; make it equal to the width you want your backdrop to be. Pick up streamers in the colors you'd like, and cut them to the length you want with 4–6 inches (10–15 cm) extra for taping. Wrap the top of the streamer over the string and tape or glue it in back. Add more streamers, alternating colors, until you have enough to form the width of the backdrop. Make knots in the ends of the string and hang it up with tacks or hooks.[13]
- The length depends on what kind of shot you're doing. If you want a full-length body shot with an adult, it will need to be 5 to 6 feet (1.5 to 1.8 m). If you're taking pictures of a child, it may only need to be 3 to 4 feet (0.91 to 1.22 m) in length. At a minimum, it should be 4 to 5 feet (1.2 to 1.5 m) wide.
- For a backdrop you can use over and over, try tying lengths of ribbon on the string instead.
-
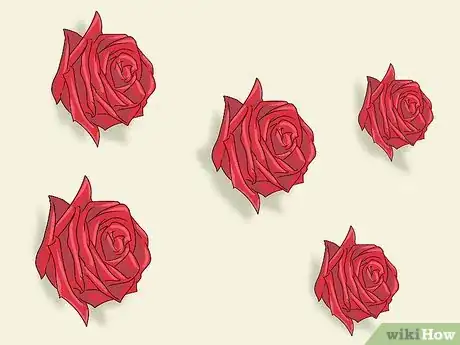
5Create a backdrop out of handmade paper flowers for a romantic feel. Buy a selection of colorful paper, and then make paper flowers by hand. Tape the flowers up on the wall, making sure to cover up as much of the wall as you can. Try alternating different colors for a fun and festive look.[14]
- If you don't have that many flowers, fill in space behind the flowers with extra sheets of paper. You could even cut them into hearts.
-
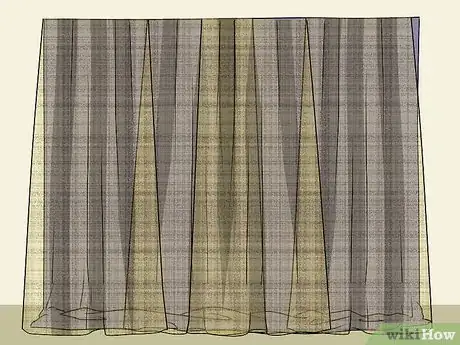
6Make a sparkly background using glitter curtains. Start by hanging up dark-colored plastic tablecloths on the wall with painter's tape. These will provide a nice contrast. Then, tape glitter curtains across the top of the wall and let them hang down. You can leave it like that or add fun shapes hanging from the top.[15]
- For instance, cut hearts or stars out of metallic paper and hang them in front of the curtain at various heights. Hang them from the ceiling with string in a similar color.
-
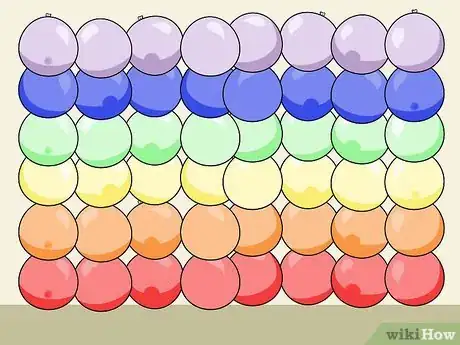
7Line balloons up on the wall in lines for lots of color. You can choose 1 color for your balloons, alternating colors, or rainbow colors. Blow up your balloons and then use painter's tape or clear tape to stick them to the wall in a pattern you like! Rows work really well, particularly if you're alternating colors.
- You can even hang thin streamers from the ceiling that will fall down in front of the balloons for more color.
-
8Create a photobooth for a fun experience. Create a booth area where party guests can take pictures. Then, stock it with fun props like silly hats, wigs, signs, and more. The guests will have a great time taking silly pictures, and they'll create fun memories for everyone to look back on for years to come.[16]
- You can hire a photographer to man the photobooth during the party, or you can just let guests take photos themselves. For instance, you might set up the area with disposable or Polaroid cameras, or you could even guests use their own smartphones.[17]
Expert Q&A
Did you know you can get expert answers for this article?
Unlock expert answers by supporting wikiHow
-
QuestionWhat do you need for a photo booth?
 David ZhangDavid Zhang is a Professional Wedding Photographer and the Co-Owner of A Tale Ahead based in the San Francisco Bay Area. He works with his wife Annie to capture their clients’ happiest memories in life, from surprise proposals to wedding days and beyond. David and Annie are experts at capturing moments and emotions naturally and candidly, beautifully and artistically.
Professional Photographer
-
QuestionWhat's a fun backdrop I can use for a party?
 David ZhangDavid Zhang is a Professional Wedding Photographer and the Co-Owner of A Tale Ahead based in the San Francisco Bay Area. He works with his wife Annie to capture their clients’ happiest memories in life, from surprise proposals to wedding days and beyond. David and Annie are experts at capturing moments and emotions naturally and candidly, beautifully and artistically.
Professional Photographer
Things You'll Need
Painting a Professional-Looking Backdrop
- Protective gloves
- Large plastic sheets
- Painter's tape
- Large piece of canvas material or canvas linen dropcloth
- Gesso or PVA sealer
- Paint rollers and brushes
- Paint roller extender
- Acrylic paint
- Cardboard tube for backdrops
Creating Fun and Colorful Backdrops
- String
- Plastic Tablecloths
- Sponges
- Paint
- Streamers or ribbon
- Fabric
- Tape
- Scissors
- Colorful paper
- Glitter curtains
- Balloons
References
- ↑ https://www.diyphotography.net/how-to-make-diy-handpainted-backdrop/
- ↑ https://www.youtube.com/watch?v=de2Oeifkec8&feature=youtu.be&t=53
- ↑ https://www.diyphotography.net/how-to-make-diy-handpainted-backdrop/
- ↑ https://www.diyphotography.net/how-to-make-diy-handpainted-backdrop/
- ↑ https://www.youtube.com/watch?v=de2Oeifkec8&feature=youtu.be&t=73
- ↑ https://www.youtube.com/watch?v=de2Oeifkec8&feature=youtu.be&t=98
- ↑ https://www.diyphotography.net/how-to-make-diy-handpainted-backdrop/
- ↑ https://www.youtube.com/watch?v=de2Oeifkec8&feature=youtu.be&t=110
- ↑ https://www.diyphotography.net/how-to-make-diy-handpainted-backdrop/
- ↑ https://www.youtube.com/watch?v=1EwInWC3Flc&feature=youtu.be&t=103
- ↑ https://youtu.be/cGu5BPmKO_E?t=126
- ↑ https://www.youtube.com/watch?v=cGu5BPmKO_E&feature=youtu.be&t=279
- ↑ https://www.youtube.com/watch?v=QMCwrwzrnmA&feature=youtu.be&t=144
- ↑ https://www.youtube.com/watch?v=Dan7RO32HMQ&feature=youtu.be&t=60
- ↑ https://www.youtube.com/watch?v=YWJLQb4hU0E&feature=youtu.be&t=39
- ↑ David Zhang. Professional Photographer. Expert Interview. 26 January 2021.
- ↑ David Zhang. Professional Photographer. Expert Interview. 26 January 2021.
