This article was co-authored by wikiHow staff writer, Amy Bobinger. Amy Bobinger has been a writer and editor at wikiHow since 2017. She especially enjoys writing articles that help people overcome interpersonal hurdles but frequently covers a variety of subjects, including health and wellness, spirituality, gardening, and more. Amy graduated with a B.A. in English Lit from Mississippi College in 2011 and now lives in her hometown with her husband and two young sons.
There are 11 references cited in this article, which can be found at the bottom of the page.
This article has been viewed 14,602 times.
Learn more...
Steaming a wig is a great way to set it for long-lasting, frizz-free hold. It's usually done with a hand-held steamer, but don't worry—you can still add volume and style to your wig even if you don't have one. Holding the wig over steam will give you a similar effect, and it's gentle enough to work on even cheaper synthetic wigs. If you have a human hair or heat-resistant synthetic wig, try wrapping the wig in a damp towel and placing it under a hooded dryer to securely set the style of your dreams!
Steps
Steaming with Boiling Water
-
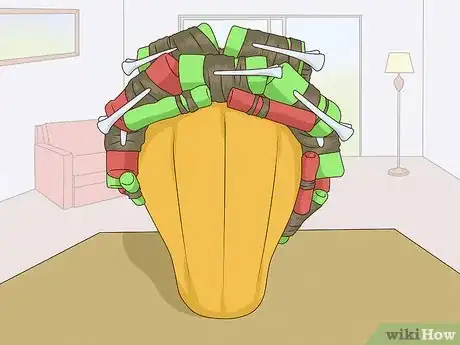
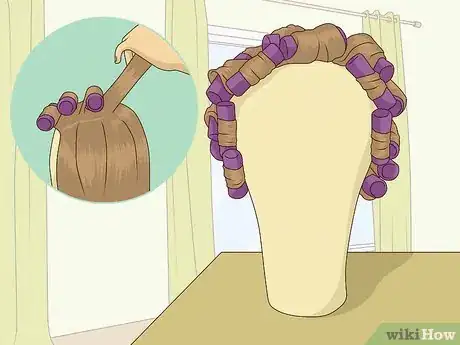
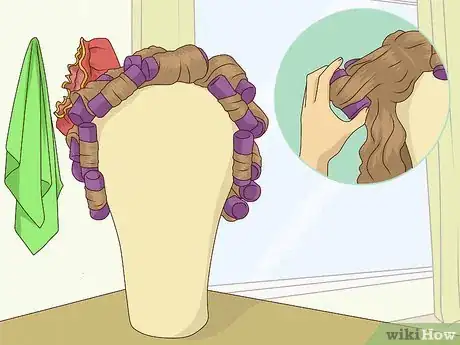
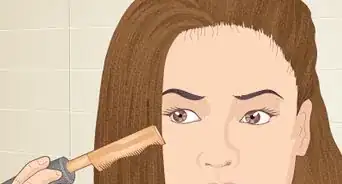
1Set your wig with rollers and pin it to a wig form. Before you can steam your wig, you have to style it. Use the pointed end of a comb to section out pieces of hair, then wrap each section around a roller. Use clips or pins to secure the rollers, and continue until you've rolled the entire wig.[1] Then, slide T-shaped pins through the wig and into your wig form or mannequin head so the wig won't slide around or fall off while you're steaming it.[2]
- Use larger sections to create glamorous loose waves, or opt for smaller sections if you want tighter, more dramatic curls.[3]
- Typically, the style will look best if you roll the hair away from the front, rather than toward it.
- Since you'll be steaming the hair, you don't need to use hot rollers. Furthermore, hot rollers can damage synthetic wigs.
-
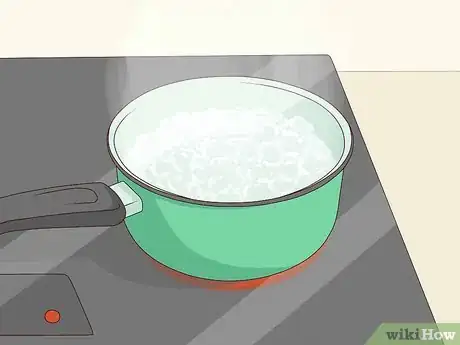
2Heat a pot of water to boiling, then let it simmer. Fill a medium-sized saucepan about 2/3 of the way, then set it on your stove on high heat. Allow the water to come to a boil, then decrease the heat to about medium—just enough so the water isn't boiling vigorously anymore, since you don't want it to splash and burn you or your wig.[4]
- It's best to use distilled water for this, as tap water might have contaminants that could build up in your wig over time. However, if you don't have distilled water, tap water will work.[5]
- If the water isn't steaming enough, turn the heat back up slightly.
Advertisement -
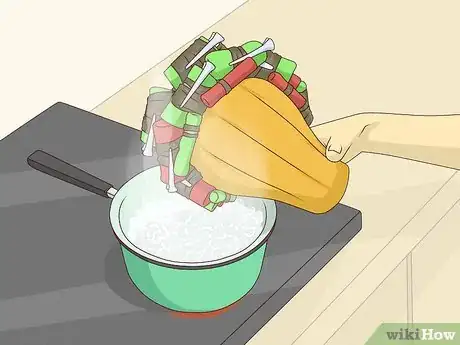
3Hold the wig over the pot carefully. Double-check that the wig is secure on the wig form. Then, hold the bottom of the wig form and lower the wig into the steam coming from the pot of water.[6]
- If you have a wig stand, you may want to use it to hold the wig, but you can also just hold the bottom of the wig form.
- Be careful not to put your hands into the steam, or it could burn you.
- Don't let the wig touch the water—just hold it in the steam.
-
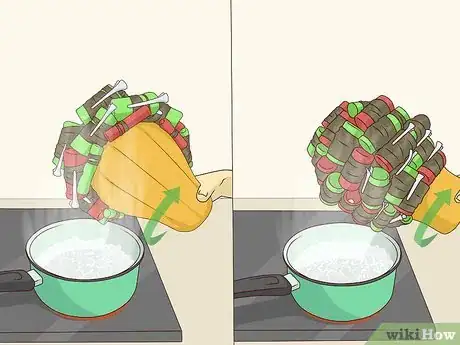
4Saturate all of the rolled hair with the steam. Since the steam will actually set the hair, it's important to make sure you let the steam penetrate into every section of the wig. However, try to keep the wig moving constantly so the steam doesn't sit in one place for too long—the heat could damage the wig.[7]
- Hold the wig over the steam longer in areas where the hair is thickest, like the crown, and a little less where it's thinner, like around the hairline.
-
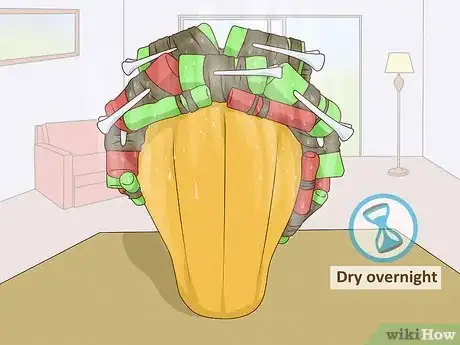
5Let the wig dry overnight. It's best to air dry your wig, especially if it's synthetic—the heat from a blow dryer could damage the fibers. However, even for heat-resistant wigs, it's best to let the hair cool overnight to really set the style in.[8]
- Make sure the hair is completely dry before you take out the rollers. Otherwise, the style may fall flat, undoing all your hard work.[9]
-
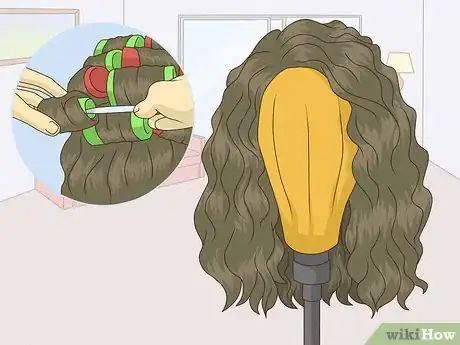
6Remove the rollers and rock your new style. Working on one section at a time, carefully remove the clip or pin holding each roller in place. Gently unroll the hair—don't pull too hard or you might lose the curl. Once all of the rollers are out, use your fingers or a comb to gently smooth the curls.
- Repeat this process any time you want to change your wig's hairstyle, or whenever it just needs a bit of a refresh.
Using a Hooded Dryer
-
1Style the wig with rollers and pin it to a mannequin head. First, set the style you want the wig to have after you steam it. To do that, create small sections of hair with the pointed end of a comb, and wrap each one of the sections around a cold roller. Typically, it's easiest to start rolling at the top of the wig and work your way down the back. Once the entire wig is rolled, use T-pins to attach the wig to a wig form or mannequin head.[10]
-
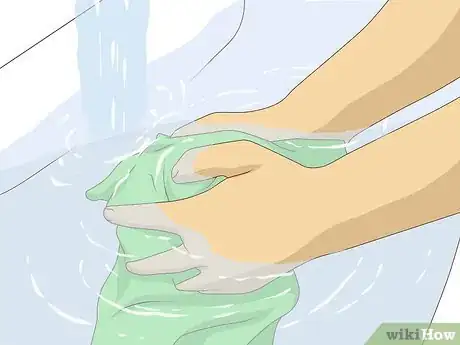
2Soak a towel or turban in water. Choose a towel that will wrap all the way around your head, or opt for a thick turban if you have one. Run it under your sink until it's completely saturated with water.[13]
- It's okay to wring the towel out a little so it doesn't drip everywhere, but it's best if the towel is very wet, rather than just damp.
-
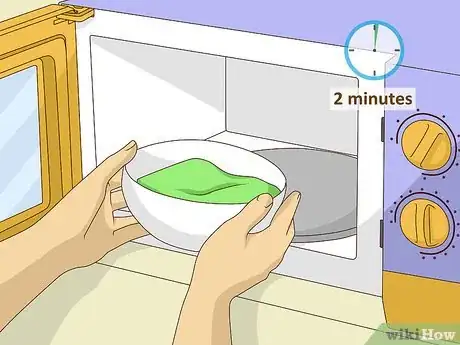
3Microwave the towel for 2 minutes. Place the towel in a large microwave-safe bowl, then put that in your microwave. Heat the towel on high for about 2 minutes, or until it's steaming hot. Then, take the towel out of the microwave and let it cool until you can comfortably handle it.[14]
- If you don't have a microwave or your microwave isn't big enough for this, heat water in a pot on the stove and pour it over the towel. However, be very careful so you don't burn yourself.
-
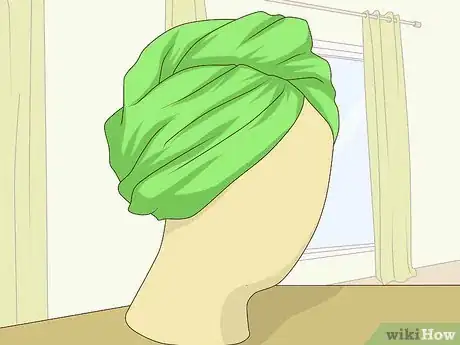
4Wrap the towel loosely around the wig form. Once the towel has cooled enough that you can handle it, wring it out slightly, just enough so it's not dripping everywhere. Then, drape it gently around the wig, being sure to cover every part of the hair.[15]
- If you have heat-resistant gloves, you can wear those so you can handle the towel while it's still hot.
-
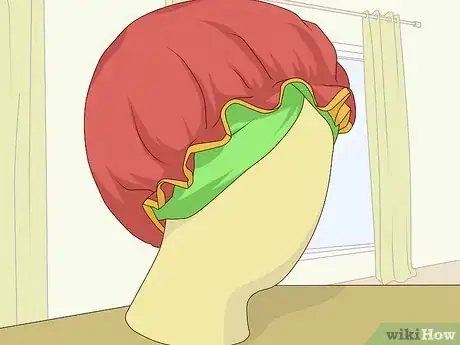
5Cover the towel with a plastic bag or shower cap. If you have a shower cap that's big enough to fit over the wig, the rollers, and the towel, use that. If not, use a plastic bag, tying it in a knot so it fits tightly all around the wig form.[16]
- The plastic will help seal in the steam from the towel, so it's important not to skip this step.
-
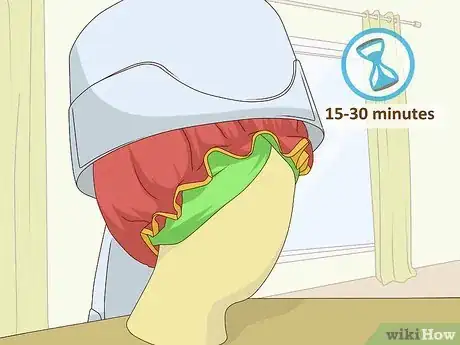
6Place the wig under a hooded dryer on low for 15-30 minutes. Keep in mind that you're not trying to dry the wig here. You just need the heat from the dryer to create steam under the towel, which will help set your curls.[17]
- If you have a synthetic wig, only do this if your dryer has a cool or low heat setting, and don't leave the wig under the dryer for more than about 15 minutes.
- If you have a heat-resistant synthetic wig or a wig made of human hair, you may be able to leave it under the dryer longer. Just check it every 10-15 minutes to make sure it isn't getting too hot.
-
7Let the wig dry overnight, then remove the rollers. Take the wig out from under the dryer and carefully remove the plastic bag or shower cap. Unwrap the towel and either place it in the dryer or hang it up to dry. Then, set the wig somewhere out of the way so it can dry.[18]
- Make sure the wig is totally cooled and dry before you take out the rollers. Otherwise, the curl may not set completely.[19]
- To remove the rollers, remove the clip or pin that holds each one in place. Gently unroll the hair from the roller, then move to the next one. Use your fingers or a comb to smooth the hair down after you get all of the rollers out.
Things You'll Need
Pot of Water
- Comb
- Rollers & clips
- T-shaped pins
- Wig form or mannequin head
- Medium saucepan
Hooded Dryer
- Comb
- Rollers & clips
- T-shaped pins
- Wig form or mannequin head
- Towel or turban
- Microwave-safe bowl
- Microwave
- Plastic bag or shower cap
References
- ↑ https://youtu.be/xlchg4v57aA?list=PLaZ8TSlnObDAAVezwZX8yITivQ0tD277s&t=33
- ↑ https://youtu.be/eim4PU9aycY?t=132
- ↑ https://www.marieclaire.com/beauty/news/a16422/how-to-use-hair-rollers/
- ↑ https://youtu.be/xlchg4v57aA?list=PLaZ8TSlnObDAAVezwZX8yITivQ0tD277s&t=33
- ↑ https://youtu.be/5ohqhN6HTcc?t=245
- ↑ https://youtu.be/xlchg4v57aA?list=PLaZ8TSlnObDAAVezwZX8yITivQ0tD277s&t=76
- ↑ https://youtu.be/xlchg4v57aA?list=PLaZ8TSlnObDAAVezwZX8yITivQ0tD277s&t=76
- ↑ https://youtu.be/xlchg4v57aA?list=PLaZ8TSlnObDAAVezwZX8yITivQ0tD277s&t=103
- ↑ https://www.jacksonfreepress.com/news/2013/oct/23/wig-out/
- ↑ https://youtu.be/xlchg4v57aA?list=PLaZ8TSlnObDAAVezwZX8yITivQ0tD277s&t=33
- ↑ https://www.marieclaire.com/beauty/news/a16422/how-to-use-hair-rollers/
- ↑ https://youtu.be/j6RGbrLQ2HU?t=60
- ↑ http://www.curlynikki.com/2012/08/how-to-steam-natural-hair-without.html
- ↑ https://joujouhairstudio.com/blog/diy-how-to-steam-your-hair-at-home-no-steamer-required
- ↑ http://www.curlynikki.com/2012/08/how-to-steam-natural-hair-without.html
- ↑ https://joujouhairstudio.com/blog/diy-how-to-steam-your-hair-at-home-no-steamer-required
- ↑ https://www.beautydepotusa.com/how-to-care-for-your-wig/
- ↑ https://youtu.be/xlchg4v57aA?list=PLaZ8TSlnObDAAVezwZX8yITivQ0tD277s&t=103
- ↑ https://www.jacksonfreepress.com/news/2013/oct/23/wig-out/
