This article was co-authored by Nikia Londy. Nikia Londy is a Hair Augmentation Specialist and the Founder and CEO of Intriguing Hair, a one-stop solution for women from all ethnicities wanting to purchase high-quality human hair extensions, hairpieces, and wigs. With over 16 years of experience, she specializes in artificial hair integrations, hair extensions, hair loss, hairpieces and wigs, and non-surgical hair replacement. Nikia holds a BA in Organizational Leadership from Charter Oak State College and received her Cosmetology Certification from Blaine Beauty School. She is also a member of the American Hair Loss Council.
wikiHow marks an article as reader-approved once it receives enough positive feedback. In this case, 83% of readers who voted found the article helpful, earning it our reader-approved status.
This article has been viewed 477,137 times.
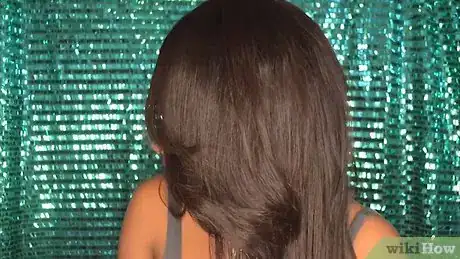
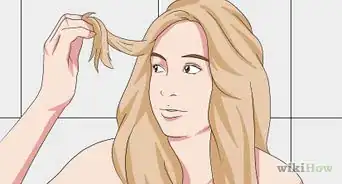
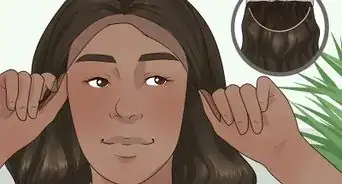
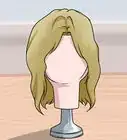
Making a wig for everyday use can be a difficult, time-consuming task, so it usually gets left up to the professionals. If you're interested in trying to make a wig yourself, however, you can do so as long as you have the right tools and plenty of patience. Here's how to do it.
Steps
Taking Measurements
-
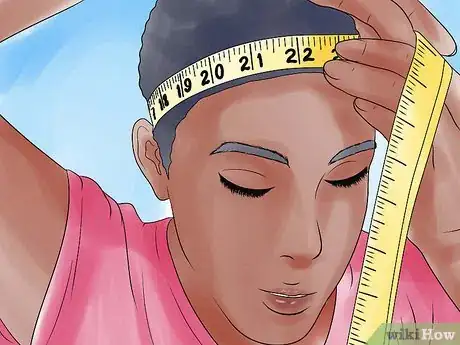
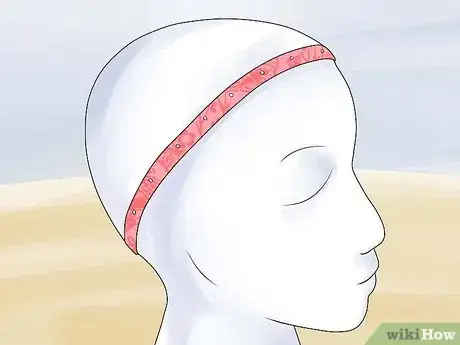
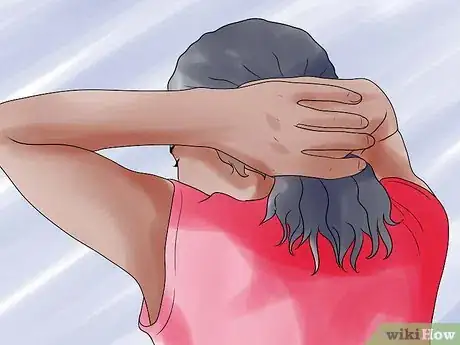
1Measure around the head at the hairline.[1] Use a cloth tape measure to measure along the hairline. The tape measure should extend from the base of your hairline at your neck to the top of your hairline at the forehead.
- The tape measure should wrap just above the ears on either side of your head.
- Do not pull the tape measure. It should lie flat against flattened hair, but it should not be taut.
-
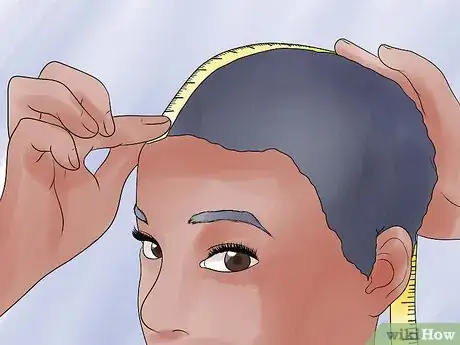
2Measure down the center top of your head. Place the end of a cloth tape measure at the center of your forehead, matching the end of the tape measure to the beginning of your natural hairline. Drape the tape measure over the crown of your head and down to the middle of the nape, where you natural hairline ends.
- As before, do not pull the tape measure. It should lie flat against flattened hair without being taut.
Advertisement -
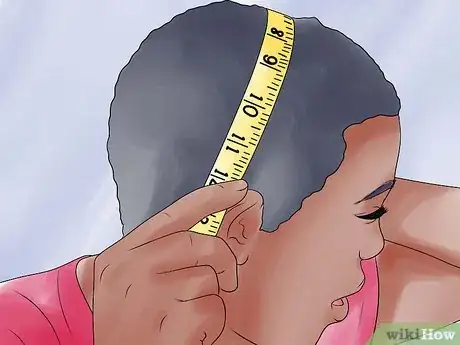
3Measure from one ear to the other. Bring the end of the cloth tape measure to the uppermost point at which your ear connects to the rest of your head. Drape the tape measure over the crown of your head and back down to the same position of the opposite ear.
- The tape measure should rest on both ears along the point at which eyeglasses or sunglasses would sit.
- Once again, the tape measure should lie flat against flattened hair but should not be pulled tight.
Forming the Wig Foundation
-
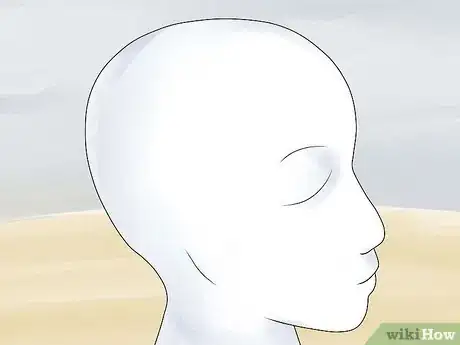
1Transfer your measurements to a wig block.[2] Draw a rough sketch of the perimeter of your head based on the measurements you took. Use your cloth tape measure to measure out the same distances for the perimeter of your head, the crown of your head, and the distance between your ears.
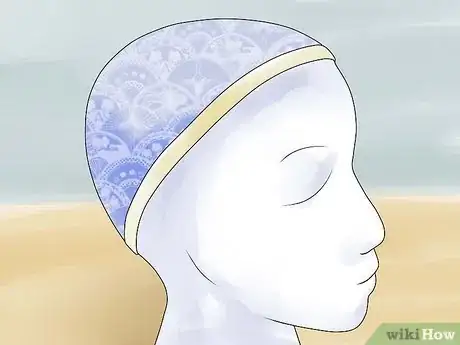
- Alternatively, you could find a cotton lace cap or other fine net cap that will fit your head and place that over the wig block. It will not be a custom fit, but doing this can be easier than trying to form and apply strips of cotton lace.
-
2Nail cotton ribbons to the block. Line cotton ribbon along the perimeter of your wig outline, as drawn previously. Gently hammer this ribbon onto the wig block using small nails.
- If you decide to use a Styrofoam head instead of a wooden wig block, you can use sewing pins instead of nails to attach the ribbons.
- Make sure that the ribbons are as flat as possible on the wig block.
-
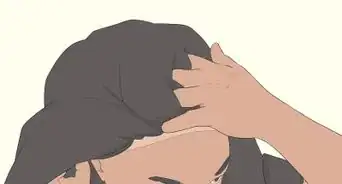
3Apply wet cotton lace. Moisten strips of cotton lace by quickly spritzing them with water from a spray bottle. Drape the strips of cotton lace over the wig block and stitch them to the ribbon.
- Note that the strips of cotton lace must be at least as long as the measurement you took for the crown of your head. They can, however, be a little longer at this point. Use as few strips as possible, opting for larger pieces rather than many smaller ones.
- Pin the lace in place before sewing it onto the ribbon.
- You can find cotton lace in a variety of colors, but avoid lace with patterns already embroidered into it.
- Wetting the lace beforehand makes it easier to form and shape.
-
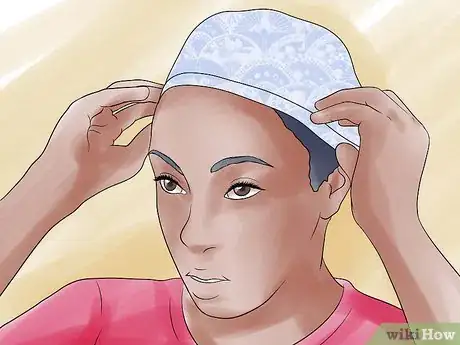
4Try the foundation on. Remove the nails from the ribbon and take the wig foundation off the wig block. Try it on to determine if it fits correctly.
- If the wig foundation does not fit correctly, determine why not. Return the foundation to the wig block and make any adjustments you need to make in order to fix the fit.
- When everything fits the right way, trim off any excess cotton lace that hangs past the ribbon border of the wig foundation
Hair Prep
-
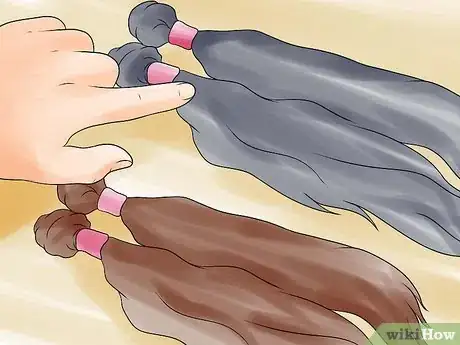
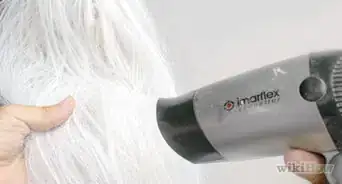
1Choose real or synthetic hair.[3] Both options have advantages and disadvantages. Generally, for a wig that will be worn every day, you would want to use real hair. For a wig only worn on occasion, you might be able to use synthetic hair.
- Natural hair look more realistic, tends to be more durable, and can tolerate heat and other styling products better. On the other hand, wigs made from real hair must be restyled after washes, the color can fade with light exposure, and the wigs can become damaged more easily.
- Synthetic hair does not look as realistic and can be damaged by heat and hair dye. On the other hand, wigs made from synthetic hair tend to be lighter, do not need to be restyled after washes, and do not fade as quickly.
-
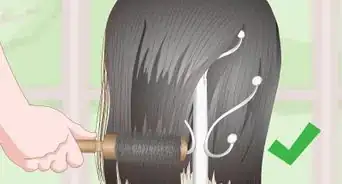
2Sort and pull the hair. Run handfuls of hair through a hair heckle to detangle, straighten, and sort the hair. Pull and tie it into sections using hair elastics.
- A hair heckle consists of a sturdy base with five rows of pointed needles. It can straighten hair and blend multiple shades together.
- Bolt the heckle down before using it.
-
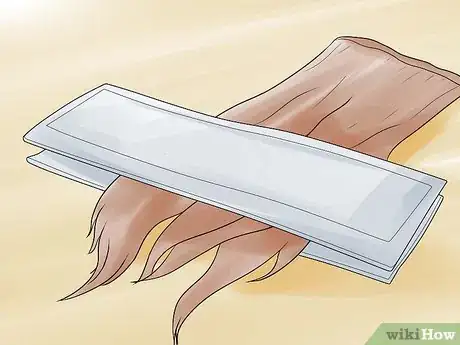
3Place the hair in between drawing mats. Lay one end of each hair section onto one drawing mat. Place the other drawing mat on top of the hair so that the pointed sides of both mats meet.
- Drawing mats are leather rectangles with short wires or needles along one side. They are used to keep hair straight and organized.
Wig Assembly
-
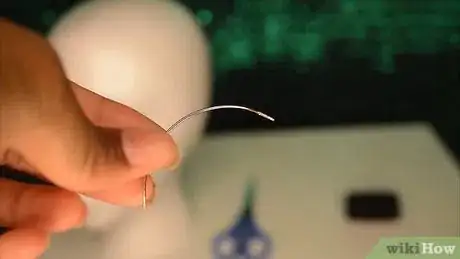
1Pick out the right ventilating needle.[4] The right size depends on the number of strands you want in a single knot. For more strands, choose a larger needle. For fewer strands, choose a smaller one.
- If you have lace with very fine gaps, you might need to use fewer strands per gap, so you would choose a smaller needle.
- For lace with larger gaps, the number of strands will influence the fullness of the wig. More strands will create a fuller, fluffier wig, while fewer strands will create a flatter style.
-
2Pull the hair through in a loop and knot it onto the lace.[5] You will need to single-knot or double-knot sections of hair made from only a few strands onto the individual gaps in the lace foundation using your ventilating tool.
- Fold the end of a thin section of hair to form a loop.
- Hook this loop with your ventilating needle and push it through one of the gaps in the lace foundation.
- Maneuver the needle so that you can grab the hair at the base of the loop with the hook, pulling it back through the gap of the lace. This should give you a new loop of hair that wraps around the edge of the gap.
- Knot the strands of hair once or twice onto the cotton edge of the gap. Make sure that the knot is fully tightened and closed so that the hair stays in place. You will need to pull the entire length of the section through the knot as you tighten it.
- Note also that you should be using your free hand to hold the other side of the hair taut as you work throughout this entire process.
-
3Work from the neck up. You should always start knotting the wig onto the lace from the bottom of the neckline. Work your way up along the back before moving to the sides. After reaching the sides, work your way over the crown of the head.
- The hair on the sides should be tied with double knots.
- The hair on the top of the wig, or on the crown, should be tied on using single knots. This prevents the hair from looking too thick.
-
4Vary the direction. Once you reach the crown of the wig, you should mentally separate the top into six separate directions and tie the strands off evenly in each of those directions.
- Do not merely tie the strands so that they fall in one single direction, since this will not look natural.
- You should have two sections that extend straight down from either side of the wig, and the other four sections should be evenly spaced between these initial two.
-
5Cover the ribbons. Turn the wig inside out and stitch hair along the inside edge of the ribbons to prevent them from showing from the front.
-
6Sew in steel springs. Use a needle and thread to sew a few short steel springs around the temples, neck, and forehead of the wig. This will help the hair lift in a natural, pleasant manner.
- The springs should only be a few loops wide and should not be visible from under the hair.
-
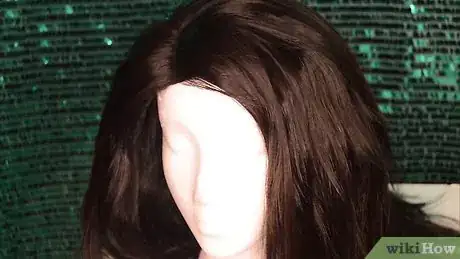
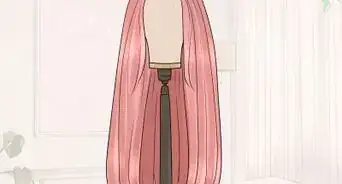
7Make the part and style the wig. With all the hair sewn in place, part the wig as you would do with a normal head of hair and cut the hair into your desired style.
- If you are anxious about cutting the hair into a good or flattering style, you might want to ask a hair stylist for some tips or ask if he or she will cut the wig for you.
-
8Make the final fit. Try the wig on. It should now be complete, but if anything looks off, you should still be able to adjust it.
Additional Wig Tutorials
-
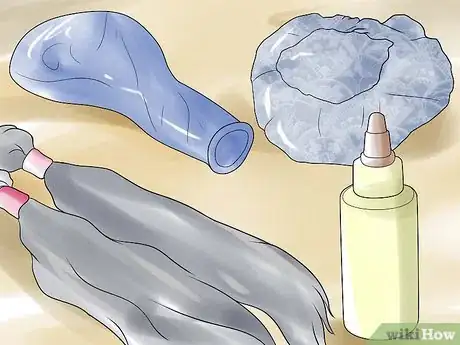
1Make an easy costume wig. You can make a quick, inexpensive wig for a costume using a balloon, hair net, wefts of hair, and glue.
- Inflate the balloon and use it as a dummy head.
- Place the hair net over the balloon and glue the hair onto it.
- Trim away unwanted portions when done.
-
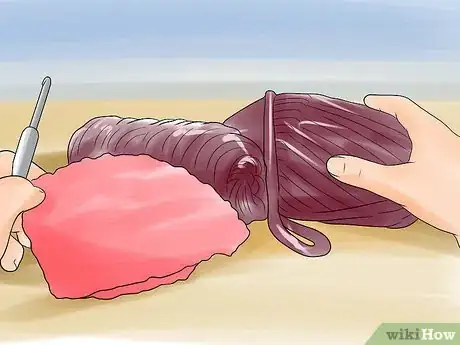
2Create a jellicle cat wig. You can create a wig to mimic the appearance of a jellicle cat from the Cats musical using sheets of faux fur.
- Measure your head for the correct shape and size.
- Create a pattern using your measurements and cut the faux fur out according to this pattern.
- Create and attach fake cat ears.
-
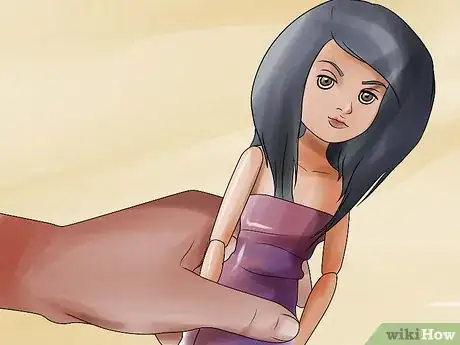
3Learn how to make doll wigs. Doll wigs can be made out of yarn. You can create one with or without a sewing machine.
-
4Make a ragdoll wig for yourself. You can make a large wig in the ragdoll style for a costume. Use yarn, and either sew or glue the wig into shape.
-
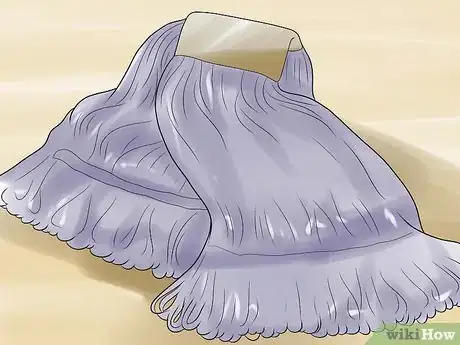
5Create an easy wig from a mop. Another way to make a costume wig is with a clean mop. Color the mop as desired and glue the individual mop strands to a hat.
Expert Q&A
-
QuestionIs it hard to make wigs?
 Nikia LondyNikia Londy is a Hair Augmentation Specialist and the Founder and CEO of Intriguing Hair, a one-stop solution for women from all ethnicities wanting to purchase high-quality human hair extensions, hairpieces, and wigs. With over 16 years of experience, she specializes in artificial hair integrations, hair extensions, hair loss, hairpieces and wigs, and non-surgical hair replacement. Nikia holds a BA in Organizational Leadership from Charter Oak State College and received her Cosmetology Certification from Blaine Beauty School. She is also a member of the American Hair Loss Council.
Hair Augmentation Specialist Not necessarily, but it helps to have the right supplies on hand. Before you get started, make sure you have a wig cap, thread, several needles, scissors, a wig head, a wig stand, a comb and brush, measuring tape, and hair extensions.
 -
QuestionWhat caps should you use to make wigs?
 Nikia LondyNikia Londy is a Hair Augmentation Specialist and the Founder and CEO of Intriguing Hair, a one-stop solution for women from all ethnicities wanting to purchase high-quality human hair extensions, hairpieces, and wigs. With over 16 years of experience, she specializes in artificial hair integrations, hair extensions, hair loss, hairpieces and wigs, and non-surgical hair replacement. Nikia holds a BA in Organizational Leadership from Charter Oak State College and received her Cosmetology Certification from Blaine Beauty School. She is also a member of the American Hair Loss Council.
Hair Augmentation Specialist A breathable mesh dome wig cap is a great option when it comes to making wigs.
 -
QuestionCan I use yarn to make this?
 Community AnswerYes. For a realistic look, take a strand of yarn and tie it to something like 2 legs of a chair. Then tie small prices of yarn onto the stretched one. Take ether a fine toothed comb or a pet brush, and brush though the strands of yarn until they create a soft fine, hair like texture. Take a hair iron and iron them out. After you finish a thread, use a sewing machine to create the threads like they have for hair extensions. Then just follow the steps above.
Things You'll Need
- Cloth tape measure
- Wig block
- Pencil
- Cotton ribbons
- Nails
- Hammer
- Cotton lace
- Spray bottle
- Sewing needle
- Matching thread
- Pins
- Scissors
- Real or synthetic hair
- Hair heckle
- Hair elastics
- Drawing mats
- Ventilating needle
- Steel springs
- Comb and brush
References
- ↑ http://www.todaystylist.com/How_To_%20Measure_For_Your_Wig_Size.htm
- ↑ Nikia Londy. Hair Augmentation Specialist. Expert Interview. 7 October 2021.
- ↑ http://www.hairfinder.com/info/wigs_natural_synthetic.htm
- ↑ Nikia Londy. Hair Augmentation Specialist. Expert Interview. 7 October 2021.
- ↑ http://www.makeup-fx.com/perukmakeri1eng.html
- Videos provided by Bianca Charisma
About This Article
To make a wig, start by measuring the wearer’s head and using their measurements to create a cap out of damp cotton lace. Once you’ve made the cap, run pieces of hair through a heckle to detangle and straighten the strands. Next, pull pieces of hair through loops in the lace and knot it so that it stays in place, starting at the neck and working your way up to the crown. Then, sew in steel springs to add lift to the hair at the scalp. Finally, style the wig with heat or products before wearing it. For tips on how to choose between using natural and synthetic hair for making your wig, read on!
