This article was co-authored by wikiHow Staff. Our trained team of editors and researchers validate articles for accuracy and comprehensiveness. wikiHow's Content Management Team carefully monitors the work from our editorial staff to ensure that each article is backed by trusted research and meets our high quality standards.
There are 14 references cited in this article, which can be found at the bottom of the page.
This article has been viewed 49,259 times.
Learn more...
If you’re learning how to use a lace front wig, you’ve probably been faced with the question of how to get that lace to blend in perfectly with your hairline so it’s invisible. By applying various products, like freeze spray and gel, you can essentially saturate the lace so it clings to your scalp, thus looking like it has melted into your hairline. It may take you a few hours to get your wig looking perfect, but with time and practice, you’ll be showing off a gorgeous, natural-looking hairstyle.
Things You Should Know
- Use a freeze spray to secure the lace along your hairline and blow dry your hair to hold it in place.
- Place a wrap strip around your hairline for at least 10 minutes to secure the lace.
- Cut the wrap strip off carefully with fine scissors in a zigzag pattern to blend the lace into your hairline.
- Apply hair gel to the remaining edges of the lace and dry the gel with a hairdryer to cure the gel.
Steps
Positioning Your Wig
-
1Use a wig cap if you want a layer between the wig and your scalp. A wig cap holds down your natural hair and can create a surface for the wig itself to stick to, but some people don’t like the way they feel. Also, some wigs come with caps already built-in. If you are going to use a wig cap, line up its edge just behind where you want your wig’s hairline to be.[1]
- If you need to buy a wig cap, you can get it online or from most beauty supply stores.
- Wig caps may also be called stocking caps.
-
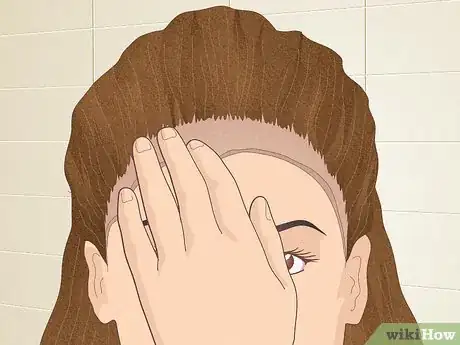
2Line up your wig so the hairline is where you want it to be. Pull the lace down over your forehead to get the hairline in place, and check its position from all angles to make sure it looks natural. Some wigs also come with straps on the inside that may need to be adjusted so the wig is neither too tight or too loose.[2]
- If you find it easier to style your wig before you’re wearing it, you may want to take a moment to do that now.
Advertisement -
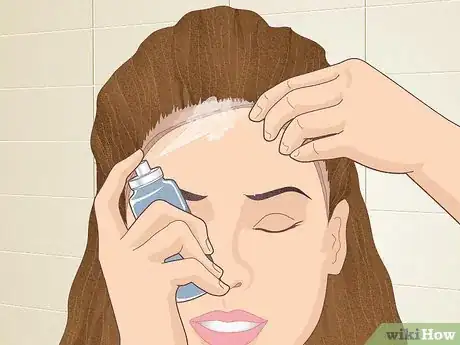
3Use a freeze spray under the lace along the hairline to hold the wig. While holding the wig in place, lift the lace front and coat your hairline with the freeze spray. Try to spray it as close to your scalp as possible so it doesn’t get all over your forehead.[3]
- The freeze spray is usually very cold when it hits your skin, so be prepared!
- You can buy freeze spray at your local drug store or online.
-
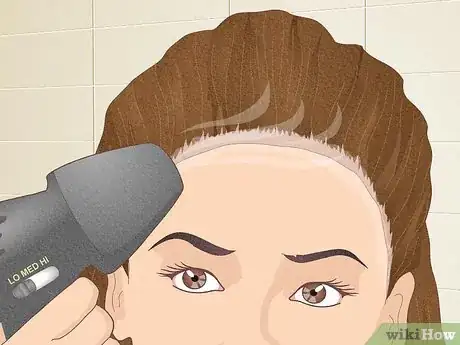
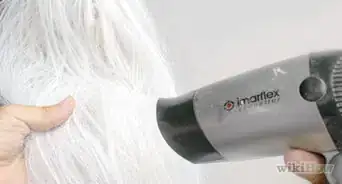
4Blow-dry your hairline to secure the wig to the spray. Use the medium- or low-heat setting on your blowdryer, and move it slowly back and forth over your wig’s hairline. Press the lace down onto the freeze spray as you dry it so they adhere together.[4]
- Avoid using high-heat, as you may burn your scalp.
Cutting and Melting the Lace
-
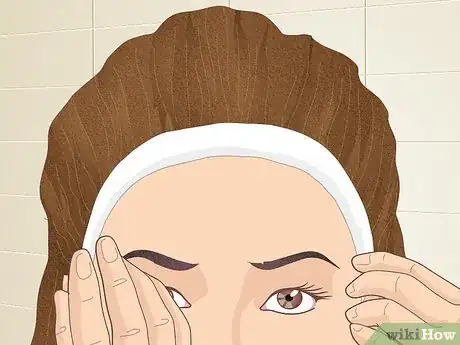
1Put a wrap strip around your hairline for at least 10 minutes. A wrap strip is a thin, stretchy, crepe-like strip of paper that is used to protect your hair and hold your wig in place while the lace is melting into your hairline. To put it on, line it up so the center of the wrap covers your hairline around your scalp and tie it off at the nape of your neck.[5]
- This is a great time to work on your makeup, pick out your outfit, or simply relax for a few minutes.
- It won’t hurt anything if the wrap strip stays on for longer. Many people leave them in place while styling their hair and doing their makeup, which can take over an hour.
- You can buy wrap strips online or from beauty and cosmetics stores.
Did You Know? When people talk about “melting” their wig lace, they aren’t referring to the same kind of melting that often requires a flame or high heat. It simply means that the visible lace is saturated with some kind of product and dried in such a way that it “melts” into your hairline and become nearly invisible.
-
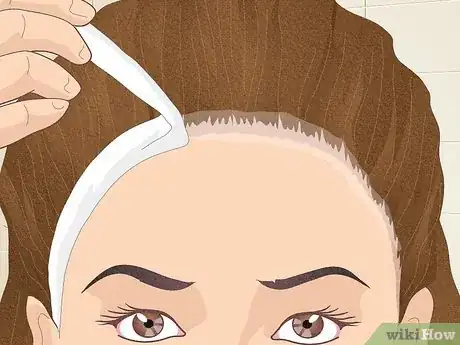
2Remove the wrap strip to reveal the hairline and remaining lace. Once you’re ready, use a pair of scissors to cut through the wrap strip and throw it away. Check your progress by gently pulling the lace upward to make sure the wig’s hairline is starting to stick to your scalp.[6]
- If your wig comes right up when you pull on it, you may want to repeat the freeze spray steps and use more product this time.
-
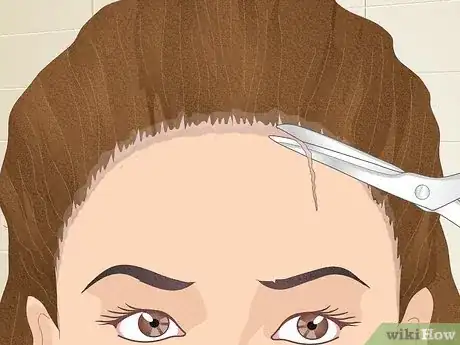
3Use a fine pair of scissors to trim away the excess lace. Use a zigzag pattern and cut as close to your hairline as possible. Keep going over the hairline and cutting away excess lace until you can’t cut away any more. There may still be some tiny little sections of lace sticking up, but you’ll take care of those in the next step.[7]
- A zigzag pattern creates a more natural-looking hairline and lets you get closer to the hairline than a straight cut would.
-
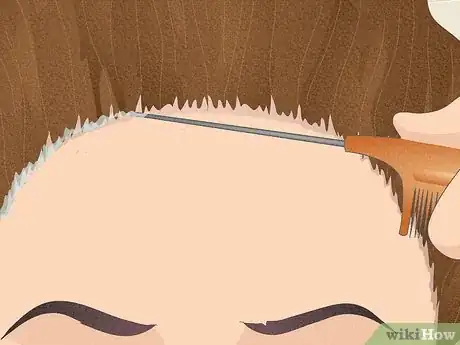
4Apply gel along the edges of the lace with the end of a pin-tail comb. Put a very small amount of hair gel on the tip of a pin-tail comb. Press the gel down along the edges of the wig’s hairline so that the remaining small bits of lace are pressed flat against your scalp. Work your way around the entire hairline, reapplying gel to the comb as needed.[8]
- Using small amounts of gel will hopefully eliminate the chance that the gel will be visible once you’re done, though you can always clean up excess gel with a damp towel.
-
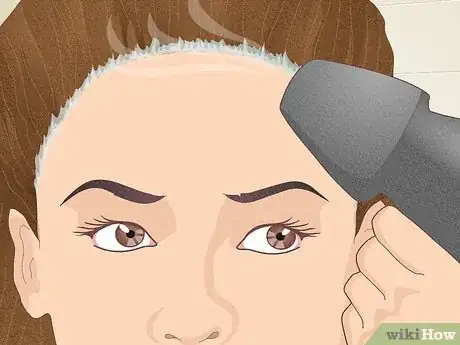
5Dry the gel with a hairdryer. After you’ve melted the rest of the lace, set your hair dryer to medium or low heat and run it back and forth over your hairline. Test the tackiness of the gel with your finger—if it is still wet or sticky, keep drying it until your finger comes away dry to the touch.[9]
- If you wanted to, you could apply a second wrap strip for 15-20 more minutes instead of using the hairdryer.
Finishing the Look
-
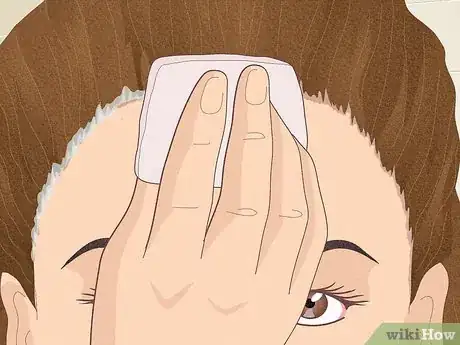
1Clean up excess gel along your hairline with a damp towel. Wet a clean hand towel and use a corner of it to gently rub away any visible dried gel in front of your hairline. Brush downward away from your hairline toward your face so you don’t mess up your wig.[10]
- Some gels are clear while others are white. The white gel may take a little longer to wipe away.
-
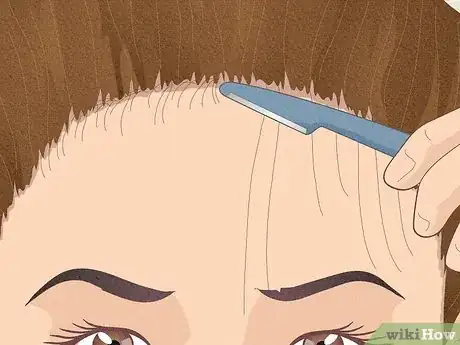
2Use an eyebrow razor and gel to create baby hairs to mimic a natural hairline. Use a pin-tail comb to pull out a few hairs from the wig all along your hairline. Take your eyebrows razor and shave the hairs so they’re about 1⁄2 to 1 inch (1.3 to 2.5 cm) long. Then, use gel and an eyebrow brush to mold them into curls along your forehead.[11]
- Some people like this look and others don’t, so do whatever feels right to you.
-
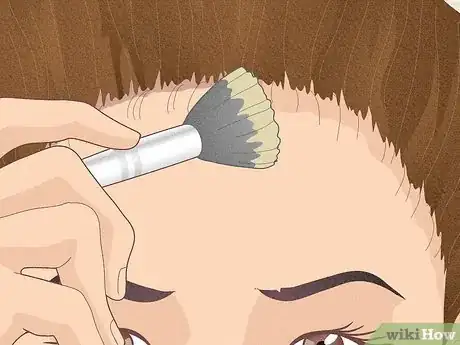
3Apply makeup along your hairline so it blends in with your skin tone. This may not be necessary if the color of the lace perfectly matches your skin tone. If the lace is a different shade, use your makeup to make the transition from your skin to your hairline look even more seamless. Use a little bit of powder or a small amount of foundation and blend it into your hairline.[12]
- Check the color of your part, too. You may want to apply foundation to the part so that it matches your skin tone.
-
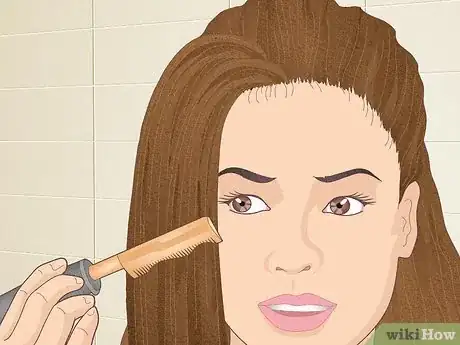
4Use a hot comb to lay down your wig for a flat, sleek style. If your wig is too voluminous and doesn’t lay as close to your scalp as you like, run the back of a hot comb over small 3 to 4 inches (7.6 to 10.2 cm) sections of your hair along your part. Use medium heat so you don’t accidentally burn your scalp, and keep moving the hot comb rather than holding it down in one place. Push down with the comb so the heat flattens your hair.[13]
- The hot comb generally works a little bit better than a straightener because it lets you push your hair down toward your scalp. With a straightener, you still have space between your hair and scalp.
Things You’ll Need
- Wig cap
- Wig
- Freeze spray
- Hairdryer
- Wrap strips
- Scissors
- Gel
- Pin-tail comb
- Towel
- Hot comb
- Eyebrow razor
- Eyebrow brush
- Makeup
References
- ↑ https://youtu.be/wPKCXu3UV2c?t=97
- ↑ https://youtu.be/0KssGcKCRNY?t=138
- ↑ https://youtu.be/0KssGcKCRNY?t=169
- ↑ https://youtu.be/0KssGcKCRNY?t=180
- ↑ https://youtu.be/h09cZY4Ol3Y?t=203
- ↑ https://youtu.be/h09cZY4Ol3Y?t=321
- ↑ https://youtu.be/0KssGcKCRNY?t=261
- ↑ https://youtu.be/0KssGcKCRNY?t=317
- ↑ https://youtu.be/0KssGcKCRNY?t=447

