This article was co-authored by Deanne Pawlisch, CVT, MA. Deanne Pawlisch is a Certified Veterinary Technician, who does corporate training for veterinary practices and has taught at the NAVTA-approved Veterinary Assistant Program at the Harper College in Illinois and in 2011 was elected to the board of the Veterinary Emergency and Critical Care Foundation. Deanne has been a Board Member of the Veterinary Emergency and Critical Care Foundation in San Antonio, Texas since 2011. She holds a BS in Anthropology from Loyola University and an MA in Anthropology from Northern Illinois University.
There are 7 references cited in this article, which can be found at the bottom of the page.
wikiHow marks an article as reader-approved once it receives enough positive feedback. In this case, 97% of readers who voted found the article helpful, earning it our reader-approved status.
This article has been viewed 168,827 times.
Caring for guppies is relatively easy, but it’ll take a little work to set up the best habitat for your new pets. Get a tank large enough for your school of fish, and install a filter, heater, and air pump. Fill the bottom with gravel, and decorate the tank with rocks, plants, and ornaments. To create the healthiest habitat, condition your aquarium for a few weeks before introducing guppies. It might take some patience, but establishing suitable water conditions will help keep your new pets happy and healthy.
Steps
Creating the Best Habitat
-
1Choose a tank that is at least ten gallons. Guppies like to form schools and shouldn’t be kept alone or in a small fishbowl. The rule of thumb is to provide a gallon of water per inch of fish (about two liters per centimeter). Guppies grow to about two inches, so you’d want to provide ten gallons (about 40 liters) for five guppies.[1]
- Keep in mind this is a general guideline and isn’t set in stone. Keeping more than five guppies in a ten gallon tank won’t hurt them, but you’ll have to put a little more effort into tank maintenance.
-
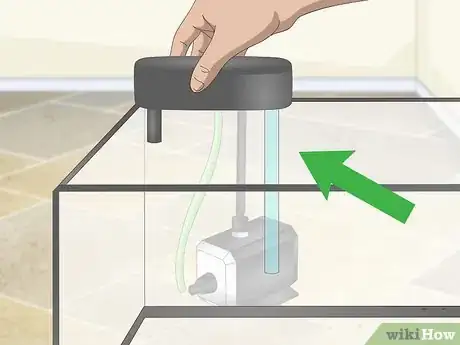
2Use an external power filter if you’re a beginner. Power filters are recommended for first-time tank owners over under gravel filters. Install it on the back of the tank, where your tank hood should have a pre-cut spot for it. When you add plants and other decorations, keep them away from the filter.[2]
- Choose a filter that’s powerful enough for your tank size. It should filter your water at least five times per hour, so if you have a 10 gallon tank, you’d want a filter that circulates 50 gallons per hour.
- Undergravel filters require a little more maintenance, as you’ll need to vacuum clean the gravel frequently.
Advertisement -
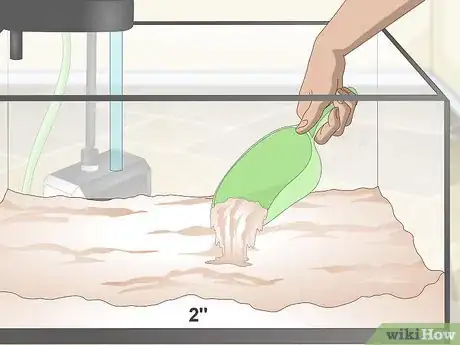
3Add about two inches (five centimeters) of gravel to the bottom. Purchase aquarium gravel from your local pet store, and rinse it thoroughly (without soap) before adding it to the tank. Cover the bottom of the tank with two to three inches (5 to 8 centimeters) of gravel.[3]
- Don’t use gravel or sand from your backyard or other outdoor spot. You could risk introducing harmful bacteria and parasites to the habitat.
- If you plan on adding live plants, check the label before purchasing gravel to make sure it can support plant life.
-
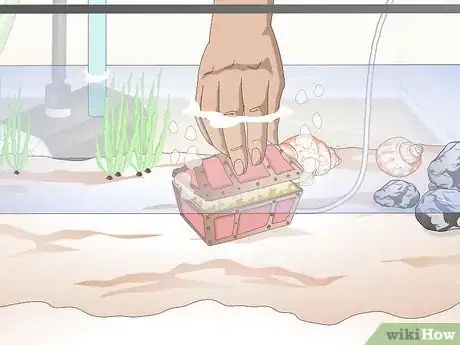
4Fill the tank halfway and add decorations. Filling the tank with water halfway will make it easier to position your plants, rocks, and other decorations. These will provide your guppies with hiding spots, which will decrease their stress. Live aquarium plants, which you can purchase at the pet store, are great for the habitat, as they filter toxins and add oxygen to the water.[4]
- Make sure rocks and other decorations are firmly set in the gravel. You won’t want them to fall over and hurt your fish in the future.
-
5Place an air pump in the tank. An air pump helps oxygenate and circulate water in the tank. You can hook an air pump to an action decoration, like a treasure chest, to add an interesting feature to your aquarium. In addition, some filters require an air pump in order to work, so check your filter’s label when you purchase it.[5]
-
6Add the tank heater. Guppies thrive in water with a temperature between 75 and 80 degrees Fahrenheit (about 24 to 27 degrees Celsius). Get an aquarium heater with an adjustable thermostat that attaches to the glass with suction cups. Turn it on only after you’ve completely filled the tank with water.[6]
-
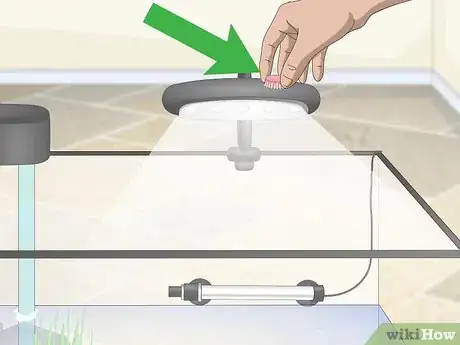
7Use a light with a timer. Guppies need light and dark periods in order to develop properly. Get an aquarium light with a timer, and set it so it shuts off for eight hours.[7]
- Without an eight hour dark period, guppies can’t rest properly. Without enough light, they’re prone to developing deformities.
Conditioning the Water
-
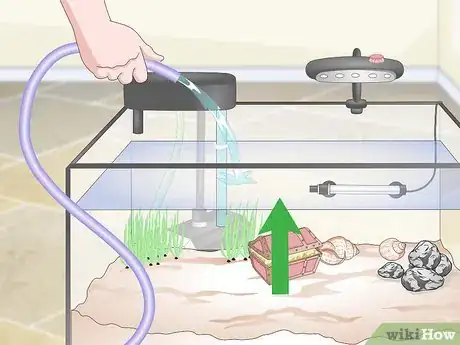
1Fill the tank with water. After you’ve positioned your equipment and decorations, fill the tank the rest of the way with water. Leave some space at the top instead of filling it up to the brim. That way, you won’t cause the water to spill over if you have to reach for something inside.[8]
-
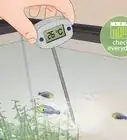
2Turn on the filter, heater, and air pump. When the tank is full, turn on your equipment. Give them two or three hours, then check to make sure you see bubbles and circulating water. Use a thermometer to double check that the heater is working and calibrated properly.[9]
-
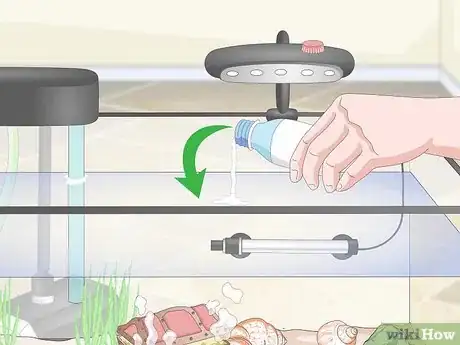
3Dechlorinate the water. Dechlorinators are inexpensive chemicals that remove chlorine and chloramine from water. Small levels of these are almost always found in all tap water and are harmful for fish.[10]
- You can find a dechlorinator at the pet store. Typically, you’ll add a drop or two of dechlorinator per gallon of water, but check your product’s label for specific instructions.
-
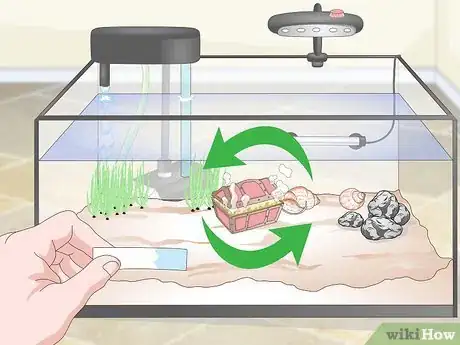
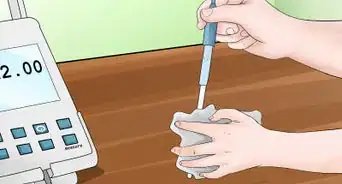
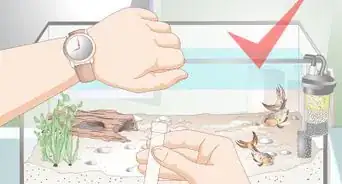
4Cycle the tank. Before adding your guppies, you must cycle the tank, or develop the beneficial bacteria that help maintain water quality. Add four to five drops of pure ammonia or ammonia labeled for cycling to the tank. Wait two days, then test the water; you want to see ammonia levels at three parts per million.[11]
- Continue to test the water every other day and add more ammonia if necessary.
- After a week, start testing for nitrites, which will indicate bacteria are starting to grow and consume the ammonia.
- Within a few more days, you should see ammonia and nitrite levels drop, and nitrate levels rise and plateau. At this stage, you’ve completed your first nitrogen cycle.
- It’s best to do a fishless cycle so that no fish have to suffer through ammonia exposure.
Acclimating Your New Guppies
-
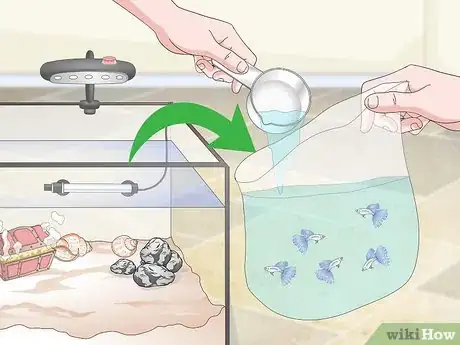
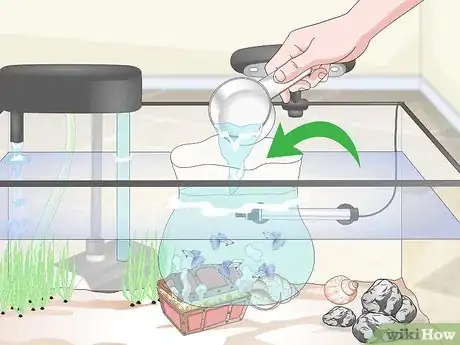
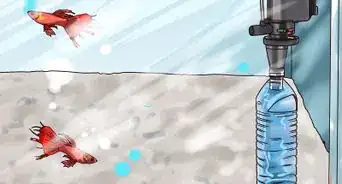
1Replace a quarter of the bag water with your tank water. Ammonia levels will increase and oxygen levels will decrease in the bag, so bring your guppies straight home from the store. Remove a quarter of the water from the bag, then replace it with water from your tank.[12]
- Gradually equalizing will help your fish adapt to their new home.
-
2Float the bag in your tank. The easiest and most commonly used acclimating method is to float the bag from the store in your tank. Every ten minutes, carefully remove one cup (240 milliliters) of water from the bag and replace it with water from your tank. After an hour, start releasing your guppies into their new home.[13]
- Avoid letting water from the bag into the tank. You could risk introducing unwanted contaminants from the pet store. Lift the bag out of the tank, open it, and use a scoop or cup to remove water without spilling. Then tie or seal it securely.
-
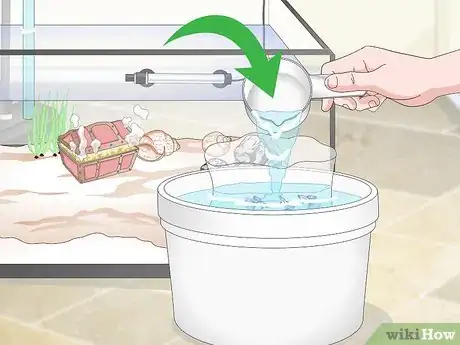
3Use a bucket or quarantine tank as an extra precaution. While less commonly used by beginners, floating the bag in a bucket or quarantine tank filled with your tank water is a more cautious method. This will remove any risk of spilling water from the bag into the main tank.[14]
- If you use a bucket or quarantine tank, use the same procedure as floating the bag in your aquarium tank. Replace a cup of water every ten minutes for an hour.
-
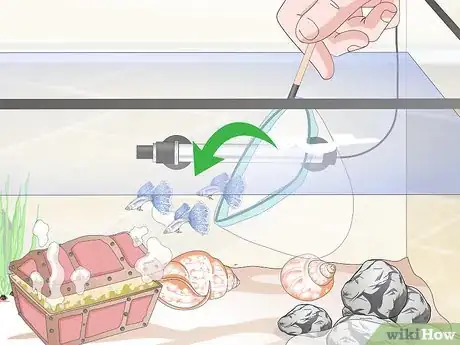
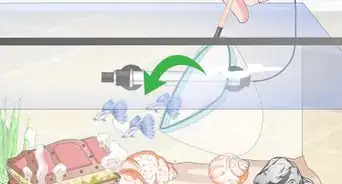
4Release two to three fish into the tank at a time. Use a net to transfer a guppy from the bag to the tank. Add two or three, wait 20 to 30 minutes, then add another batch. Taking things slowly will allow your new pets to adjust to their new environment and give the tank time to adjust to having extra waste.[15]
- Don’t pour the fish into tank, as you’ll get water from the bag into the tank along with the fish.
-
5Maintain your tank. Part of getting your guppies acclimated to a new tank is making sure their environment stays clean. Guppy tanks will need regular cleaning, water changes, and vacuuming. You should change out 10-15% of your tank's water on a weekly basis, making sure to use fresh, dechlorinated water to top off your tank each cleaning.
- Use a siphon to remove about 15% of your tank's water, draining it into a bucket. Then, use a chlorine remover to treat fresh water. The fresh water should be the same temperature as the water in your tank. Pour in the fresh water, leaving some room between the top of the water and the top of the tank.[16]
- Scrub your tank for algae every time you change out the water.
- Be sure to check your filters regularly to ensure they are working properly.
Things You'll Need
- Aquarium tank (at least 10 gallons or 40 liters)
- Gravel
- Filter
- Heater
- Air pump
- Light and timer
- Artificial and live plants
- Tank decorations of your choice
- Dechlorinator
- Pure ammonia (for cycling)
- Test kit (for cycling)
- Net
- Clean bucket or quarantine tank (optional)
References
- ↑ http://guppyaquarium.com/guppy-fish-care-guide/
- ↑ http://www.tropicalfishcentre.co.uk/Setting.htm
- ↑ http://www.tropicalfishcentre.co.uk/Setting.htm
- ↑ http://guppyaquarium.com/guppy-fish-care-guide/
- ↑ http://www.firsttankguide.net/airpump.php
- ↑ http://guppyaquarium.com/guppy-fish-care-guide/
- ↑ http://guppyaquarium.com/guppy-fish-care-guide/
- ↑ http://www.tropicalfishcentre.co.uk/Setting.htm
- ↑ http://guppyaquarium.com/guppy-fish-care-guide/
- ↑ http://www.firsttankguide.net/dechlorinator.php
- ↑ http://www.tropicalfishcentre.co.uk/Fishlesscycle.htm
- ↑ https://www.fishlore.com/acclimating-tropicalfish.htm
- ↑ https://www.fishlore.com/acclimating-tropicalfish.htm
- ↑ https://www.fishlore.com/acclimating-tropicalfish.htm
- ↑ http://www.tropicalfishcentre.co.uk/Setting.htm
- ↑ http://www.firsttankguide.net/waterchange.php
About This Article
To set up a guppy tank, start by getting a tank that's at least 10 gallons and lining the bottom of it with 2 inches of aquarium gravel. Then, set up an external power filter to clean the tank water, and fill the tank halfway with water before adding any decorations you want to use. Next, hook up an air pump to oxygenate the water, a tank heater to keep the tank between 75 and 80 degrees Fahrenheit, and a light with a timer. Finally, fill up the rest of the tank and cycle the water before adding your guppies. For more tips from our Veterinary co-author, like how to acclimate your new guppies, read on!

