This article was co-authored by Lauren Kurtz and by wikiHow staff writer, Christopher M. Osborne, PhD. Lauren Kurtz is a Naturalist and Horticultural Specialist. Lauren has worked for Aurora, Colorado managing the Water-Wise Garden at Aurora Municipal Center for the Water Conservation Department. She earned a BA in Environmental and Sustainability Studies from Western Michigan University in 2014.
There are 7 references cited in this article, which can be found at the bottom of the page.
wikiHow marks an article as reader-approved once it receives enough positive feedback. In this case, 96% of readers who voted found the article helpful, earning it our reader-approved status.
This article has been viewed 77,770 times.
Java fern (microsorum pteropus) grows rather slowly in comparison to some other popular aquarium plants, but it’s one of the hardiest and best-looking options out there. It will manage just fine in most aquarium conditions, and usually won’t be nibbled away by your fish. The key to planting Java fern is to not actually plant it, but rather to attach its exposed rhizome to a piece of driftwood or a rock. Then, just let it grow and propagate!
Steps
Attaching the Rhizome to Driftwood or a Rock
-
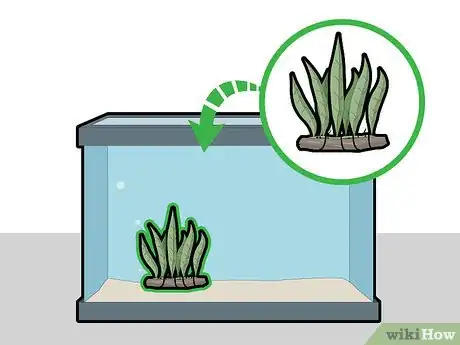
1Place a fern that's attached to driftwood into your tank. If you buy a Java fern at a pet shop or even order it online, it will often come pre-attached to a small piece of driftwood. In this case, you can simply place the fern and driftwood into your aquarium as-is, since Java ferns grow best when attached to driftwood or stone.[1]
- Often, the fern will be attached to the wood with a thin thread that should dissolve over time in the water. The root system of the Java fern will hold it in place.
-
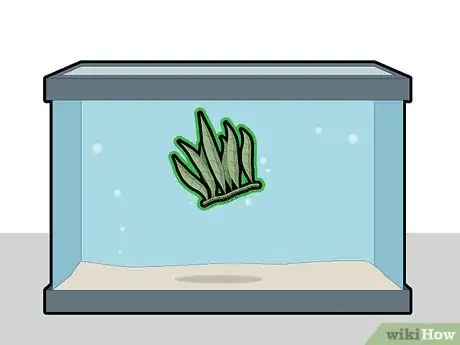
2Let an unattached fern float freely, if desired. If you buy a Java fern that isn't pre-attached to driftwood, you may want to attach it to something yourself. However, you can choose to let if float freely in your aquarium instead.[2]
- If you simply drop it in the water, it will either grow while floating or attach to something in the tank on its own. Either way, it will probably grow just fine!
Advertisement -
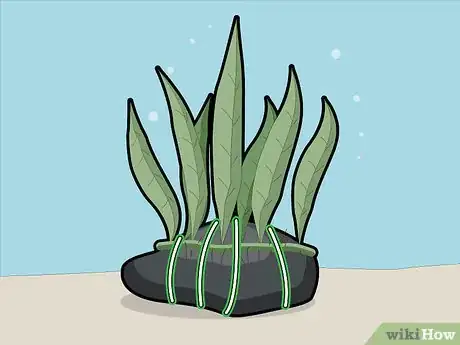
3Secure an unattached rhizome with thread or plastic ties. The Java fern has a simple plant structure: the long, thin leaves and the stringy, numerous roots sprout out from a dense rhizome. Wrap thread or fishing line around the rhizome and the attaching object (e.g., rock or driftwood) several times, or use a zip tie or two to secure them together.[3]
- After you attach the rhizome to a rock or piece of wood, the roots will eventually secure the fern to the object with a strong bond.
- Unless you’re using a dissolving thread, you should remove the binding object (e.g., fishing line or zip tie) once the roots gain a firm hold on the rock or wood. Otherwise, the fern’s growth may be impeded.
-
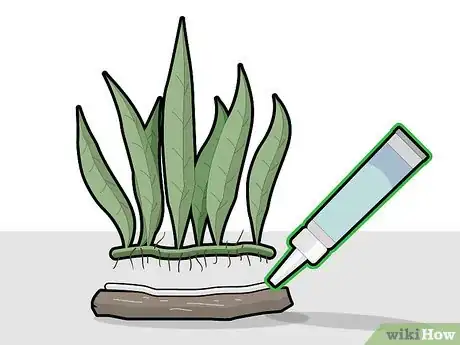
4Try using super glue gel instead. If you’re sure you want to permanently bond a Java fern to a particular object, you can glue it with a super glue gel rated for underwater applications. You might, for instance, run a thin bead of super glue gel to the object (e.g., piece of driftwood), then press the Java fern rhizome to it and hold it securely for 30 seconds.[4]
- Read the product packaging carefully so that you get the right kind of glue and apply it properly.
- Because the glue doesn’t wrap around the rhizome like zip ties or fishing line do, the rhizome (and fern) can continue to grow without restriction.
-
5Don’t plant Java fern into substrate. In the case of Java fern, “planting” does not mean burying the roots beneath soil, substrate, or pebbles. In fact, if you don’t leave the roots exposed, they will quickly rot away and the plant will die.[5]
- Attach your Java fern to driftwood, a rock, or possibly a decorative piece in your aquarium, or even let it float freely. Just don’t literally “plant” it!
Placing and Nurturing It in Your Aquarium
-
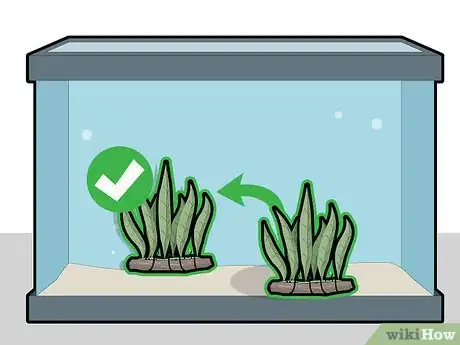
1Locate the fern in the middle or back of the tank. This plant will grow just fine in the front of your aquarium, but it’s likely to block your view of your fish! Instead, consider using it as a background piece, or let its beautiful leaves become a central focal point that your fish can circulate around.[6]
- A Java fern rhizome generally grows in one direction, and can reach about 6 inches (15 cm) wide. The leaves can grow to about 12 inches (30 cm) tall.
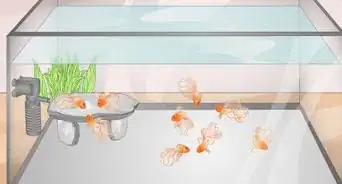
- Because of their size, Java ferns are best for tanks that hold at least 10 gallons (38 L).
-
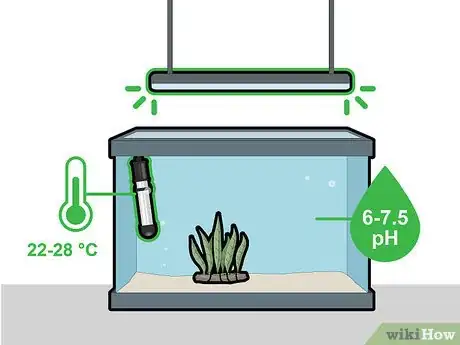
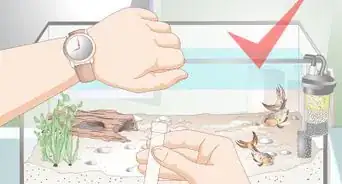
2Adjust the temperature, pH, and lighting if necessary. Java ferns are hardy plants that can tolerate nearly any typical aquarium environment. However, they are more likely to thrive under the following conditions:[7]
- a tank temperature between 72 and 82 °F (22 and 28 °C).
- a tank pH between 6 and 7.5.
- low to moderate tank lighting.
-
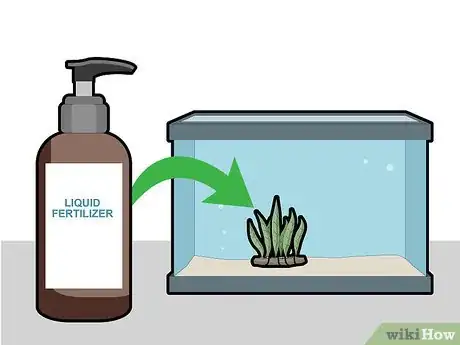
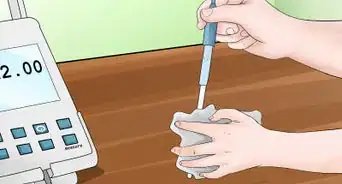
3Add a liquid plant fertilizer only if necessary. Many Java ferns can get adequate nutrients from their aquarium surroundings and will never need a fertilizer. But, if your fern has shown little to no signs of growth after a month, try adding a liquid fertilizer that includes iron.[8]
- Choose a liquid fertilizer that suits your aquarium conditions, and follow the instructions for adding it to the tank.
- You may, for example, need to add a small amount of liquid fertilizer into the tank each week with a dropper. The fish can remain in the tank while you add the fertilizer.[9]
-
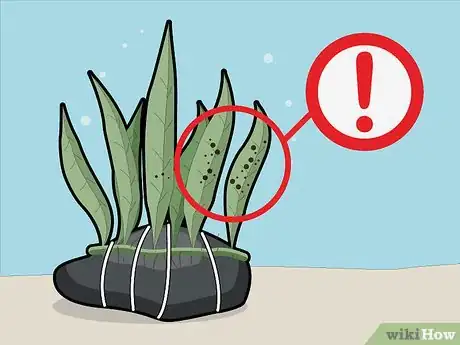
4Make adjustments if you see brown rot. Black veining is normal on Java fern leaves, and black bumps on the leaves are signs of new growth, not disease. However, if your fern has brown spots on the leaves, or if the leaves start to get mushy or disintegrate, you do have a problem.[10]
- Brown rot is typically due to too much light, too few nutrients, or too much blue green algae (BGA). In the last case, keeping the tank clean and increasing the nutrient levels with a liquid fertilizer may improve your fern’s health.
Propagating Your Java Fern
-
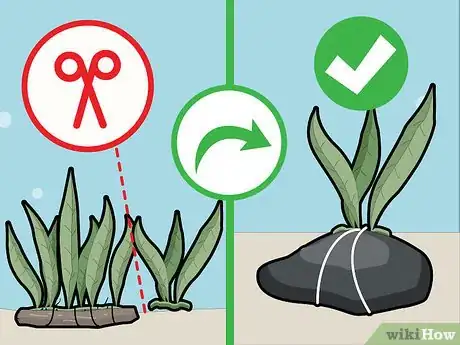
1Snip off a section of rhizome and relocate it. If you like the height of your Java fern’s leaves, but the plant itself is getting too wide for its spot, you can simply divide the plant and turn a single Java fern into a pair! All you need is a small, sharp pair of scissors.[11]
- Cut through the rhizome with the scissors, pull the sections apart, and attach one or both pieces to driftwood or stones.
- It’s OK if you have to pull off or cut away some of the roots in order to separate part of the rhizome from the wood or stone. They will grow back.
-
2Pluck off and relocate plantlets that grow from the leaves. In addition to growing from the rhizome, the Java fern has another neat trick for propagation. The black bumps you see on some of the leaves will eventually become new rhizomes with their own roots.[12]
- Once these “plantlets” have their own roots growing from the new rhizomes, you can pluck, pinch, or cut them off and attach them to a new piece of wood or stone.
-
3Leave it to propagate naturally, if desired. If you prefer to let nature take its course, just leave the “plantlets” alone. Some of them will fall off and attach to another object in the tank. Some will fall off and grow while floating freely. And some won’t fall off but will keep growing while tethered, either by floating or by attaching to something else in the tank.[13]
Things You'll Need
- Java fern with or without attached driftwood
- Driftwood or rock for attachment (optional)
- Thread, fishing line, or zip ties for attachment (optional)
- Liquid fertilizer with iron (if necessary)
References
- ↑ https://www.sproutabl.com/java-fern/
- ↑ https://www.aquariumcoop.com/blogs/aquarium/java-fern-microsorum-pteropus-an-easy-aquatic-plant
- ↑ https://youtu.be/fQ0J--FnBx0?t=1m52s
- ↑ https://www.aquariumcoop.com/blogs/aquarium/java-fern-microsorum-pteropus-an-easy-aquatic-plant
- ↑ https://youtu.be/fQ0J--FnBx0?t=1m8s
- ↑ https://www.sproutabl.com/java-fern/
- ↑ https://www.sproutabl.com/java-fern/
- ↑ https://www.sproutabl.com/java-fern/
- ↑ https://www.theaquariumguide.com/articles/different-fertilizing-methods-used-in-aquascaping
