This article was co-authored by Gina D'Amore and by wikiHow staff writer, Amber Crain. Gina D'Amore is a Financial Accountant and the Founder of Love's Accounting. With 12 years of experience, Gina specializes in working with smaller companies in every area of accounting, including economics and human resources. She holds a Bachelor's Degree in Economics from Manhattanville College and a Bookkeeping Certificate from MiraCosta College.
There are 12 references cited in this article, which can be found at the bottom of the page.
This article has been viewed 67,338 times.
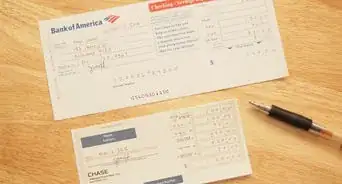
Checks allow you to access your bank account remotely to send or make payments, but you can’t always hand a check directly to the recipient. Instead, you can send the check through the mail or use a digital checking service. To send a check through the mail, fill it out properly and wrap a piece of paper around it before tucking it in an envelope. Then, head to the post office to mail the check in person. Be sure to get a tracking number so you can monitor the check’s progress! If you want to send a check digitally, start by opening an account with a digital checking service. Set up your online account and follow the company's specific instructions to send your check payment.
Steps
Mailing a Check Safely
-
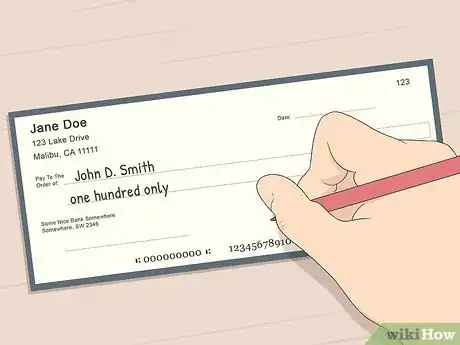
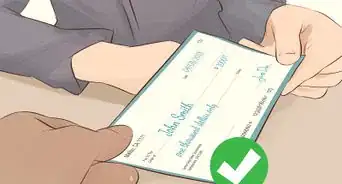
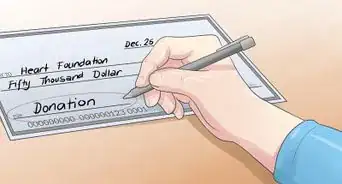
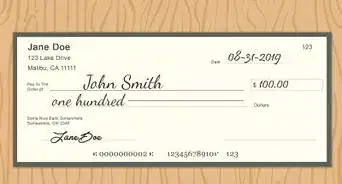
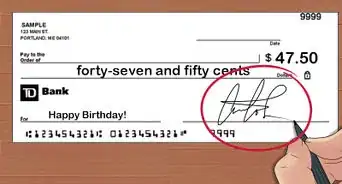
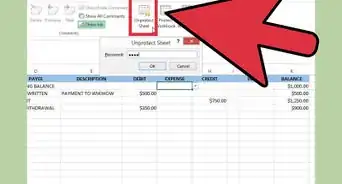
1Fill out the payee and amount lines to write your check. Never leave these lines blank when you’re mailing a check! If the check gets lost or stolen, the thief can make the check out to themselves for any amount they want. Additionally, never send a check made out to “Cash.” These checks can be cashed by anyone.[1]
- It's important to fill out the check information carefully and correctly to protect yourself. Unfortunately, check fraud through the postal system is a fairly common problem.[2]
-
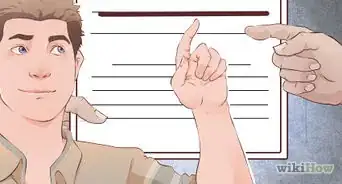
2Avoid writing unnecessary personal information on your check. Don’t write your Social Security number on a check. You also don’t need to include your driver’s license number, home address, credit card number, or phone number on a check.[3]
- If you're paying a bill, you don't need to include the last few digits of the account number on your check unless the company that you're paying requires it.
- You can include non-personal information in the "Description" field if you want to, but most banks don't pay much attention to this field when cashing checks.
- The more personal information you include on a check, the easier it is for someone to steal your identity. Once they do, they can open a new checking account or even apply for a credit card or loan in your name.[4]
Advertisement -
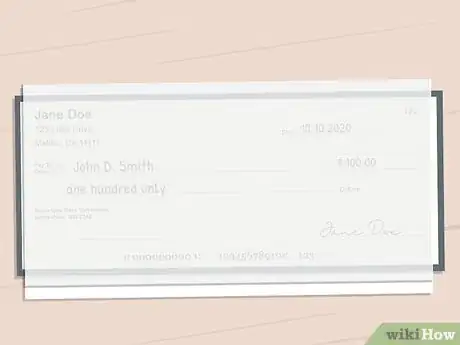
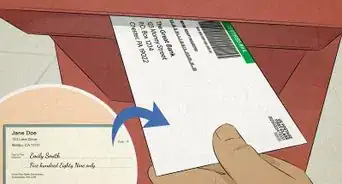
3Fold a piece of paper around the check before slipping it in an envelope. Envelope paper is quite thin and it's easy for thieves to see the check inside without even having to break the seal. To keep the contents of your mail private, wrap a piece of paper around the check before tucking it into the envelope.[5]
- If you're paying a bill, folding the payment slip around the check should be fine. However, for extra protection, wrap a blank piece of paper around the payment slip and your check.
- If you're including a check inside of a greeting card, you shouldn't need to wrap it in a blank piece of paper first.
-
4Seal the envelope securely to prevent theft. Hold the envelope up to the light before you seal it to make sure a single piece of paper is enough to obscure your check. If everything looks good, go ahead and seal the envelope. You might want to use tape in addition to the adhesive on the envelope seal for extra protection.
- You can use security envelopes to mail checks if you want additional extra peace of mind. However, if you're paying a bill, a return envelope is usually included that you're supposed to use when mailing in your payment.
-
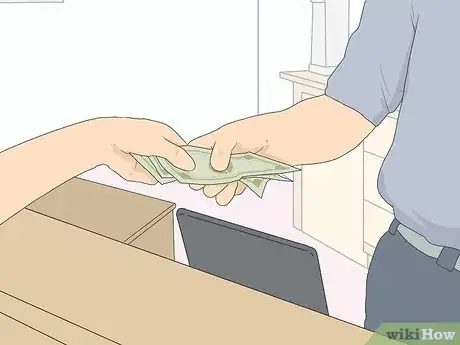
5Mail the check in person at the post office. Never put a check in your mailbox overnight as outgoing mail. This is one of the most common ways that criminals steal checks and commit fraud. Bring your well-sealed check payment to the post office and give it directly to a postal worker to protect yourself.[6]
- Thieves often steal checks from mailboxes, endorse them, and make photocopies. This allows them to cash the same check repeatedly.[7]
- If you're paying a bill, make sure that your check is in the mail before the due date. Some companies use the postmark stamp as the due date.
-
6Pay for online tracking and signature confirmation from the recipient. Most mail services provide tracking and signature confirmation, including the U.S. Postal Service, FedEx, and UPS. The fee is nominal and it’s worth it for protection and peace of mind. Ask the attendant to circle the tracking number on your receipt so that there’s no confusion.[8]
- USPS offers tracking as a free service if you mail the check Priority or Express.[9]
-
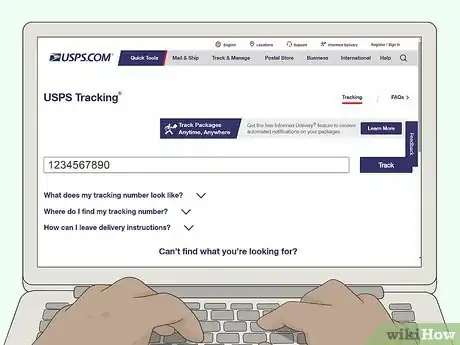
7Use the tracking number to monitor the check’s progress online. The tracking website and tracking number will be on your receipt. Continually check the tracking website so that you know when your check leaves the shipping depot, where it is en route, and when it’s actually delivered to the recipient.[10]
- The tracking website should also confirm that the recipient signed for the check when it was delivered.
-
8Contact the recipient to confirm that the check was received, if possible. Once the tracking website tells you that the check was delivered, call or email the recipient to make sure they signed for it and received it. Unfortunately, if you sent the check to a large business or company, you may not be able to do this.[11]
- If you're worried about a check that you mailed to a large business or company, call them about a week after mailing the check to see if the payment was applied to your account.
-
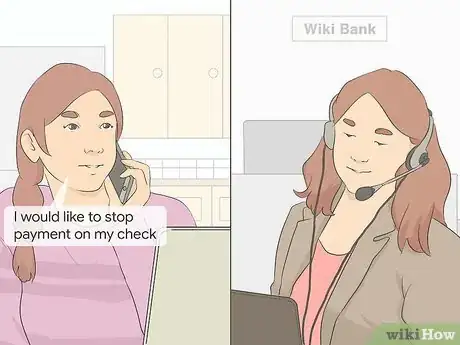
9Stop payment on the check if it isn’t received by the correct recipient. If the check never arrives at its destination, or if the correct recipient didn’t sign for it, call your bank and put a stop payment on the check immediately to protect yourself from theft. You can also contact the police and file a report if you believe your check was stolen.[12]
- If it’s likely that your check was stolen and you're worried about what might happen, consider closing your bank account and opening a new one.
- If you believe your identity has been stolen, report the incident and come up with a protection plan using identitytheft.gov.[13]
Sending a Digital Check
-
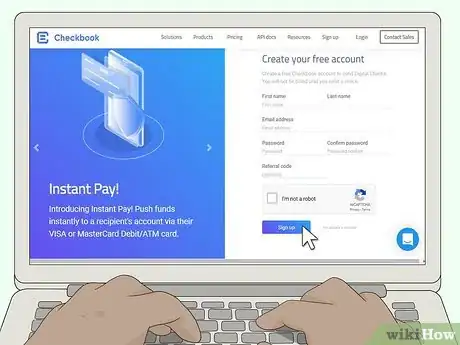
1Open an account with a digital checking service. Research the digital checking services available and open an account with the service of your choice. After you open an account, set up your online profile and connect it to your bank account.
- These accounts are great options for personal and business accounts.
- Read customer reviews online as you're researching different services. Also, look into account details like monthly service charges, overdraft protection, and whether the company provides a free mobile app.
- Checkbook and PaySimple are popular digital checking services.
- A digital check might also be called an eCheck, electronic check, or ACH transfer.[14]
-
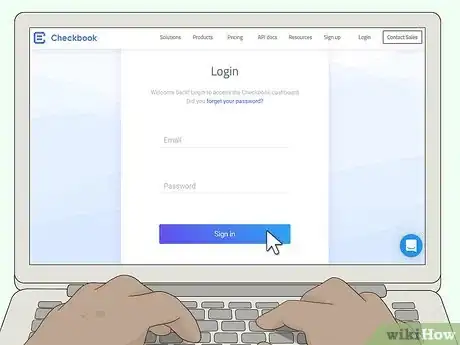
2Log in to your account to access the necessary tools. Once your online account is set up and ready to use, log in so you can access the digital checking capabilities. If you run into any issues logging into your account, contact the company immediately to figure out what’s going on.[15]
-
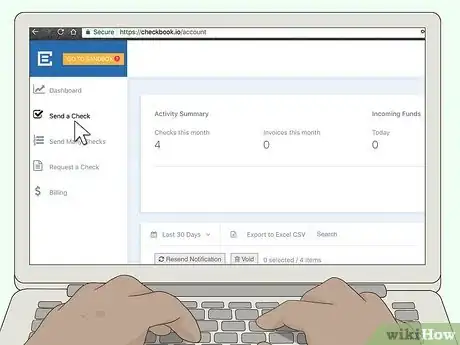
3Click on the “Send a Check” option. Where this appears will vary by company, but the Send a Check tool should be easy to find and access once you’re logged into your account. Click on the Send a Check link to get started.[16]
-
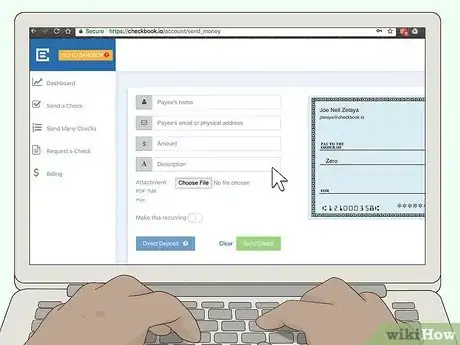
4Fill in the recipient’s name, check amount, and email address. This is very similar to filling out a paper check—the blanks are pretty much the same. Type in the payee’s name in the correct blank, include their email address, and specify the amount of the check.[17]
- You can even fill out the “Description” blank, just like you would on a paper check.
- Don't include personal information, like your driver's license number or Social Security number, in any of the blanks.
-
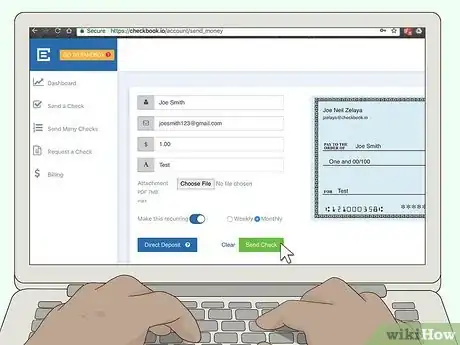
5Click “Send Check” to send your payment. Double check that the information you entered is correct, then click “Send Check.” The recipient might get the payment instantly or you may have to wait a certain amount of time before it clears, depending on which service you use.[18]
- If the transfer isn't instant, use whatever tracking tools your digital checking service provides to monitor the progress of your payment.
- Typically, funds are verified within 24 to 48 hours of the transaction. Once the funds are verified, they will be sent to the recipient within 3 to 5 days.[19]
-
6Confirm that the recipient received your digital check payment. Wait 3 to 5 days after the funds are removed from your account, then call or email the recipient to make sure they received the payment. If the payment wasn't received, contact your digital checking service to ask about next steps.
Expert Interview
Thanks for reading our article! If you'd like to learn more about sending checks, check out our in-depth interview with Gina D'Amore.
References
- ↑ http://www.ckfraud.org/ckfraud.html
- ↑ http://www.stopcheckfraud.com/articles/preventingcheckfraud.html
- ↑ http://www.ckfraud.org/ckfraud.html
- ↑ https://www.justice.gov/criminal-fraud/identity-theft/identity-theft-and-identity-fraud
- ↑ https://bizfluent.com/how-8541390-safest-way-send-check.html
- ↑ http://www.ckfraud.org/ckfraud.html
- ↑ http://www.stopcheckfraud.com/articles/preventingcheckfraud.html
- ↑ https://bizfluent.com/how-8541390-safest-way-send-check.html
- ↑ https://www.usps.com/ship/priority-mail.htm
- ↑ https://bizfluent.com/how-8541390-safest-way-send-check.html
- ↑ https://bizfluent.com/how-8541390-safest-way-send-check.html
- ↑ https://www.justice.gov/criminal-fraud/identity-theft/identity-theft-and-identity-fraud
- ↑ https://www.usa.gov/stop-scams-frauds
- ↑ https://paysimple.com/blog/the-7-most-popular-questions-and-answers-about-electronic-checks/
- ↑ https://www.youtube.com/watch?v=xTJibzgO2PI&feature=youtu.be&t=22
- ↑ https://www.youtube.com/watch?v=xTJibzgO2PI&feature=youtu.be&t=32
- ↑ https://www.youtube.com/watch?v=xTJibzgO2PI&feature=youtu.be&t=44
- ↑ https://www.youtube.com/watch?v=xTJibzgO2PI&feature=youtu.be&t=110
- ↑ https://paysimple.com/blog/the-7-most-popular-questions-and-answers-about-electronic-checks/
