wikiHow is a “wiki,” similar to Wikipedia, which means that many of our articles are co-written by multiple authors. To create this article, 24 people, some anonymous, worked to edit and improve it over time.
This article has been viewed 1,826,997 times.
Learn more...
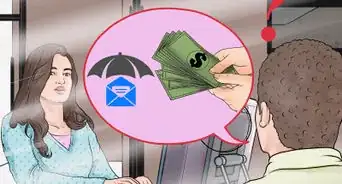
Have you got something important and secure that you need to send, and that requires confirmation of receipt? Sending USPS Certified mail will ensure that your important pieces of mail, including legal and confidential documents, arrive at their intended destination. Follow this guide to either send Certified Mail from your local post office or to send Certified Mail online.
Steps
Send Certified Mail from Your Post Office
-
1Visit a local post office and obtain a Certified Mail Form 3800.
- This form contains a green and white sticker that includes a barcode, which will allow you to track your mail through the USPS.
- The form also contains a perforated receipt, which serves as proof that you mailed the item.
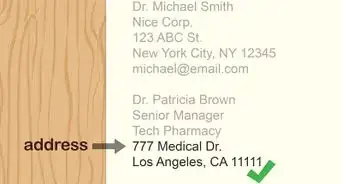
- Write all of the required information on the form, including the recipient’s name and address.
-
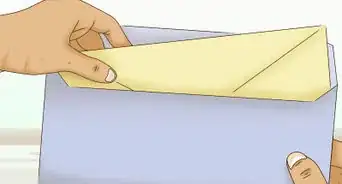
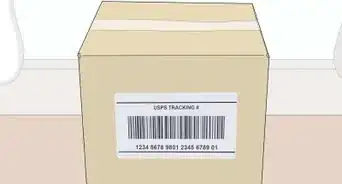
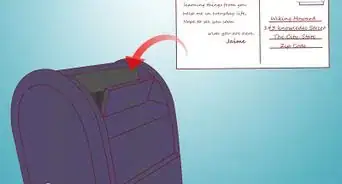
2Remove the backing and place the sticker along the top edge of the envelope you are mailing, directly to the right of the return address area.
- Make sure to leave room on the top right portion of the envelope to apply correct postage.
- On a package, the sticker can be placed to the left of the address area.
Advertisement -
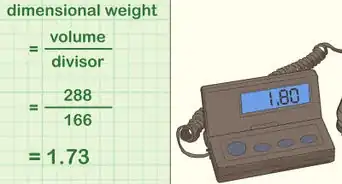
3Pay the appropriate postage for the specified type of mail delivery. Then pay for additional services, including a fee for USPS Certified Mail ($4.15USD as of 1/22/2017 and Return receipt (PS Form 3811) cost either $3.35 for a regular mailed receipt or 2.10 for an emailed receipt).
- Both first-class and priority mail can be sent via certified mail.
- First-class mail includes envelopes and packages that weigh 13 ounces or less.
- Priority mail service offers delivery in a timely and expedited fashion, generally within two to three days.
-
4Decide if you want to purchase restricted delivery service.
- Restricted delivery service guarantees that a specified person receives and signs for the certified mail.
- If you select this option, you need to endorse, or initial, the column on the certified mail form that is marked for this service.
-
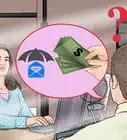
5Determine receipt service. Choose whether or not you want to pay for return receipt service, which provides you with a receipt that gives you the certified mail recipient’s signature.
- You can choose to obtain this receipt via e-mail, with a PDF image of the signature included, or as a physical receipt via snail mail.
- As with the restricted delivery service, you need to initial the column on the certified mail form marked for this service.
-
6Keep records. Collect and keep your receipt that has been stamped with the mailing date. A number that is unique to your mailing allows you to confirm the mail delivery online.
- Keep all documentation for the mailing in a safe place.
-
7View the delivery information. Check online at the postal service’s Web site to see when and to whom the certified mail was delivered. The recipient must sign for the mail upon delivery, and the post office keeps a record of this signature.
-Step-1-Version-2.jpg)
-Step-2-Version-2.jpg)
-Step-3-Version-2.jpg)
-Step-4-Version-2.jpg)
-Step-5-Version-2.jpg)
-Step-6-Version-2.jpg)
-Step-7-Version-2.jpg)
Send Certified Mail Online
-
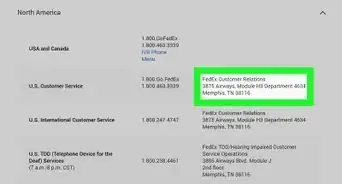
1Sign up for a free account. There are several web businesses that offer USPS Certified Mail delivery. You shouldn't have to pay any monthly fees for an account.
- Look at the price for sending Certified Mail. Decide if the price is worth what you will pay for the service.
- Make sure that the service offers next-day USPS tracking for your letter.
- Check to see that the service provides proof of mailing and USPS proof of delivery.
-
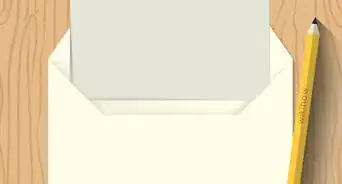
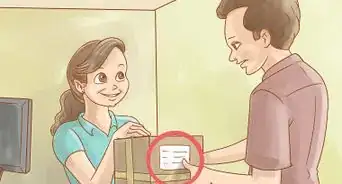
2Prepare your letter for mailing.
- Write a letter in your word processing program. Print and sign it if needed.
- Alternatively, use a form provided by the recipient. Again, print the form and sign it as needed.
-
3Scan the document using a scanner. Save the scanned document on your hard drive. Make sure that the document is legible and easy to read.
-
4Upload your document file onto the website of your mailing service. The service will then address, print and mail the letter on the same business day.
-
5Keep a copy of your proof of mailing as well as the USPS proof of delivery.
-Step-8-Version-2.jpg)
-Step-9-Version-2.jpg)
-Step-10-Version-2.jpg)
-Step-11-Version-2.jpg)
-Step-12-Version-2.jpg)
Community Q&A
-
QuestionDo I have to be present at a post office to send certified mail?
 Community AnswerIf you mean you personally (as opposed to another person), then no. Only registered mail has to actually be sent from the PO counter. If you affix the proper forms and amount of postage, you can have a carrier pick up certified mail or use a mail box.
 -
QuestionWhich name goes on the receipt, mine or the person I am mailing it to?
 Community AnswerOn the green and white "Certified Mail Receipt", write the name of the person you are mailing the parcel to. Their address should be entered at the bottom.
 -
QuestionCan I send certified mail from any country besides the U.S.?Community AnswerThat depends on the individual country that you are in. When in the U.S., you cannot send Certified Mail to foreign addresses. Certified Mail can only be sent to addresses in the United States and its territories, in addition to FPOs and APOs.
Warnings
- If you need evidence of delivery, be sure to check the delivery status as soon as possible. The post office will only keep the delivery and signature information for a limited amount of time.⧼thumbs_response⧽
-Step-10.webp)


References
About This Article
To send certified mail, go to your post office and fill out a Certified Mail Form 3800, specifying the recipient’s name and address. Indicate whether you want special delivery services, like a return receipt. Then remove the sticker with the bar code from the form and put it along the top edge of your envelope, to the right of the return address. When you’re ready to send your mail, pay the postage and hang on to the form, which will state the mailing date and serve as your receipt. For more details on sending certified mail, through the post office or online, read on!


-Step-10.webp)


