This article was co-authored by wikiHow staff writer, Darlene Antonelli, MA. Darlene Antonelli is a Technology Writer and Editor for wikiHow. Darlene has experience teaching college courses, writing technology-related articles, and working hands-on in the technology field. She earned an MA in Writing from Rowan University in 2012 and wrote her thesis on online communities and the personalities curated in such communities.
This article has been viewed 10,702 times.
Learn more...
Is there something on your screen that you have to share with others or do you want to create a walkthrough with the microphone so you can show others something? Fortunately, this is all super easy with the default screen recording feature. This wikiHow article will walk you through the steps of screen recording on an iPhone 12.
Steps
Enabling Screen Recording in the Control Center
-
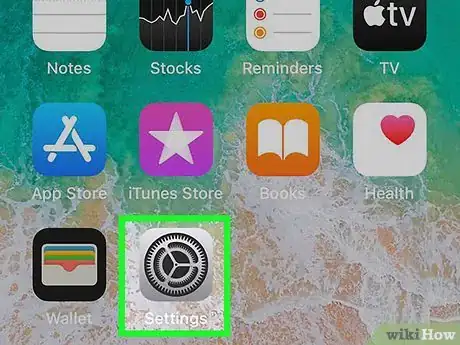
1Open Settings. You can open this by tapping the app icon that features a pair of gears on a light grey background.
- If you already see the Screen Recording icon in Control Center, you can skip this part.
-
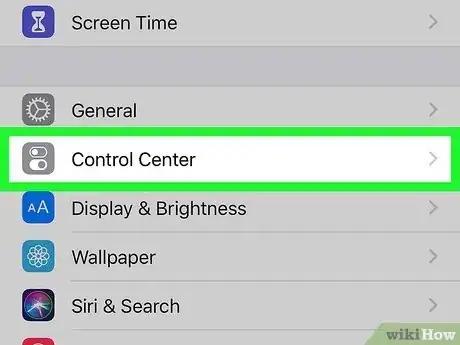
2Tap Control Center. It's next to an icon of switches that you'll find in the third grouping of menu options.Advertisement
-
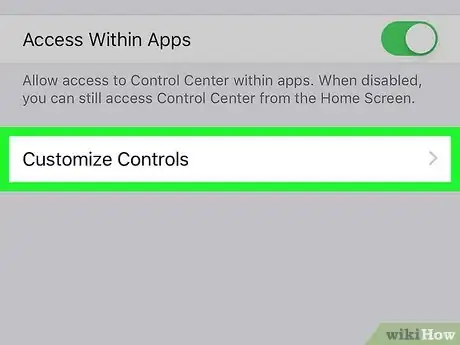
3Tap Customize Controls. You'll see it under the toggle for "Access Within Apps."
-
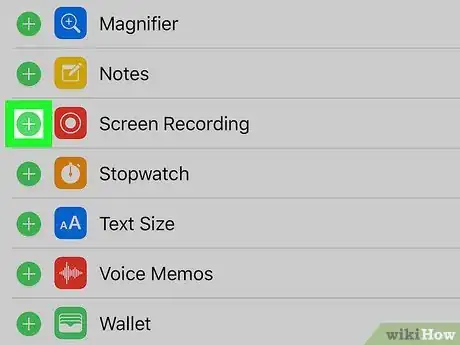
4Tap the plus sign next to Screen Recording. It's under the "More Controls" header and will move it up to the "Include" header.
- Since phone calls and notifications can also be recorded with screen recording, you may want to enable Do Not Disturb before continuing. To enable DND, open Control Center, then tap the moon crescent icon that represents Focus. From there, select Do Not Disturb.[1]
Using Screen Recording
-
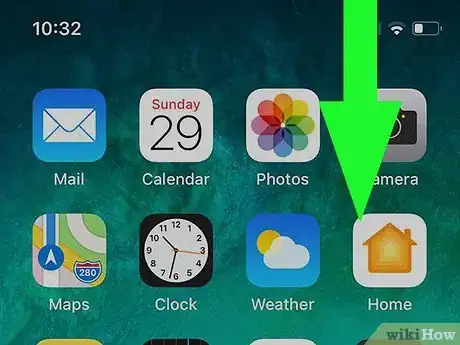
1Open Control Center. To open Control Center, swipe down from the top right corner of your screen.
-
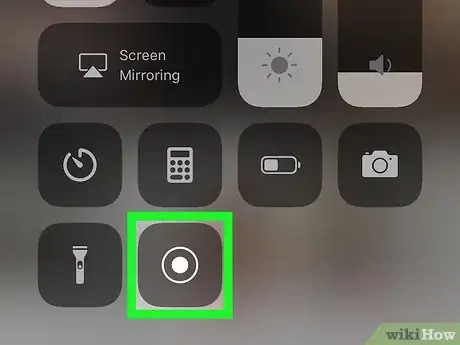
2Tap and Start Recording. You'll see this screen recording circle icon at the bottom of the Control Center panel.
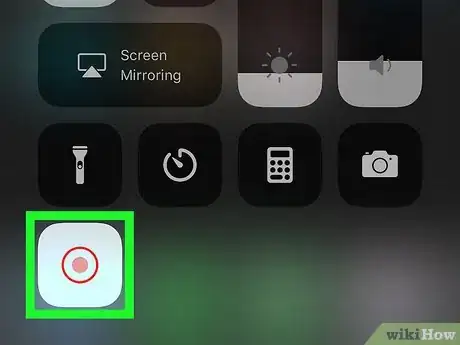
- To also record sound, press and hold the screen recording icon in Control Center and tap the Microphone Off/On button. It'll turn red to indicate that the microphone is recording; a grey icon indicates that the feature is off.
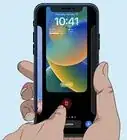
- When the screen recording is on, you'll see the time stamp in the upper left corner highlighted in red.
-
3Stop screen recording. When you're done recording, you can either tap the screen recording icon again in Control Center or you can tap the red time stamp in the upper left corner. Tap Stop to stop recording.
- You'll find your screen recording in the Photos app.[2]
About This Article
1. Enable screen recording in the Control Center.
2. Press the circular icon in Control Center to start recording.
3. Press the circular icon in Control Center to stop recording or tap the red timestamp in the upper left corner of your screen and tap Stop.
