This article was co-authored by wikiHow staff writer, Nicole Levine, MFA. Nicole Levine is a Technology Writer and Editor for wikiHow. She has more than 20 years of experience creating technical documentation and leading support teams at major web hosting and software companies. Nicole also holds an MFA in Creative Writing from Portland State University and teaches composition, fiction-writing, and zine-making at various institutions.
This article has been viewed 60,435 times.
Learn more...
Thanks to Eclipse's new installation tool, installing Eclipse is easier than ever. The Eclipse installer for Windows, macOS, and Linux now includes a JRE, which means you can start running Eclipse in minutes without installing Java first. This wikiHow article will show you how to install Eclipse on your PC or Mac, and how to find and open Eclipse once it's installed.
Steps
-
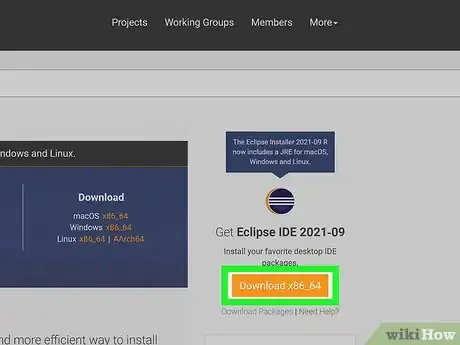
1Go to https://www.eclipse.org/downloads/packages/installer in a web browser. This is the official download page for Eclipse.
- If you've already installed Eclipse but don't know how to open it, skip to step 7 to learn how!
-
2Click the orange Download button. It's on the right side of the page under "Get Eclipse IDE 2021-09." This downloads the latest Eclipse installer, which includes all of the libraries you'll need to create Java programs.
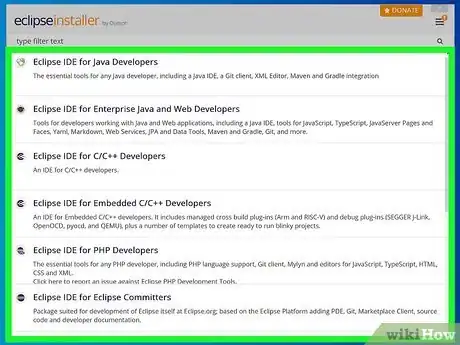
- During installation, you'll also be able to install other tools, including tools for PHP, C, C++, and other development.
- The version number will be a little different with each update.
Advertisement -
3Double-click the Eclipse installer to run it. It's the file that begins with eclipse-inst.
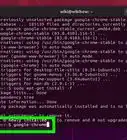
- If you're using Linux, you'll need to unzip the downloaded file so you can access the installer. Just type tar -xvf eclipse-inst-jre-linux64.tar.gz (adjust the file name if it's different) and press Enter or Return to do so. Then, cd to the new directory called eclipse-installer and run the file called eclipse-inst.
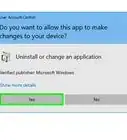
- Depending on your computer, you may have to give the installer permission to run.
-
4Select a package to install. Each package comes with different tools and libraries for an assortment of languages. To see the full list of what comes in each package, click the name of the package and then click Details.
-
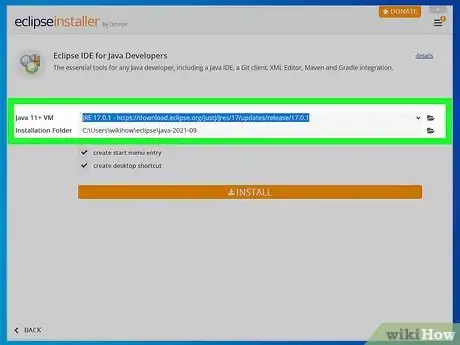
5Choose an install location. The default installation location (your user directory) is fine for most users.[1] If you're using a Mac or Linux, you'll want to remember the location to which you're installing Eclipse—since Eclipse won't be added to your applications menu automatically, you'll need to navigate to this folder to find and open Eclipse once installed.
- If you're upgrading an existing installation that isn't in the default location, choose that location instead.
-
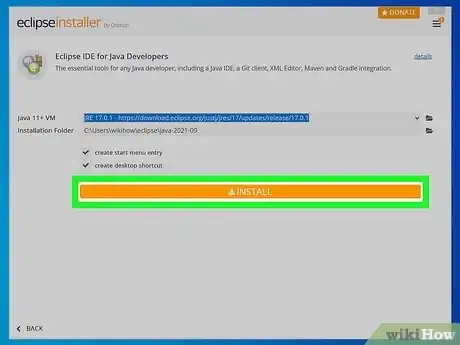
6Click INSTALL to install Eclipse. This installs Eclipse and all associated tools and libraries in the default location.
- You'll have to agree to the terms before the installation begins.
-
7Open Eclipse after installing it. You can click Launch in the installer now to run Eclipse, or open it the way you'll do so in the future:
- If you're using Windows, you can click the Eclipse link in your Start menu.
- If you're using a Mac, open Finder, navigate to the folder in which you installed Eclipse, and then double-click the Eclipse app to run it.
- If you're using Linux, open your file manager to the directory in which you installed Eclipse, and then double-click the app called eclipse to run it.
About This Article
1. Download the installer from www.eclipse.org/downloads/packages/installer.
2. Run the installer.
3. Choose which tools and libraries to install.
4. Select an install location.
5. Click INSTALL.
6. Double-click the Eclipse application in the installation directory to run Eclipse.

