This article was co-authored by Jacob Pischer. Jacob Pischer is a Home Improvement Specialist and the Owner of Helpful Badger, a home repair service in Portland, OR. With over four years of experience, Jacob specializes in a variety of handyman services including pressure washing, cleaning gutters, repairing drywall, fixing leaky plumbing fixtures, and repairing broken doors. Jacob studied at Madison Area Technical College and has a background in real estate investment.
There are 9 references cited in this article, which can be found at the bottom of the page.
This article has been viewed 25,448 times.
Laminate flooring made from composite materials is an attractive and affordable alternative to traditional hardwood. When it’s time to switch out your home’s damaged or worn-out laminate for new and improved pieces, you can save yourself quite a bit of expense by handling the installation yourself. Start by pulling up the old flooring and making sure the subfloor beneath is clean and level. Measure and cut the new laminate according to the area of the room. Finally, lay out the laminate planks one by one, making sure the interlocking edges fit firmly into place.
Steps
Removing the Old Laminate
-
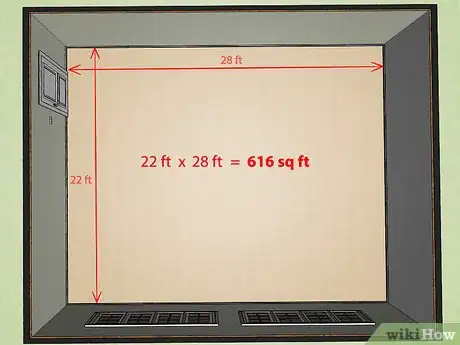
1Find the area of the room before buying laminate. Stretch out your tape measure along the wall on the longest side of the room. Do the same for the shorter side wall. Record both measurements on a notepad, then multiply the numbers together to get the total area. This will give you an idea of how much laminate flooring you’ll need. Make sure you buy enough materials to cover the entire room.[1]
- For example, a living room that's 22 feet (6.7 m) by 28 feet (8.5 m) will have an internal area of 616 feet (188 m).
- To install flooring in odd or irregularly-shaped rooms, it may be necessary to measure and trim the planks provisionally as you go.
- Rooms aren't usually perfectly square, so take measurements multiple times throughout the replacement.[2]
-
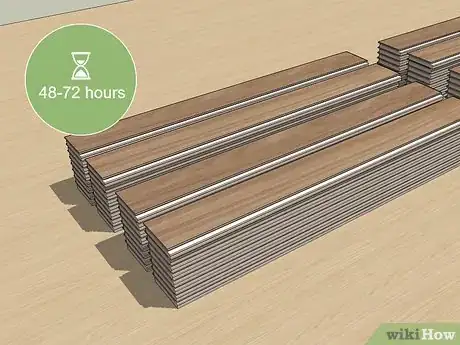
2Allow the new flooring materials to acclimate to their surroundings. Before you actually begin installing the laminate flooring, you’ll want to give it a chance to get used to the unique temperature and humidity levels inside your home. Bring the packaged planks inside and find an out-of-the-way place to leave them. They’ll need to sit for at least 48-72 hours before they're ready to be handled.[3]
- Store the flooring in your living room or foyer rather than the garage until you get your project underway.
- Removing the planks from their packaging as soon as they’re delivered will expose them to more direct airflow, which can help them acclimate faster.[4]
Advertisement -
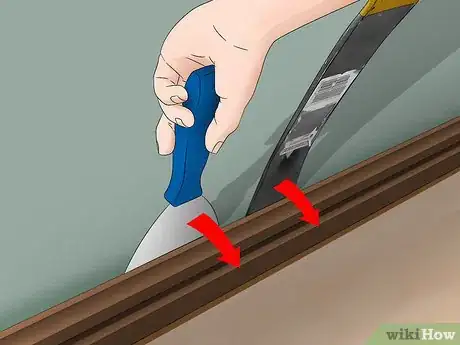
3Remove the moulding around the edges of the room. Go around the room and strip the baseboards, foot moulding, and any other low-lying trim components using a pry bar. Slide the curved end of the pry bar behind the rear face of the moulding, then pull it gently until it comes away from the wall. Once you’ve loosened it enough to grab, wrench it free by hand 1 section at a time.[5]
- Handle the pry bar carefully to avoid damaging the wall.
- Use the claw end of a hammer to coax out any stubborn finishing nails you happen to come across.
-
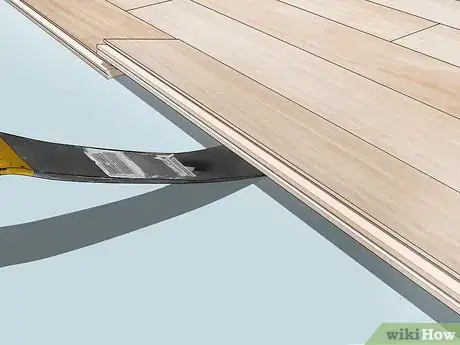
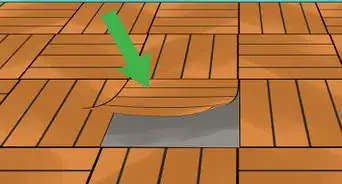
4Pull up the existing laminate. Starting in a corner of the room, loosen the old flooring with a pry bar. Pull the interlocking planks apart sharply to separate them. You may need to use the backside of a hammer to remove any pieces that have been nailed down, such as threshold strips.[6]
- Keep a couple oversized garbage bags nearby while. That way, you’ll have a place to put the stripped laminate as you work so you can dispose of it easily when you’re finished.
Preparing the Subfloor
-
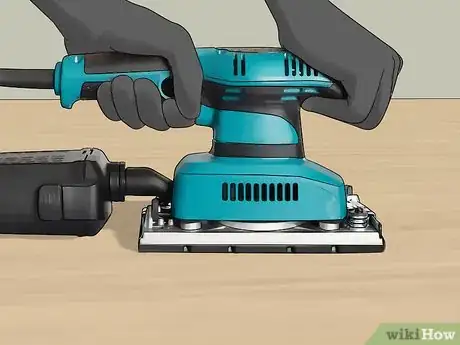
1Make sure the subfloor is level. Use an electric sander to smooth out imperfections in the wood and remove any traces of paint, adhesive, or oil. Concrete subfloors may need to be patched or brought to level with a leveling compound.
- Use a level to check the level of the subfloor before and after prepping it.
- It's critical to start with a perfectly level surface in order to get the laminate planks to lay correctly.[7]
-
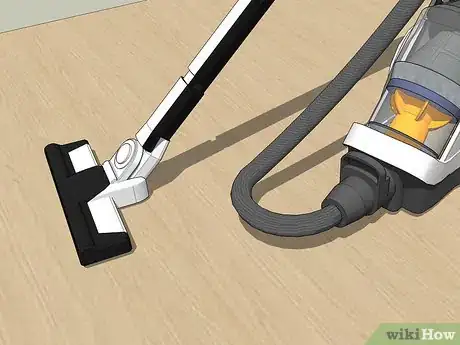
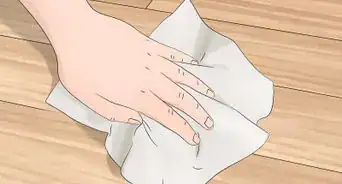
2Clean the subfloor. When you’re finished leveling, vacuum the entire subfloor to suction up dust and debris left over from the removal process. Especially dirty floors may need to be wiped down with a cloth dampened with warm water and a small amount of cleaning solution.
- Sweep up larger pieces of debris and dispose of them separately. Be sure to check for potential obstructions, like splintered wood chips and loose nails.
- Avoid oversaturating wooden subfloors. If you get them too wet, you'll have to wait for them to dry completely before you can begin installing the laminate.
-
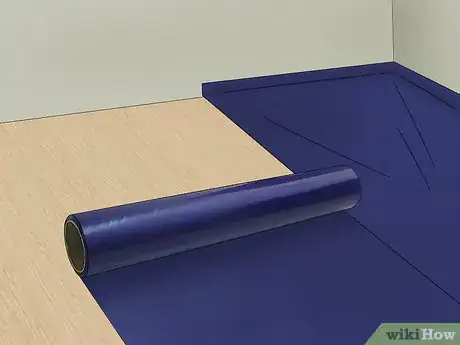
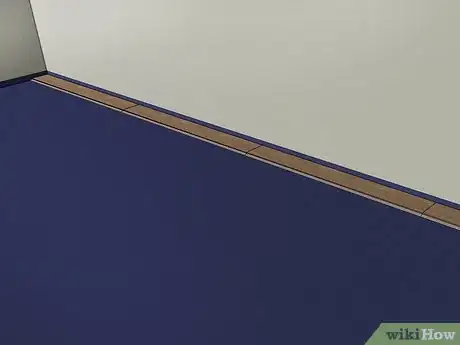
3Install a protective moisture barrier if needed. Unroll the moisture barrier sheet across the length of the room—you’ll most likely need to use multiple rolls to cover the whole subfloor. Run a utility knife along the edges of the barrier at the joint where the floor meets the walls to make sure it lays flat.[8]
- Most new laminate flooring features a built-in foam underlayment to block out harmful moisture. If the planks you’ve purchased don’t have this layer, you’ll need to put down a separate barrier.
- If you live in an area with high humidity, a moisture barrier can help protect your new laminate flooring and subfloor from rotting, warping, or mildewing.
- A moisture barrier is a must when installing laminate over concrete subfloors, since they can’t absorb and disperse moisture.[9]
Installing the First 2 Rows
-
1Lay out the first row of planks against the far wall. Set the laminate planks end-to-end. Start the row a few feet away from the wall for now to give yourself more room to work comfortably, then slide them flush once you get them all lined up.[10]
- Orient the planks so that they’re parallel with the room’s longest wall.
-
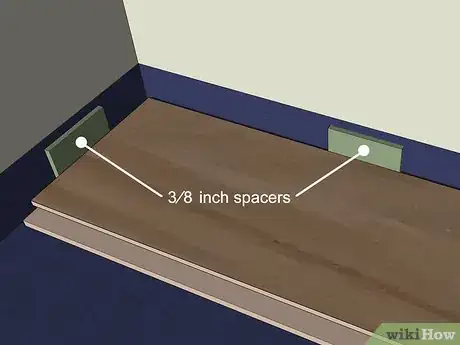
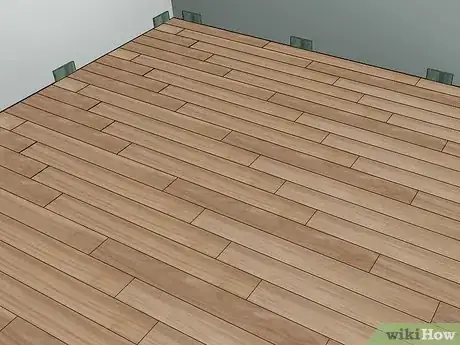
2Set spacers between the planks and the wall. Most manufacturers recommend leaving about 3⁄8 inch (0.95 cm) between the flooring and either end of the room to allow the laminate to expand a little. Some foam or plastic spacers will help with this. Center the spacers along the wall where the row will come to an end, then slide the planks until they rest right up against them.[11]
- You'll be able to find spacers in the same aisle as the flooring materials at your local home improvement center.
- Thin pieces of 3⁄8 inch (0.95 cm)-1⁄4 inch (0.64 cm) plywood can also be employed as makeshift spacers.
-
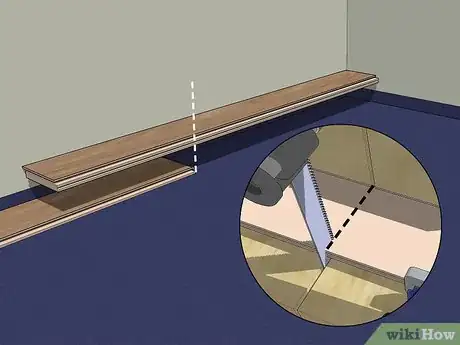
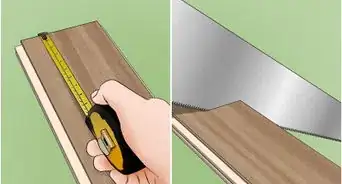
3Trim the last plank in the first row to fit. When there’s not enough room for a full-sized plank at the end of the first row, measure the gap between the last plank you laid down and the wall and mark the plank you’re holding to the corresponding length. Cut the plank along this line using a power saw. Once it’s been modified, it should fit perfectly.[12]
- While a table saw, circular saw, or miter saw will make the cleanest cuts and help reduce splintering, a standard handsaw will also get the job done.[13]
- Be sure to subtract 3⁄8 inch (0.95 cm) from the floor measurement you take to account for expansion.
-
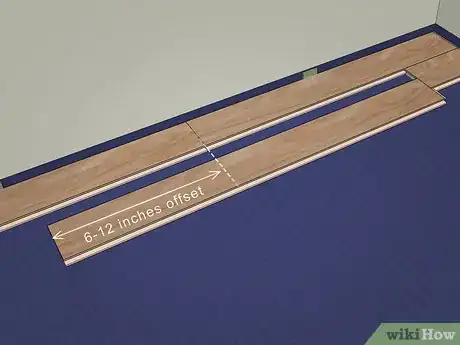
4Stagger the seams in the second row of planks. With the first row of flooring in place, you can begin laying out the second row. This time, adjust the positioning of the planks so that the seams created where the ends meet offset those in the first row by 6–12 inches (15–30 cm). You can return to the original configuration for the following row, or situate the seams randomly for a more asymmetrical appearance.[14]
- Staggering the seams in the flooring ensures that it’s equally sturdy at every point. It also makes for a more attractive overall appearance.
-
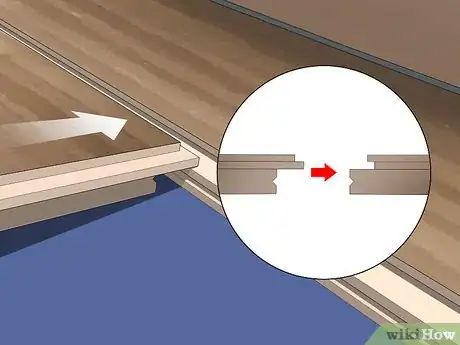
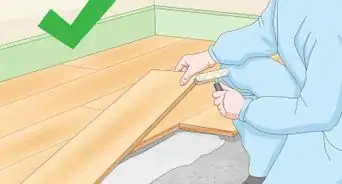
5Snap the planks together. Feed the tongue (the side with the protruding edge) of each plank in the second row into the groove in the reverse side of those in the first row. Press the planks together firmly until they interlock. They’ll essentially fit together like puzzle pieces.[15]
- If you’re having trouble fitting one plank into another, try angling it in from a few inches above the floor.
- The tongue-edge and groove-edge of all the planks should be facing the same direction.[16]
Completing Installation
-
1Continue assembling the planks until you’ve covered the entire subfloor. Proceed 1 row after the other, remembering to alternate the placement of the seams between rows. Check your work as you go. There should be no gaps between the planks.
- It may be necessary to rip the final row of planks (cut them lengthwise) to get them to properly fit the remaining space.
-
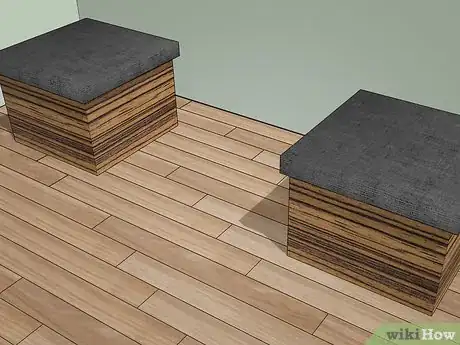
2Apply pressure to the flooring. After every 2-3 rows, set a piece of heavy furniture or a stack of boxes or similar objects on top of the new laminate. The added weight will flatten out the planks and help them settle into place. It will also prevent them from shifting or coming dislodged while you finish up the rest of the floor.[17]
- Allow the weighted objects to remain in place until you begin installing the next few rows.
- You also have the option pushing a weighted roller over the entire floor when you’ve finished installing it.
-
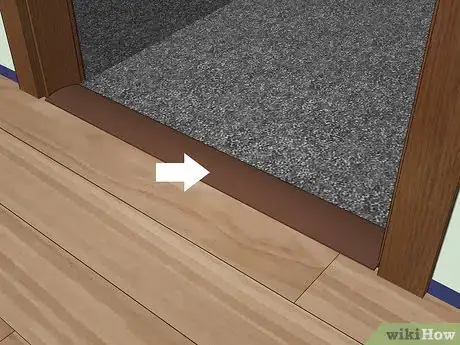
3Place transition strips at doorways and other openings. Measure each doorway, threshold, closet, or nook in the room where the laminate will meet another type of flooring. Trim the included transition strips to the appropriate length, then tap them down until they’re seated snugly.[18]
- Don’t subtract the 3⁄8 inch (0.95 cm) expansion gap allowance for the transition strips. They need to be left slightly longer in order to sit flush.
-
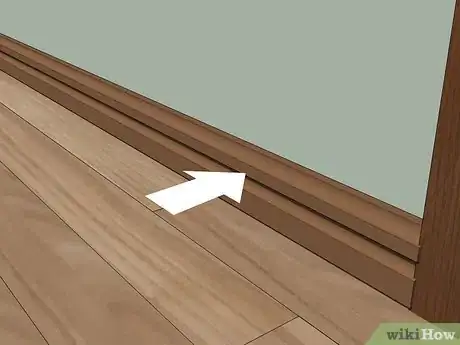
4Install quarter-round moulding around the edges of the room. Pick out a set of wood moulding that matches the look of your new flooring. Alternatively, you can reattach the same baseboards and trim you were using before. Fasten the moulding with finishing nails, then stand back and admire your handiwork![19]
- Measure and cut new moulding to the room specifications you took previously.
- Don’t forget to remove the spacers from around the edges of the room before putting the moulding back on.
Warnings
- Be extremely cautious when working with power saws and other potentially dangerous tools. Even minor accidents could result in serious injury.⧼thumbs_response⧽
Things You'll Need
- Laminate flooring planks
- Quarter-round moulding
- Pry bar
- Foam moisture barrier
- Circular, table, miter, or hand saw
- Level
- Tape measure
- Hammer
- Finishing nails
- Utility knife
- Vacuum cleaner
- Electric sander (optional)
- Leveling compound (optional)
- Pencil or felt-tipped marker
References
- ↑ https://www.lowes.com/n/how-to/measure-a-room/
- ↑ Jacob Pischer. Home Improvement Specialist. Expert Interview. 4 September 2020.
- ↑ http://www.bhg.com/home-improvement/flooring/installation-how-to/install-laminate-flooring/
- ↑ https://www.bobvila.com/articles/44271-how-to-install-laminate-flooring/#.WiG2W0qnHIU
- ↑ http://www.bhg.com/home-improvement/flooring/installation-how-to/install-laminate-flooring/
- ↑ https://www.bobvila.com/articles/44271-how-to-install-laminate-flooring/#.WiG2W0qnHIU
- ↑ https://www.familyhandyman.com/floor/wood-floor-installation/how-to-install-a-snap-together-wood-floor/view-all/
- ↑ https://thehappyhousie.porch.com/10-great-tips-for-a-diy-laminate-flooring-installation/
- ↑ https://www.todayshomeowner.com/video/how-to-install-laminate-flooring/
- ↑ https://www.lowes.com/n/how-to/how-to-install-a-laminate-floor
- ↑ https://www.familyhandyman.com/floor/wood-floor-installation/how-to-install-a-snap-together-wood-floor/view-all/
- ↑ https://www.todayshomeowner.com/video/how-to-install-laminate-flooring/
- ↑ http://videos.homedepot.com/detail/videos/flooring/video/4421947617001/installing-laminate-flooring:-overview?autoStart=true
- ↑ https://www.lowes.com/n/how-to/how-to-install-a-laminate-floor
- ↑ https://www.todayshomeowner.com/video/how-to-install-laminate-flooring/
- ↑ http://videos.homedepot.com/detail/videos/flooring/video/4421947617001/installing-laminate-flooring:-overview?autoStart=true
- ↑ https://www.lowes.com/n/how-to/how-to-install-a-laminate-floor
- ↑ https://www.bobvila.com/articles/44271-how-to-install-laminate-flooring/#.WiG2W0qnHIU
- ↑ https://www.familyhandyman.com/floor/wood-floor-installation/how-to-install-a-snap-together-wood-floor/view-all/
About This Article
To replace laminate flooring, start by removing the moulding around the edges of the room and pulling up the existing laminate. Next, use an electric sander to smooth imperfections in the subfloor and remove any traces of adhesive or paint. Then, lay new laminate planks end-to-end against the far wall, set spacers between the planks and the wall, and trim the last plank to fit. Continue to lay out rows, staggering seams as you go and snapping the planks together. To learn how to install new moulding once your laminate floor is replaced, keep reading!
