This article was co-authored by Kevin Schlosser and by wikiHow staff writer, Hunter Rising. Kevin Schlosser is a Home Improvement Specialist and the Owner of Home Tech Handyman Ltd. With over 20 years of experience, Kevin specializes in age-in-place installations, flooring, roofing, and general remodeling handyman services. Kevin holds a blend of construction and in-home technology-related certifications including NAHB Certified Age-in-Place Specialist, CEDIA membership and certifications, and a Certification from the Association of Certified Handyman Professionals. Also, he is in training to receive certifications in Construction, Project Management, and other CEDIA qualified system integrator certifications. He is fully-insured in the state of Colorado.
There are 14 references cited in this article, which can be found at the bottom of the page.
This article has been viewed 67,180 times.
Have you noticed your floor starting to sag or develop raised bumps? When it’s time to update your flooring, installing the hardwood, tile, laminate, or other finish on a flat, level surface is important for protecting it from damage. Leveling your floor now stops high and low spots from developing again, and we’ll walk you through each step of the way. Follow along so you’re able to make your subfloors perfectly even and ready for your new flooring.
Things You Should Know
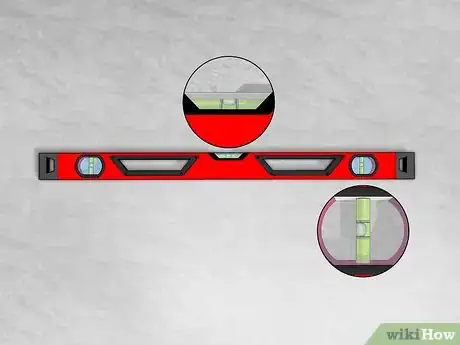
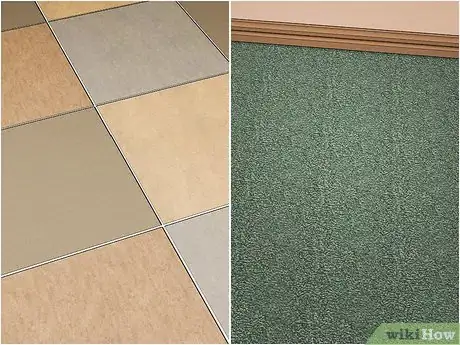
- Take out your old flooring and run a level over the subfloor to find the high and low spots.
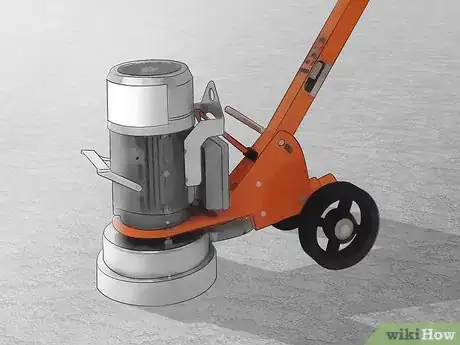
- Use an electric sander or concrete grinder to shave down raised areas in the subfloor.
- Pour a floor leveler over the low spots in your floor and smooth it out to 1⁄4 inch (0.64 cm) thick with a trowel.
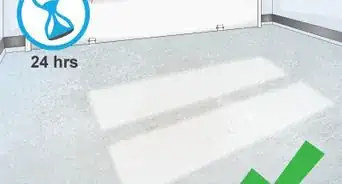
- Let the leveler set overnight and then check the level of your floor again.
Steps
Expert Q&A
-
QuestionWhat can I use to level a floor?
 Kevin SchlosserKevin Schlosser is a Home Improvement Specialist and the Owner of Home Tech Handyman Ltd. With over 20 years of experience, Kevin specializes in age-in-place installations, flooring, roofing, and general remodeling handyman services. Kevin holds a blend of construction and in-home technology-related certifications including NAHB Certified Age-in-Place Specialist, CEDIA membership and certifications, and a Certification from the Association of Certified Handyman Professionals. Also, he is in training to receive certifications in Construction, Project Management, and other CEDIA qualified system integrator certifications. He is fully-insured in the state of Colorado.
Home Improvement Specialist Leveling compound will fill in the lowest parts of your floor after you pour it.
 -
QuestionCan self leveling compounds be used over 3/4" plywood?
 wikiHow Staff EditorThis answer was written by one of our trained team of researchers who validated it for accuracy and comprehensiveness.
Staff Answer wikiHow Staff EditorStaff AnswerYes, you can use leveling compounds on wooden or concrete subfloors.
 -
QuestionCan you apply another layer over the dried compound if needed? If the floor needs needs more?
 wikiHow Staff EditorThis answer was written by one of our trained team of researchers who validated it for accuracy and comprehensiveness.
Staff Answer wikiHow Staff EditorStaff AnswerYes, since you should only add layers that are 1/4-inch thick, you may need to apply additional layers.
Warnings
- Avoid applying leveling compound directly to wood subflooring materials without a bonding agent. The liquid will absorb into the wood, which may cause splitting, leaks, or other severe structural damage.⧼thumbs_response⧽
Things You'll Need
- Level
- Electric belt sander
- Concrete grinder (for concrete floors)
- Bonding agent
- Bucket
- Floor leveler
- Hand trowel
- Safety goggles
- Face mask or respirator
References
- ↑ https://youtu.be/afrUJ1YBtdE?t=28
- ↑ https://www.youtube.com/watch?v=afrUJ1YBtdE&feature=youtu.be&t=92
- ↑ https://www.bobvila.com/articles/replace-a-subfloor/
- ↑ https://youtu.be/jtFec6dpvKE?t=82
- ↑ https://youtu.be/1OTFDI7hMeE?t=50
- ↑ https://www.ronhazelton.com/projects/how_to_level_a_floor_before_putting_down_hardwood_flooring
- ↑ https://youtu.be/jkmdeqxcojc?t=93
- ↑ Kevin Schlosser. Home Improvement Specialist. Expert Interview. 19 February 2021.
- ↑ https://www.ronhazelton.com/projects/how_to_level_a_floor_before_putting_down_hardwood_flooring
- ↑ https://www.theartofdoingstuff.com/how-to-pour-self-levelling-cement/
- ↑ https://youtu.be/jkmdeqxcojc?t=175
- ↑ https://pdf.lowes.com/productdocuments/9b6f5c3a-e260-4e60-8f4d-403f8cb491d4/60893649.pdf
- ↑ https://todayshomeowner.com/flooring/video/how-to-level-a-subfloor/
- ↑ https://youtu.be/eDg6pjD001o?t=1835
- ↑ https://todayshomeowner.com/flooring/guides/installing-tile-over-a-wood-subfloor/
About This Article
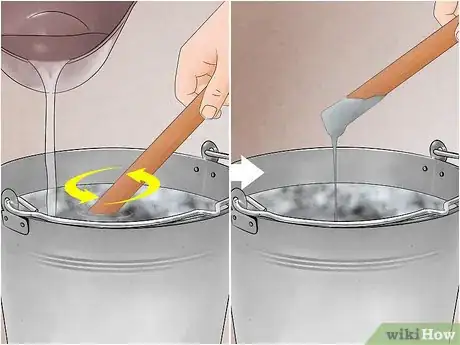
To level a floor, start by removing the existing flooring. Then, mix leveling compound according to the instructions on the package in a large bucket. Once the compound reaches a creamy consistency, pour a thin layer into the sunken sections, then smooth out inconsistencies with a hand trowel. Work your way outward from the interior of the room, ending at the door so you don’t accidentally trap yourself in a corner. Finally, let your floor dry overnight before reapplying new flooring. To learn our Carpentry reviewer’s tricks on using a bonding agent to help the leveling compound last longer, scroll down!

