This article was co-authored by wikiHow staff writer, Eric McClure. Eric McClure is an editing fellow at wikiHow where he has been editing, researching, and creating content since 2019. A former educator and poet, his work has appeared in Carcinogenic Poetry, Shot Glass Journal, Prairie Margins, and The Rusty Nail. His digital chapbook, The Internet, was also published in TL;DR Magazine. He was the winner of the Paul Carroll award for outstanding achievement in creative writing in 2014, and he was a featured reader at the Poetry Foundation’s Open Door Reading Series in 2015. Eric holds a BA in English from the University of Illinois at Chicago, and an MEd in secondary education from DePaul University.
There are 12 references cited in this article, which can be found at the bottom of the page.
This article has been viewed 13,239 times.
Learn more...
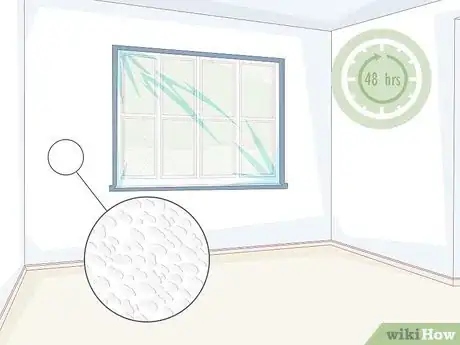
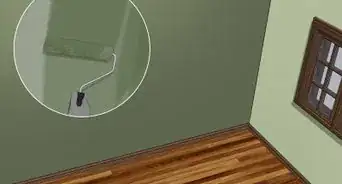
Orange peel texture refers to a finishing style for painted or unpainted walls. Instead of the traditional, smooth finish, an orange peel texture creates small bumps, grooves, and valleys to make your wall feel like an orange rind! To apply orange peel texture, you’ll need an air compressor and a hopper—a type of spray gun mounted with a large container for joint compound. Mix joint compound with a little bit of water until your joint compound is soupy and thin. Then, pour it into the hopper. Turn your air compressor on and spray your walls until they’re entirely covered in compound. Wait at least 48 hours for your walls to dry.
Steps
Preparing Your Workspace
-
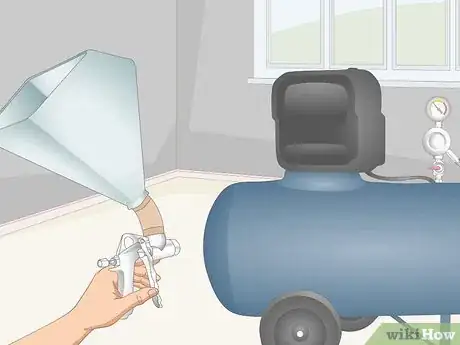
1Buy or rent a texture hopper and air compressor. To create an orange peel texture, you’ll need a spray hopper and air compressor. A hopper is essentially a pressurized spray gun with a storage compartment on top of it. The compressor hooks up to the hopper and pushes your wall texture out of the nozzle. Buy or rent a hopper and compressor from your local construction supply store. The hopper will cost roughly $50-300 per day to rent, while the air compressor will cost $50-150 a day.[1]
- This process does not involve the use of any toxic chemicals. You don’t need to worry about wearing gloves or a respirator.
Tip: Unless you’re planning on reusing the hopper and compressor, you’re better off renting your hardware. These items can be kind of expensive. A decent hopper will cost $500-2500, while an air compressor will cost $100-400.
-
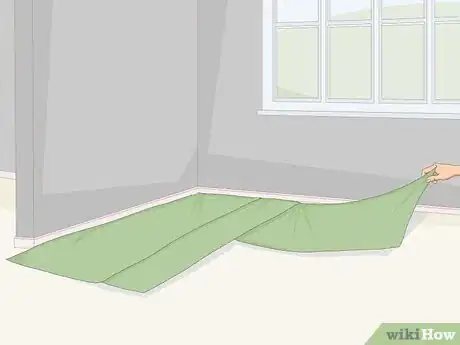
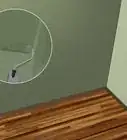
2Lay down drop cloths or plastic sheeting over your floor. Applying an orange peel texture is an incredibly messy process since it can only be sprayed on. To keep your floors safe and make cleaning up easier, lay down drop cloths or plastic sheeting across the entirety of the floor in the room that you’re working.[2]
- If you do accidentally get some joint compound on your floor, you’ll have 15-30 minutes to wipe it up with a clean rag or damp sponge. This isn’t a big deal, but if the compound is all over the place this can be a nightmare.
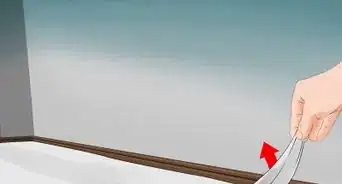
- Ideally, you’re applying the texture before you’ve installed baseboards. If you already have your baseboards installed though, tape your plastic sheeting to the top of the baseboard with painter’s tape. Drop cloths are typically too heavy to tape.
Advertisement -
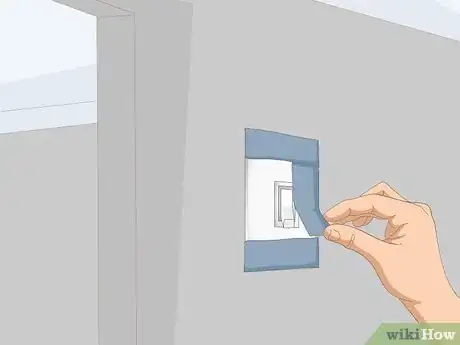
3Use painter’s tape to keep fixtures and switches dry. Since you’ll be spraying the orange peel texture across the entire wall at once, use painter’s tape to cover outlets and switches. For windows, lay a sheet of plastic over the window and use painter’s tape to stick it to the frame. Cover any surfaces that you don’t want to texture with painter’s tape.[3]
- Orange peel is almost always applied before a room is finished. If your room is finished though, use a screwdriver to remove the faceplates out of the outlets.
- Uninstall any glass fixtures, like lights, by unscrewing them from the mounting plate. If the fixture can’t be removed, you can cover it with a plastic bag or painter’s tape.
- If you have a ceiling fan, unscrew the blades near the motor and set them aside. Then, wrap the fan in a plastic bag and tape it near the top of the mounting bracket.
-
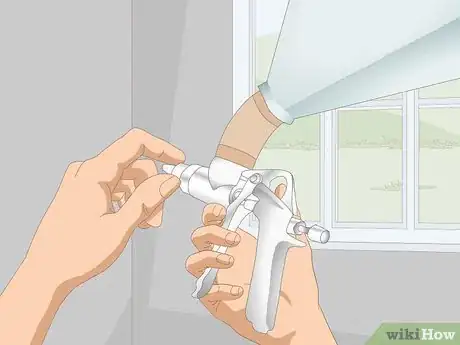
4Attach the smallest nozzle to your hopper’s spray gun. Hoppers typically come with three nozzles for your spray gun—small, medium, and large. The large has the biggest opening and the small has the thinnest opening. Twist the smallest nozzle on to the spray gun by turning it clockwise into the threading. Continue turning the nozzle until it won’t move any further.[4]
- Orange peel texture requires a fine mist to settle correctly. This means that you need a thin nozzle setting to get the right consistency.
- If you have a newer hopper with an adjustable nozzle, twist it until the opening is as small as possible.
Mixing Your Compound and Filling the Hopper
-
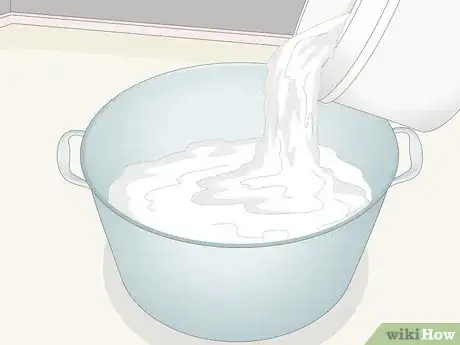
1Fill a large bucket halfway with joint compound. To start, open your bucket of joint compound. Tilt it over a large bucket and pour roughly half of your joint compound out. You’re going to mix the compound with water in the bucket, so if you overfill the container you may end up spilling.[5]
- Any type of mudding compound will work for this. Fast-drying joint compound will make this process harder though since you’ll have less time to work with it before the joint compound hardens. To keep it easier to work with, select a joint compound with a 24-48 hour drying time.[6]
- Do this outside or on top of your drop cloth or plastic sheet.
-
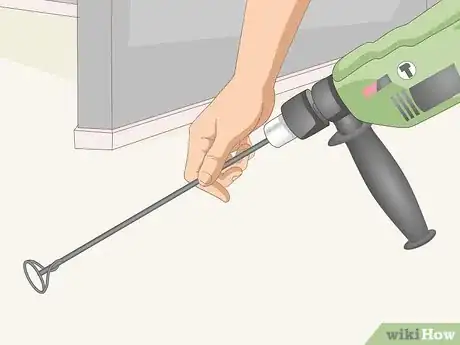
2Attach a mixing paddle to your drill. Grab a power drill and a mixing paddle drill bit. Twist your old drill bit out by flipping the lock and turn the head of the drill counterclockwise. Slide the head of the mixing paddle into your drill head and twist it clockwise to tighten it. Flip the lock near the head of your drill to lock it in place.[7]
Variation: You can mix your compound by hand with a mixing paddle if you’d like, but this will take a lot of physical effort. Joint compound is pretty thick.
-
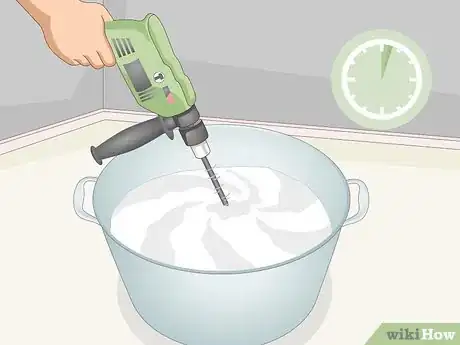
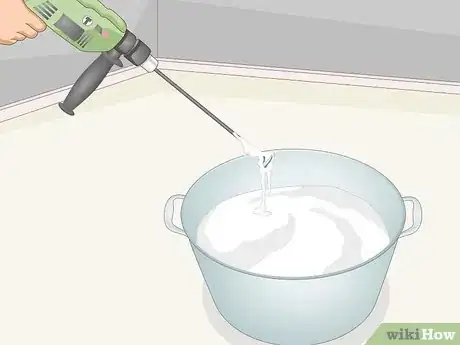
3Mix your joint compound with the paddle for 2-3 minutes to soften it up. Stick the head of the mixing paddle in the middle of your bucket and push it to the bottom. Turn your drill to the lowest power setting and slowly pull the trigger to begin mixing your joint compound. Pull the trigger further to mix your compound at a higher speed and soften it up.[8]
- The joint compound has to be oxidized to make it easier to mix with water. Mixing it softens it up while pulling air into the compound.
-
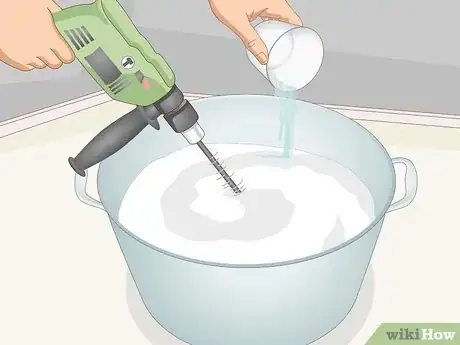
4Add water to the bucket and continue mixing. Once you’ve softened the joint compound up a little bit, add a little bit of water. Start with 2–3 fluid ounces (0.059–0.089 L) if you’re using a 5 US gal (19 L) bucket. Continue mixing your compound for 1-2 minutes before adding more water if necessary.[9]
- The thicker the compound is, the more water that you need to add.
-
5Stop mixing once your compound looks soupy and thin. The amount of water that you need to use is different based on the material and thickness of the compound. Regardless of the type of compound, stop adding water once your compound thins out. It should resemble soup by the time that you’re done mixing water in and should be only slightly thicker than water.[10]
- Most professionals don’t use a recipe or predetermined amount of water when mixing a texture. They simply stop once the compound has a thin, soupy consistency.
-
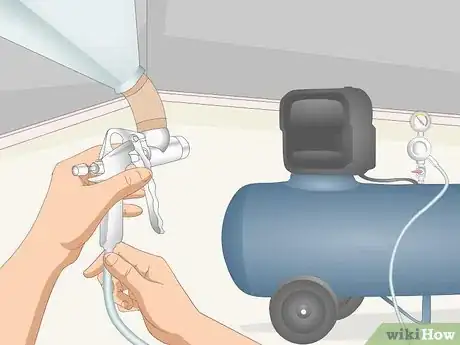
6Hook your air hose up to the compressor and hopper. Take your air hose and twist it into the air compressor’s spigot. Take the other end and twist it into your hopper’s spigot at the bottom of the spray gun. If you have a larger hopper with a separate spray gun, attach a second hose from the spray gun to the container.[11]
- Some hoppers are stationary and have built-in compressors.
- Some hoppers are attached to the top of the spray gun. Larger hoppers have a separate spray gun that have to be attached.
-
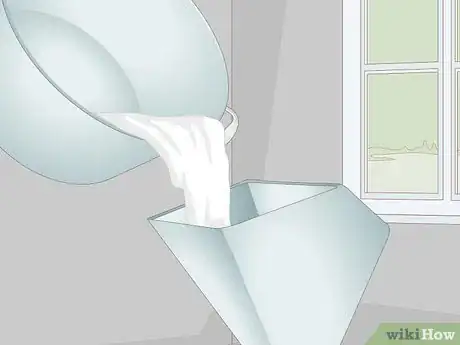
7Pour your mixed compound into the top of the hopper. Flip the lid for your hopper open. Lift the bucket filled with water and joint compound up to the hopper and carefully pour it into the top. Fill the top of the hopper up to the fill line as indicated by the hash mark on the inside of the container.[12]
- Some hoppers don’t have a fill line. Fill these hoppers up till they’re 2/3 full.
-
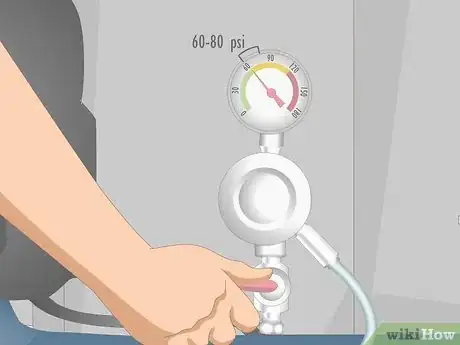
8Turn the dial on your air compressor to 60-80 psi. To push the joint compound through the nozzle of your spray gun, you’ll need a fair amount of pressure. Before you turn the compressor on, turn the dial on the front of the compressor to 60-80 psi. You can always change the psi after you’ve started the compressor, so start at 60 psi and work up from there. Plug your compressor into an outlet if it’s not battery operated and flip the power switch to turn it on.[13]
- Psi stands for pressure per square inch.
Applying the Texture
-
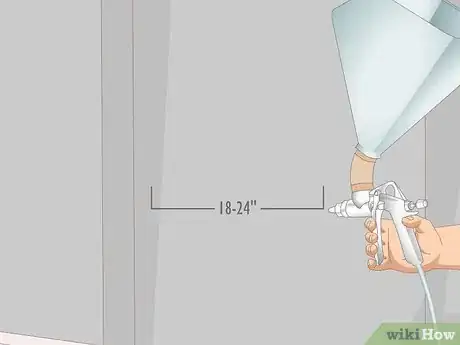
1Hold your spray gun 18–24 in (46–61 cm) away from the wall. Choose a section at the top of a wall to start at. Lift the hopper’s spray gun up with both hands and steady it. Hold the gun 18–24 in (46–61 cm) away from the wall to ensure that you aren’t concentrating the spray in any single area. Work from the top down, and left to right from your starting point.[14]
- Put your nondominant hand on top of the gun and hold it up near your face to protect your face from any compound. You can wear protective eyewear if you’d like, but this is a pretty safe process. You shouldn’t experience any leaks if you’ve hooked your hoses up tightly.
- It doesn’t matter where you start. You’ll work your way around the entire room and different walls don’t require different techniques.
Tip: If you want to get a feel for the process, practice on a spare sheet of drywall. It isn’t a particularly difficult process though, so you should get the hang of it pretty quickly.
-
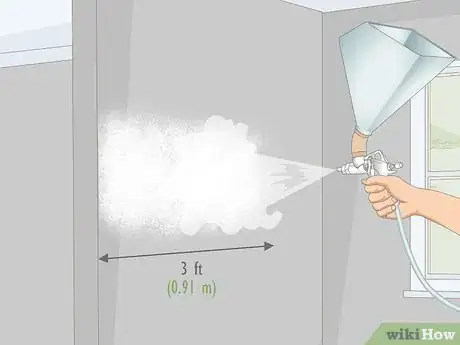
2Pull the trigger and spray back-and-forth in a 3 ft (0.91 m) section. To initiate the spray, pull the trigger to release the air and compound. Move the gun back and for the across a small 2–4 ft (0.61–1.22 m) section of the wall for 10-15 seconds. Since joint compound is roughly the same color as unpainted drywall, you may not see it covering the wall at first. Continue applying the texture until the section is a solid, uniform color.[15]
- Don’t hold the spray gun in any one location for more than 1-2 seconds. Keep moving the gun to ensure that your texture comes out evenly.
- If you notice your compound is ricocheting off of the wall, back up a little.
-
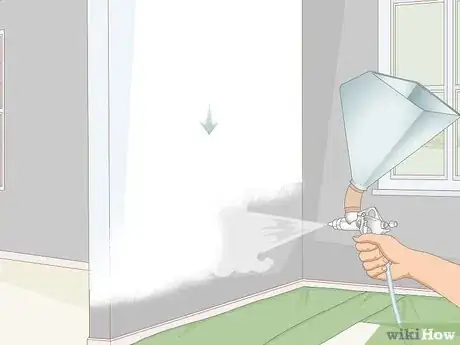
3Move the spray gun down the wall while continuing to move it. Keep the trigger held down. Once you’ve covered one section of your wall, move the sprayer down to the next 3 ft (0.91 m) section. Move the spray back and forth across the surface to apply your joint compound evenly. Repeat this process until you’ve reached the floor.[16]
- Spray each section of your wall for 10-15 seconds to completely apply the texture.
-
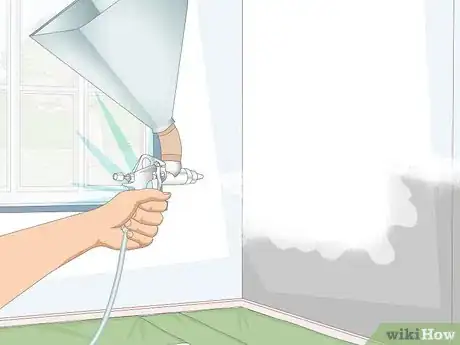
4Repeat this process until you’ve covered your entire room. Continue spraying your walls using the same method. Start at the top and work your way down to avoid drips. Work in 3 ft (0.91 m) lengths until you’ve completely covered all of your walls.[17]
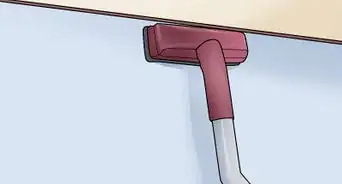
- You can use a damp sponge to wipe up any compound that you get on the ceiling, trim, or floors.
-
5Wait at least 48 hours for your texture to dry. Once you’ve covered your walls, give the joint compound time to dry. Take your painter’s tape off, remove any plastic from your windows, and crack them open 2–6 inches (5.1–15.2 cm) to give the room some ventilation. Wait at least 48 hours before painting or patching your texture.[18]
- You can repeat this process to fill in any sections that you missed. You can apply wet orange peel texture to dry compound at any time. Just make sure that you let the wet compound dry for twice as long since the compound underneath it may get wet again.
Things You’ll Need
- Texture hopper
- Air compressor
- Air hose
- Mixing paddle
- Drill
- Joint compound
- Putty knife
- Protective eyewear
- Water
- Sponge
References
- ↑ https://www.bobvila.com/articles/knockdown-texture/
- ↑ https://youtu.be/6YSc2Wdtj1g?t=142
- ↑ https://youtu.be/kYa9Bif51Ko?t=17
- ↑ https://youtu.be/kcOH5Of2FxA?t=305
- ↑ https://youtu.be/kcOH5Of2FxA?t=81
- ↑ https://www.bobvila.com/articles/knockdown-texture/
- ↑ https://youtu.be/kcOH5Of2FxA?t=102
- ↑ https://youtu.be/kcOH5Of2FxA?t=164
- ↑ https://youtu.be/kcOH5Of2FxA?t=154
- ↑ https://youtu.be/kcOH5Of2FxA?t=164
- ↑ https://www.bobvila.com/articles/knockdown-texture/
- ↑ https://youtu.be/kcOH5Of2FxA?t=304
- ↑ https://youtu.be/kcOH5Of2FxA?t=48
- ↑ https://www.bobvila.com/articles/knockdown-texture/
- ↑ https://youtu.be/kcOH5Of2FxA?t=367
- ↑ https://youtu.be/kcOH5Of2FxA?t=401
- ↑ https://www.bobvila.com/articles/knockdown-texture/
- ↑ https://www.bobvila.com/articles/knockdown-texture/
