This article was co-authored by Andres Matheu. Andres Matheu is the Owner of Hömm Certified Painting Systems, an Interior and Exterior Residential painting business based in the Washington, DC Metro area. Andres specializes in interior and exterior residential painting, color consultations, cabinet refinishing, wallpaper removal, and epoxy flooring among other services. An EPA Lead-safe Certified Firm, Hömm Certified Painting Systems has been awarded the Best of Houzz 2019 Service, Angie's List Super Service Award 2019, and Northern Virginia Magazine's 2018 Best Home Experts (painters) award.
There are 8 references cited in this article, which can be found at the bottom of the page.
This article has been viewed 57,600 times.
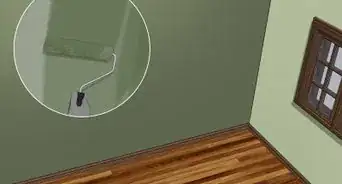
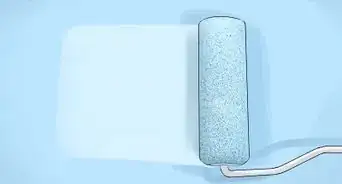
If you want to paint a crisp, straight line, the good news is you don't have to do it freehand. Between painter's tape, angled brushes, and paint edgers, you have a few different options to help you paint perfect straight lines. We'll walk you through your different options step-by-step below!
Steps
Using Painter’s Tape
-
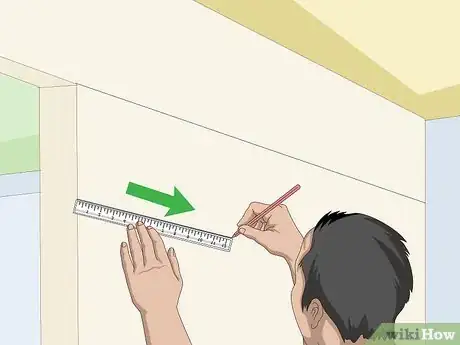
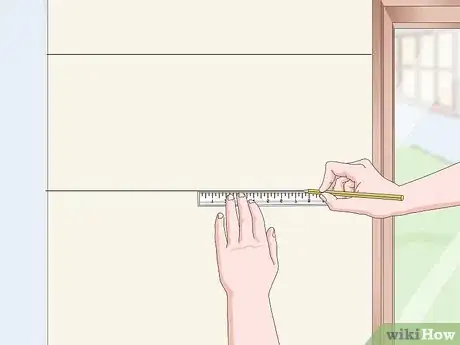
1Use a ruler and pencil to mark where the line will be, if necessary. For example, if you’re trying to paint stripes on a wall, you’ll need to mark on the wall where you want them to be before attempting to paint them. Position the ruler where you want your line to be, then run the pencil along the ruler to mark it on the wall. Repeat this process, marking 12 inches (30 cm) at a time, until you’ve marked off the entire length of the line you want to paint along.[1]
- Use a bubble level as you go to make sure the lines you’re drawing are perfectly straight. Place the level along the line; if the bubble goes to the center of the level, between the 2 black lines, your line is straight.
- If you’re trying to paint along the line where your walls and ceiling meet, you can skip this step.
-
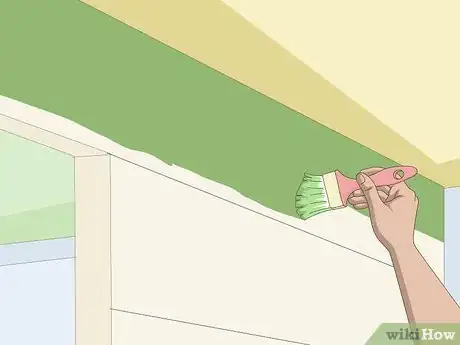
2Paint the ceiling or above the line you drew first. It’s ok if some of the paint goes below the line or gets onto the wall, as long as you’re still able to make out where the line is. If painting over the line causes you to not be able to see it, opt instead to paint as close to the line as possible without going over it.[2]
- If you’re painting the ceiling, place a tarp or a drop cloth on the floor below the area you’ll be working in to catch any paint drops that fall from the ceiling.
Advertisement -
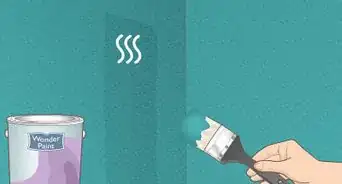
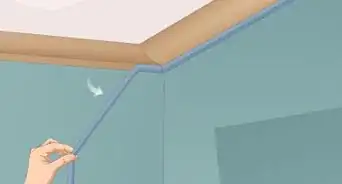
3Let this paint dry, then put painter’s tape along the line or on the ceiling. You’ll want the paint to be completely dry so that the tape will adhere to it. Place the tape along the line on the painted side of the line or along the very edge of the ceiling where it meets the wall.[3]
- It will probably take 6-8 hours for the paint to adequately dry.
-
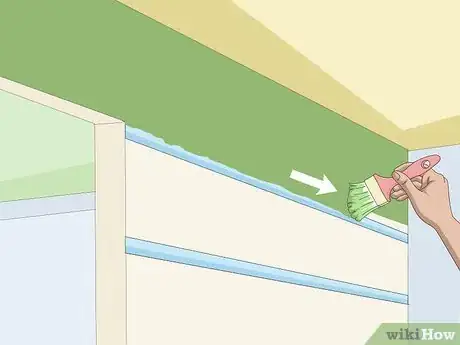
4Paint along the edge of the tape with the paint you used above the line. This is especially important for painting on textured surfaces, since the paint will seep under the small cracks that are left in the tape and blend in with the paint that’s already there. You only need to paint a narrow line about 0.5 to 1 inch (1.3 to 2.5 cm) wide along the “bottom” edge of the tape.[4]
- Don’t worry about the paint going below the line or on the wall; you’ll be able to paint over it later.
-
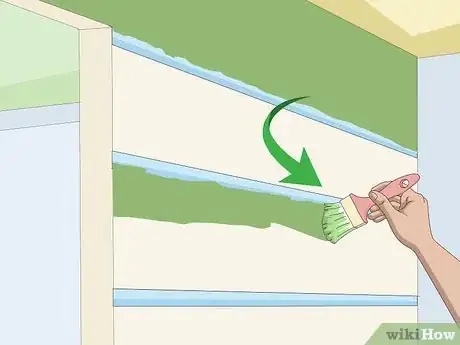
5Let the paint dry, then paint along the opposite side of the line. Give the paint roughly 6-8 hours to dry. Then, paint the wall or the area below the line a separate color. Extend this paint all the way up to and on top of the painter’s tape without going over it.[5]
-
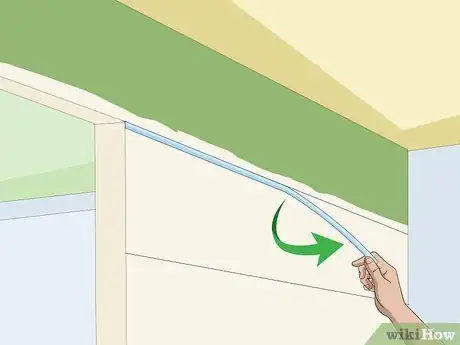
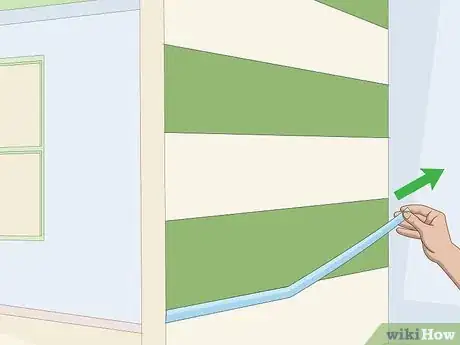
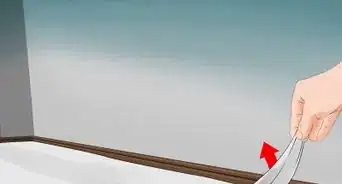
6Remove the painter’s tape once the paint has dried. After about 6-8 hours, the paint should be dried and you should be able to remove the tape. Pull the tape straight back on itself to peel it off, pulling at a slow and even pace. This should reveal a straight line separating 2 different colors on your wall, or a wall that is painted a different color than your ceiling.[6]
- If there are any leaks or uneven spots in your line, use a tiny paint brush to touch them up.
Painting with an Angled Brush
-
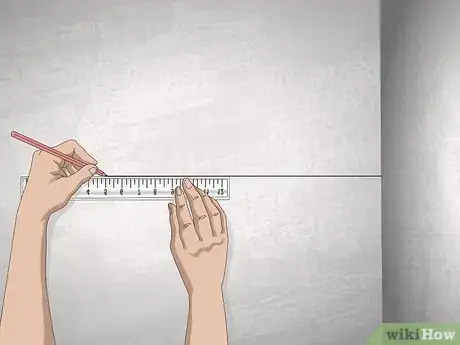
1Mark where the line will be with a pencil and ruler, if necessary. This is especially important if you’re trying to paint stripes on a wall, since you’ll need to visibly mark where you want them to be before you try to paint them. Place the ruler where you want your line to be and run the pencil along it to draw the line. Repeat this process, drawing 12 inches (30 cm) of the line at a time, until you’ve marked off the entire length of the line you want to paint along.[7]
- You don’t need to do this if there’s already a “natural” line you’ll be painting along, such as where the wall meets the ceiling.
- Use a bubble level as you go to make sure you’re drawing a perfectly straight line. Lay the level along the line that you drew; if the bubble goes in between the 2 black lines in the center of the level, your line is straight.
-
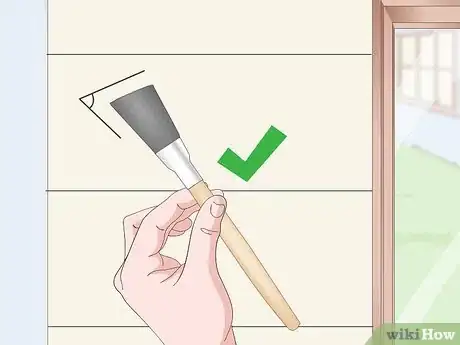
2Make sure you have a small brush with a pronounced angle. The brush should be small and easily handled, with bristles that are about 1 to 2 inches (2.5 to 5.1 cm) long. It should also have as sharp an angle as you can find. The more pronounced the angle, the easier it will be to paint a straight line.[8]
- You can buy angled paint brushes anywhere that regular paint brushes are sold.
-
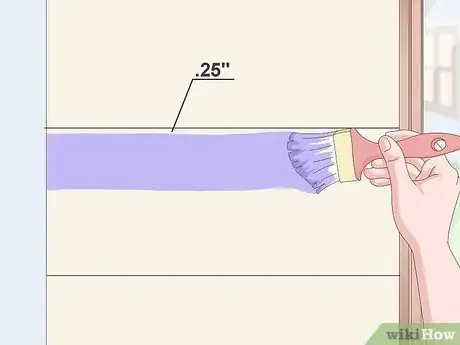
3Paint a line 0.25 inches (0.64 cm) below or away from the line. Dip just the tips of the brush bristles into your paint, then spread it in one smooth motion below the line. Try to make your painted line even with the marked line, although it won’t be a big deal if it isn’t perfectly straight.[9]
-
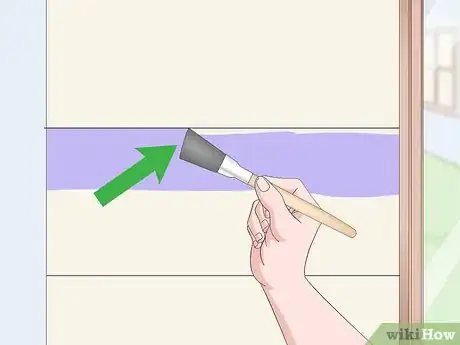
4Use the angled brush to push this paint up to the line. Don’t put any more paint on the brush before you do this. Simply push the paint until the tips of the brush come up to the line, then stop.[10]
- If the other side of the line hasn’t been painted yet, it’s fine if you accidentally go over the line in a few places.
-
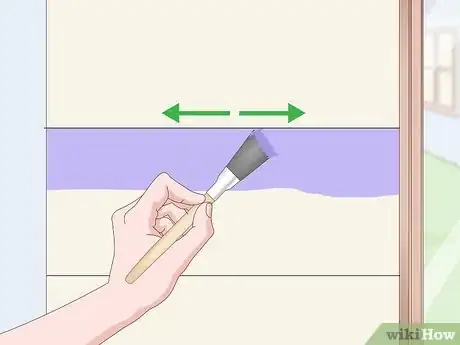
5Paint left and right in a smooth motion to straighten out the line. Use slow and even strokes to straighten out the paint as necessary. Be sure to use only the tips of the brush; this will better ensure your line is as straight as possible.[11]
- Doing this will create a smooth, straight line of paint along the line that you marked earlier.
-
6Repeat this process on the other side of the line if needed. Rinse your angled brush under running water to get the paint off of it. Then, apply your second color to the bristles and repeat the process of applying, pushing, and straightening the paint to the opposite side of the line.
Using an Edger
-
1Use a pencil and ruler to mark where your line will be, if necessary. For example, you’ll need to mark where you want your line to be if you’re trying to paint stripes on a wall. Repeatedly run the pencil along the ruler where you want your line to be, marking 12 inches (30 cm) at a time, until you’ve drawn the entire line you want to paint against.[12]
- For best results, use a bubble level as you go to make sure you’re drawing a straight line.
- Feel free to skip this step if you’re trying to paint between the wall and the ceiling.
-
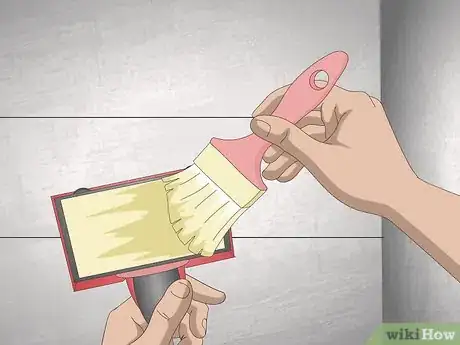
2Paint the surface of the edger to apply paint to it. This will help you control the amount of paint you want to apply with the edger and keep you from accidentally putting too much on it. Use a regular paint brush to apply the paint to the edger.
- This is especially important if your edger has wheels on it, since dipping the edger into your paint will almost definitely get paint on these wheels.
-
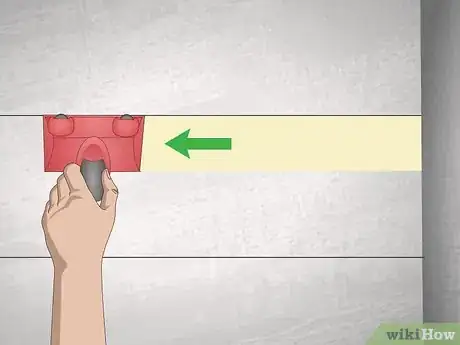
3Run the edger along the edge of the line. If the edger has wheels, place the wheels right against the surface of the ceiling or the wall to make the line as straight as possible. If it doesn’t have wheels, run the edger as slowly and smoothly as possible to ensure your line is straight.[13]
- It’s ok if some of the paint goes over the line, as long as you haven’t painted the opposite side of the line yet.
- It’s also fine if you’re not able to get all the way up to the ceiling because of the edger’s wheels; you can touch up these spots with a small brush later.
-
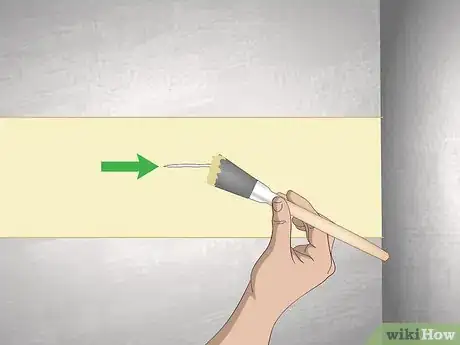
4Touch up any unpainted spots, as needed. Use a small brush to finish applying paint in any spots along the line that the edger wasn’t able to get. For best results, use an angled brush with short, small bristles.[14]
-
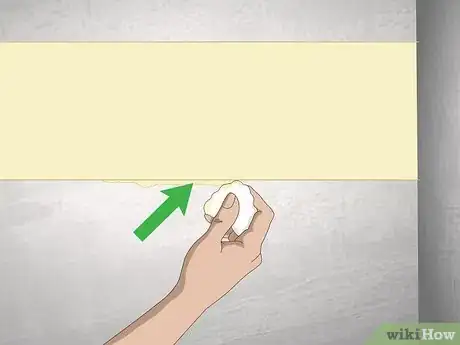
5Use a wet cloth to wipe off any paint that went over the line, if needed. This is important if you were painting a line against something that you didn’t want to paint, such as a window sill. You can also use disinfectant wipes to clean up any accidental drips or smudges.[15]
Expert Q&A
Did you know you can get expert answers for this article?
Unlock expert answers by supporting wikiHow
-
QuestionHow do you get a straight line when you're painting?
 Andres MatheuAndres Matheu is the Owner of Hömm Certified Painting Systems, an Interior and Exterior Residential painting business based in the Washington, DC Metro area. Andres specializes in interior and exterior residential painting, color consultations, cabinet refinishing, wallpaper removal, and epoxy flooring among other services. An EPA Lead-safe Certified Firm, Hömm Certified Painting Systems has been awarded the Best of Houzz 2019 Service, Angie's List Super Service Award 2019, and Northern Virginia Magazine's 2018 Best Home Experts (painters) award.
Commercial Painter
Things You’ll Need
- Paint brush
- Painter’s tape
- Angled brush
- Edger
- Paint
References
- ↑ https://makeit-loveit.com/how-to-paint-horizontal-stripes
- ↑ https://makeit-loveit.com/paint-straight-lines-on-textured-walls
- ↑ https://makeit-loveit.com/paint-straight-lines-on-textured-walls
- ↑ https://askannamoseley.com/2011/03/how-to-paint-a-perfect-line/
- ↑ https://www.houseofhepworths.com/2011/01/11/what-everyone-should-know-about-painting-perfect-lines/
- ↑ https://makeit-loveit.com/how-to-paint-horizontal-stripes
- ↑ https://makeit-loveit.com/how-to-paint-horizontal-stripes
- ↑ http://www.homemadebycarmona.com/secrets-to-painting-free-hand/
- ↑ https://www.thisoldhouse.com/how-to/how-to-paint-room
- ↑ http://www.homemadebycarmona.com/secrets-to-painting-free-hand/
- ↑ http://www.homemadebycarmona.com/secrets-to-painting-free-hand/
- ↑ https://makeit-loveit.com/how-to-paint-horizontal-stripes
- ↑ https://www.familyhandyman.com/painting/techniques/the-best-tips-for-cutting-in-paint/view-all/
- ↑ https://www.familyhandyman.com/painting/techniques/the-best-tips-for-cutting-in-paint/view-all/
- ↑ http://www.homemadebycarmona.com/secrets-to-painting-free-hand/
- ↑ Andres Matheu. Commercial Painter. Expert Interview. 28 July 2020.
