X
wikiHow is a “wiki,” similar to Wikipedia, which means that many of our articles are co-written by multiple authors. To create this article, 14 people, some anonymous, worked to edit and improve it over time.
This article has been viewed 91,280 times.
Learn more...
This article tells you the basics of mounting a motherboard in a computer case.
Steps
-
1Verify that you are as static free as possible.
-
2Open the case you want to mount the motherboard in.Advertisement
-
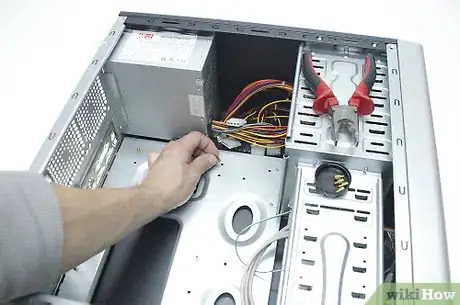
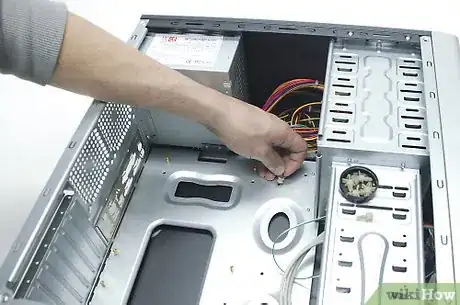
3Verify all metal hex nuts are in place to fit the new board. Make sure none will short any solder points on the board.
-
4Verify all plastic spacers are in place to accommodate the new motherboard.
-
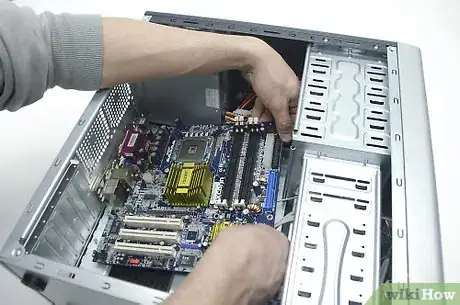
5Place the motherboard into the case.
-
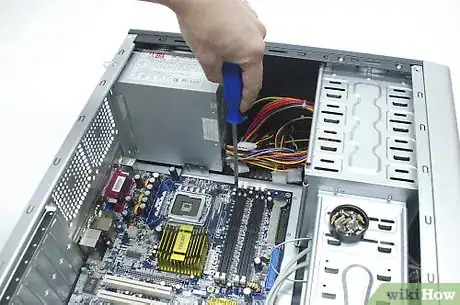
6Screw the screws in place to hold the board in place. Make sure they are the only thing that line up with the hex nuts...That is the whole purpose of those.
Advertisement
Warnings
- Avoid working on carpeting as it generates static electricity.⧼thumbs_response⧽
- Make sure your hands are dry.⧼thumbs_response⧽
- Use an anti-static strap that is electrically grounded. Straps can be purchased at electronic supply stores and many computer parts dealers.⧼thumbs_response⧽
- Do not wear fleece clothing.⧼thumbs_response⧽
- There should only be as many hex nuts as there are screw holes to hold the board in place⧼thumbs_response⧽
- Do not use a magnetic screwdriver.⧼thumbs_response⧽
- At no time should you ever leave the motherboard/CPU/other components on the ground or on the table. Most people rest their motherboard on the box it came in. The anti-static bag outside layer is not conductive and is made of the same material as inside the bag so they are a good place to put your raw motherboard.⧼thumbs_response⧽
Advertisement
About This Article
Advertisement


