This article was co-authored by Jon Depoian. Jon Depoian is a Skateboarding Instructor and the Owner of Intro2Skateboarding, an organization based in Orange County, California that provides professional private, home-school, after-school, birthday party, and summer camp skateboard lessons for beginners and experienced skateboarders alike. Jon has over 21 years of skateboarding experience and over 10 years of skateboard instruction experience. He also has extensive experience producing street skateboarding videos and skating competitions.
There are 11 references cited in this article, which can be found at the bottom of the page.
wikiHow marks an article as reader-approved once it receives enough positive feedback. In this case, 83% of readers who voted found the article helpful, earning it our reader-approved status.
This article has been viewed 211,805 times.
Making a skateboard is, surprisingly enough, not as hard as most people think. Making the deck, or wooden board, only requires a basic knowledge of carpentry, a jigsaw, a skateboard mold, and a vacuum press, but even these can be made at home with a little patience. While professional looking boards are hard without professional equipment, anyone can build a board and get riding with 1-2 days of work.
Steps
Forming and Pressing the Wood
-
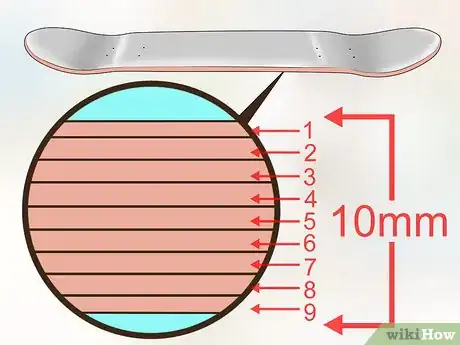
1Understand that skateboards are made of 6-9 layers of pressed plywood. In order to withstand stress and damage skateboards are not made of just one piece of wood. Instead, multiple thin layers of plywood and veneer are layered, glued, and then pressed together for several hours to make one deck. The standard is for 7 pieces of plywood, though some boards use 9.
- Changing the thickness of the sheets or the number of pieces in the board will affect its weight, flexibility, and riding properties.
- Most decks have a final thickness of roughly 10mm.[1]
-
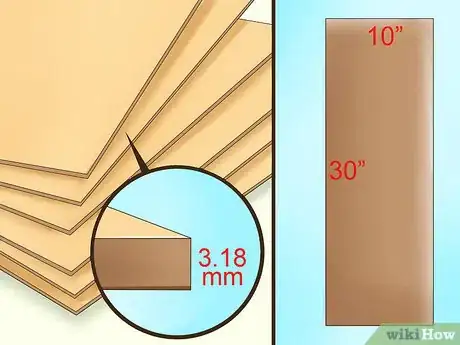
2Purchase 6-7 pieces of 30"x10" plywood. It should be roughly 1/17th of an inch thick. This will form the base of a basic deck. However, you can buy different types of wood and stack them appropriately for a more professional board. Most of these specialty woods are tough to find at big-box retailers, so you may need to go to a specialty store to find Baltic Birch or Canadian Maple thin enough to use.
- Hard Maple is great because of its incredibly thin veneers.[2]
- Buy two hardwood "face" pieces for the top or bottom in mahogany or maple for sturdy, gorgeous wood. The thickness should be the same, 1/17th of an inch.
- You can buy birch or bamboo for the "core" wood, as it is more stable than standard plywood. The thickness should be the same.[3]
- Crossband Layers are two specific pieces on the inside of the board where the wood grain runs up and down the thickness of the board, not along the face. If you can buy crossband plywood, get two sheets for the center to increase board strength.
Advertisement -
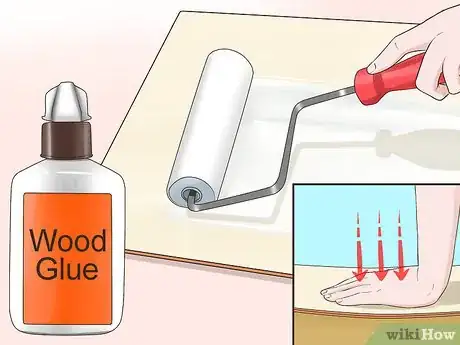
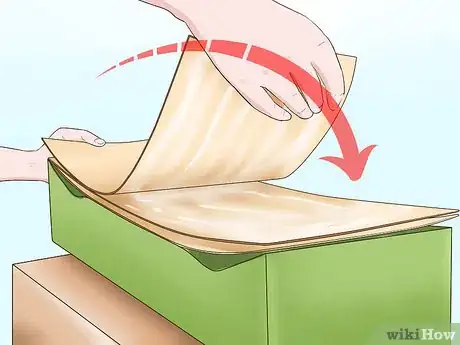
3Attach the boards with evenly spread wood glue. Take each piece of wood and use a paint roller to spread a thin layer of wood glue on the bottom of your face piece and the top of your first core piece of wood. Lightly push the two pieces together. Repeat this to adhere all seven pieces of plywood together. Do not simply coat one side and stick it to the other -- you need evenly-spread glue on both sides of the plywood.
- If you are building a professional board, you will need to order your wood in the correct way for the best results. The standard order for the wood is:
- Face sheet (your best wood)
- Core sheet
- Crossband sheet
- Core sheet
- Crossband sheet
- Core sheet
- Face sheet
- If you are building a professional board, you will need to order your wood in the correct way for the best results. The standard order for the wood is:
-
4Place your deck on the mold and tape them together. Use masking tape to adhere the board lightly to a Styrofoam mold. If you are using a professional press you can simply lay it in the mold and move on to the next step.
- Two pieces of tape, wrapped all the way around the board right before it begins to curve upwards, should work fine.
- If you don't have a Styrofoam mold, fit the wood in between two old skateboard decks to mimic their shape. However, you need to be sure both decks have the same shape.[4]
-
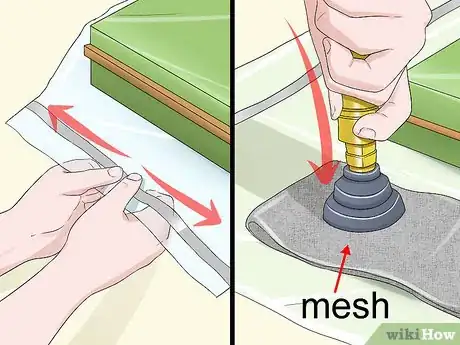
5Seal the wood and mold in a vacuum bag. Place a piece of mesh underneath the air pump to allow the air to escape easily as you suction it out. If the valve is right above the wood without mesh you may not be able to get all the air out, as the wood seals up the hole.
- This bag needs to be perfectly airtight or the board will not mold.
-
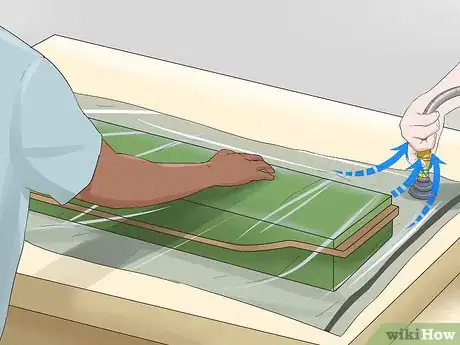
6Suction out as much air as you can with the vacuum. Have a friend nearby to help keep the bag from being accidentally pulled in between the layers of wood or the mold, as this will warp your board. Think of the vacuum as creating a press -- the top of the bag is molding the wood to fit your Styrofoam mold, and anything that gets in the way will mold bumps or cracks into the wood.[5]
-
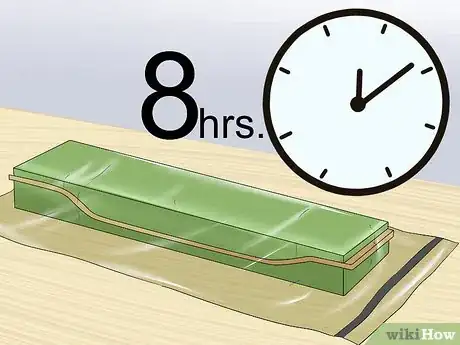
7Leave the board to press for 8 hours before removing it. Leave the board to mold all day. You need to check it every 2-3 hours to make sure the bag is still airtight, and you may need to suction more air out from time to time.
-
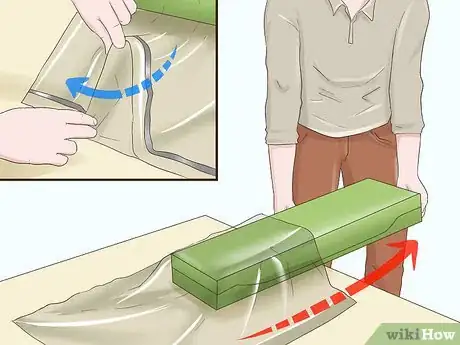
8Carefully remove the wood. This is often where people rip their vacuum bag, rendering it useless for future decks. Open the bag to allow some air in, then slowly slide the board out, pulling the vinyl bag out of the way. Remove the mold afterwards.
-
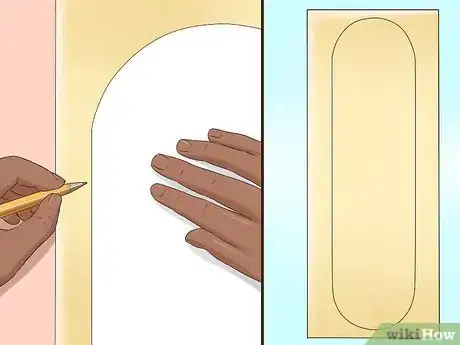
9Trace the shape of an old board onto your pressed wood. This will be your guide to cut the board into the right shape. If you cannot use an old board, take a large piece of paper and fold it in half. Draw out the shape of half of your board -- curved on the top and bottom, flat along the sides -- starting from the folded edge of the paper. Then cut out the outline -- since you folded the paper in half, unfolding your cut out will lead to a perfectly symmetrical outline. Trace this design onto your wood.[6]
- The tail of the board is usually slightly narrower than the tip, or nose.[7]
-
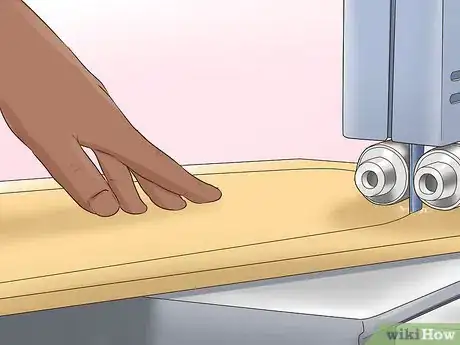
10Use a jigsaw to cut your board into the proper shape. Cut along your outline to create your rough board. If you have a band saw or a scroll saw, this may be an easier way to get good cuts. If you don't have either of those, you can use a coping saw although it will be more difficult.
-
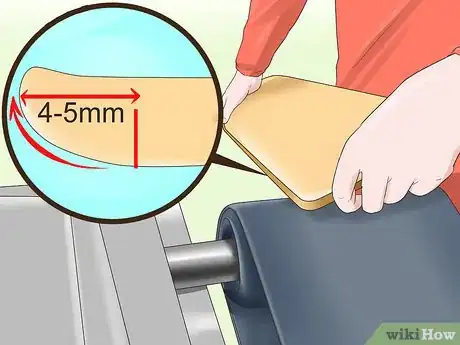
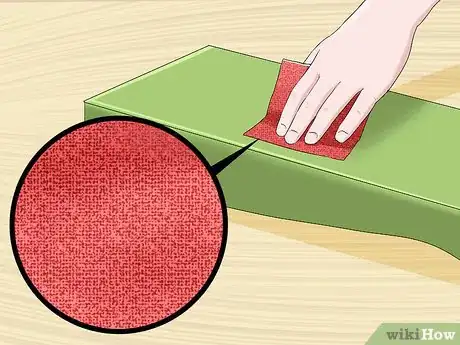
11Sand the entire edge of the board with a belt sander, so that it curves slightly down. You want the edge of the board to curve towards the wheels, usually no more than 4-5mm. To do this, work with the top of the board face-up, then tilt the edge of the board down as you run it along the sander.
- Follow up with a hand sander, then some fine sandpaper, to smooth out the edges. Use progressively higher-grit papers, try going up to 400 or more, to smooth the entire edge out into a beautiful, even side.
-
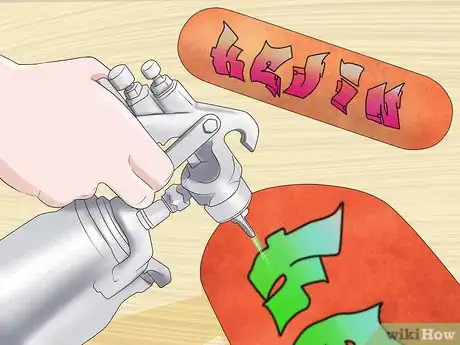
12Paint, stain, or design your board to your liking. Now that the board is fully crafted, it is time to make it your own. After sanding it down you can add a stain, paint on graphics, or use a wood burner to make the board the killer, custom design you dream of.
Building a Skateboard Mold
-
1Build a Styrofoam mold to shape your skateboard in a vacuum press. Unless you want a flat skateboard, you need to press the wood together into a mold, allowing you to curve your board professionally. To do this, you will need a large piece of Styrofoam (at least the size of your plywood), a vacuum with hose attachment, and a vacuum bag big enough to fit your mold and skateboard.
- You will likely need to stack and glue several pieces of Styrofoam to get it 4-5" inches thick.
- The Styrofoam should have an R rating of 9 or higher to withstand the pressure of making a board.
- You can buy Styrofoam at most home-improvement stores in the home insulation section.
-
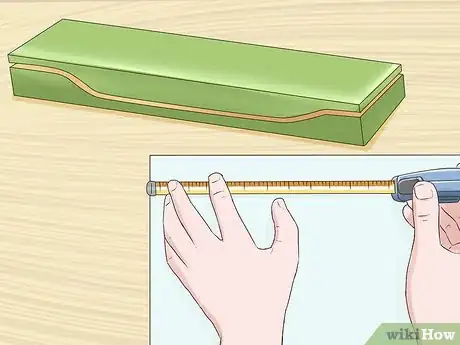
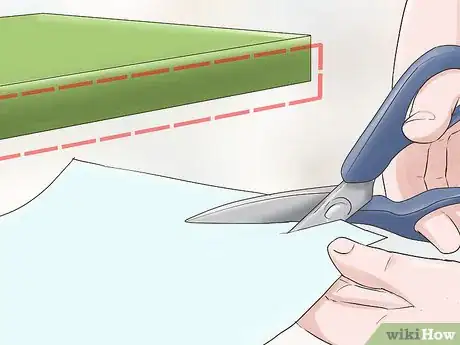
2Cut out a piece of paper as large as the thickness of your Styrofoam. You'll need this to make an outline of your board shape. Once your cut this to your desired shape you can use it to make sure you cut both sides of the Styrofoam evenly.
-
3Cut your outline paper into the desired shape of your board. Most boards curve upwards 2–4 inches (5.1–10 cm) on either end and are flat or concave in the middle. Keep it simple for now -- use a ruler to make a straight line through the middle of the board, then curve gently upwards for the last 3–4 inches (7.6–10 cm) so that the ends of the board are 1/2-1 inch higher up than the middle.
- This is the shape of the profile of your board, not the top of it.
- Take an old skateboard deck and trace its shape on your outline for a professional shape.
-
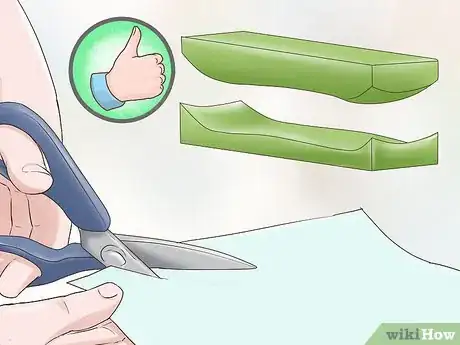
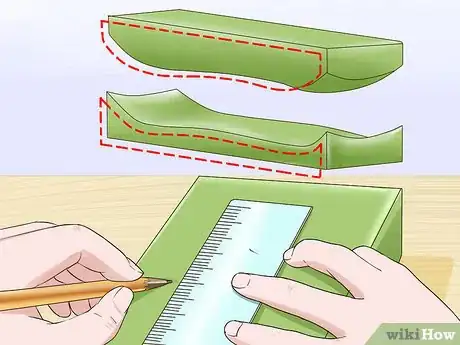
4Transfer the outline to your Styrofoam. Trace the design on both sides. The flat bottom of your outline should be on the top of the Styrofoam block. Using a ruler, draw a line connecting the points where the board curves up across the top of the styrofoam. You should have an outline on both sides of the foam and two horizontal lines on the top of the board when you are done.
-
5Cut the Styrofoam to fit your outline. When you are done, the Styrofoam will look like a flat-topped hill, curving up on each end. To do so:
- Measure the distance from your outline to the top of the Styrofoam block in 5 places. Mark where you measured and the height you found at each spot. Say the first mark you make, at the beginning of the curve, is 1⁄2 inch (1.3 cm) from the top of the foam to your outline.
- Draw a line with a ruler from the 1/2-inch mark on one side of the foam to the 1/2-inch mark on the other side.
- Set the blade of your utility knife to this exact distance, so that the blade is only 1/2 inch long.
- Cut horizontally across the your line, making a 1⁄2 inch (1.3 cm) deep incision across the foam.
- Cut diagonally up the foam to remove a large, rectangular, 1/2-inch chunk from the entire width of the foam.
- Repeat until you have the entire curve of the board roughly outlined.
-
6Sand the board into a simple, smooth curve. Use 100 grit sandpaper to remove any rough spots. Sandpaper will quickly remove the foam, so you can use it to make sure the foam perfectly fits the outline you have drawn on the side of the foam. The outline on the side of the foam should now outline the top of your whole foam mold.
- The final product will look like the inverse of a skateboard, where a finished deck would fit snugly on top of the mold.
-
7Experiment with new board designs. The beauty of foam molds is that they are easily customized and cheaply designed, so play with different board shapes once you get comfortable working with Styrofoam.
- As an alternative, you could simply buy a blank board from a local shop, then do the design yourself.[8]
-
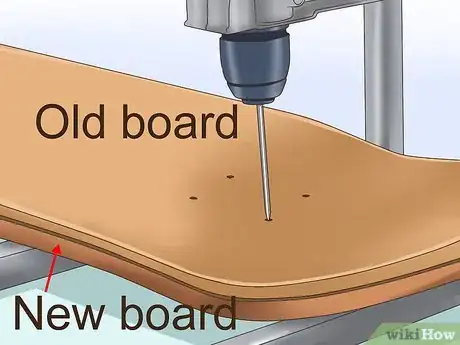
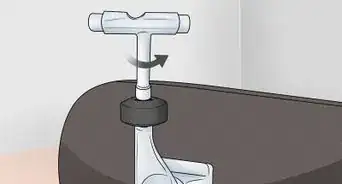
8Use an old board to properly drill holes for the trucks. Trucks are the big metal pieces that hold your wheels in place. Simply place an old deck over the new board and use a pencil to mark the location of the holes. Using a straight-drill, drill each hole straight through the board. You will have 8 holes -- two sets of four on each end.
- If you cannot use an old board, you'll need to make sure you trucks are centered. To do so, use a ruler to measure at least 5 center points in the board. If the board is 10 inches (25.4 cm) thick, these center points will be 5" from each edge. Use your ruler to connect each of these points to draw your center line. From there, line your trucks up with the midline so that the holes are equal distance from the line, mark them, and drill from here.
- You want your trucks to be on the flat part of the board, starting right after the curve of the nose and tail.[9]
- If you cannot use an old board, you'll need to make sure you trucks are centered. To do so, use a ruler to measure at least 5 center points in the board. If the board is 10 inches (25.4 cm) thick, these center points will be 5" from each edge. Use your ruler to connect each of these points to draw your center line. From there, line your trucks up with the midline so that the holes are equal distance from the line, mark them, and drill from here.
Assembling a Custom Board
-
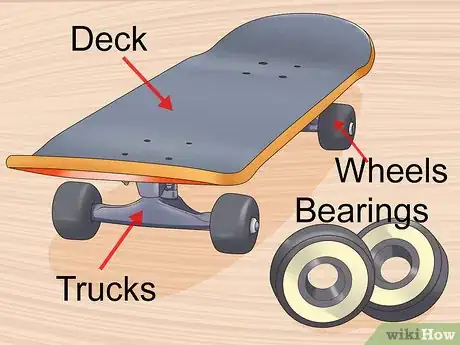
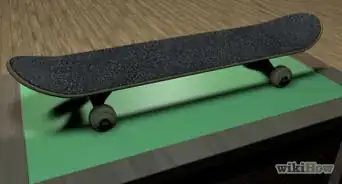
1Learn the basic components of a skateboard. Skateboards, despite many innovations in the last 20 years, are actually simple machines that can be customized with just a few parts.
- Deck: This is the wooden board. It has griptape on it, which resembles sandpaper.
- Trucks: These are the large metal pieces on the board that house the axel and attach the wheels.
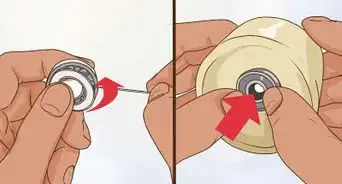
- Bearings: Allow your wheels to roll smoothly. They come in steel and ceramic -- steel is standard, but ceramic have less friction and last longer, though they cost more. You need 8 of them.[10]
- Wheels: There is a wide variety of wheels available, each for different board types.
- Hardware: This is simply a collection 8 screws and 8 bolts needed to put your board together. A packet usually costs $2-$5.[11]
-
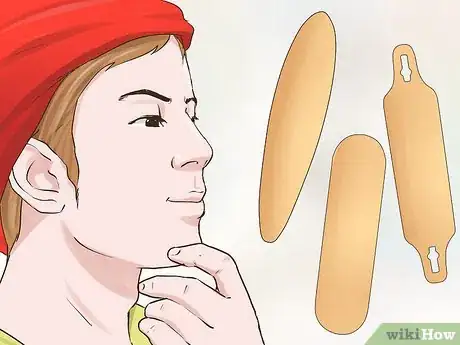
2Choose a deck. What kind of boarding do you plan on doing? Longboards are for cruising and going down hills, where street boards are the "classic" skateboard used for jumps, grinding, and getting around town. Materials for a deck alone are around $10.[12]
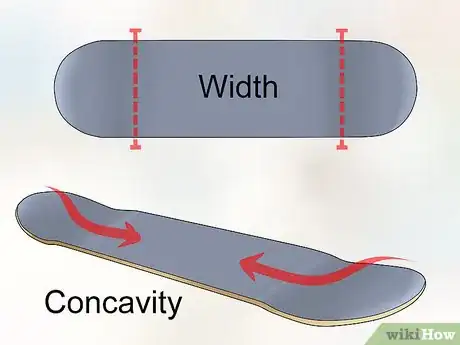
- Width: The wider the board, the smoother the ride but the harder it is to pull tricks. Standard is 7.5-8.5".
- Concavity: Generally, if the board is curved down more (more concave) it is more stable to ride. Flatter boards are usually easier to hit tricks on, however you should sample a few decks to determine what you like.[13]
- "Wheel Base:' This is the distance between your two sets of wheels. The larger the wheel base, the wider your turning radius. Generally, taller people want a wider wheel base. It is usually 13"-15".[14]
-
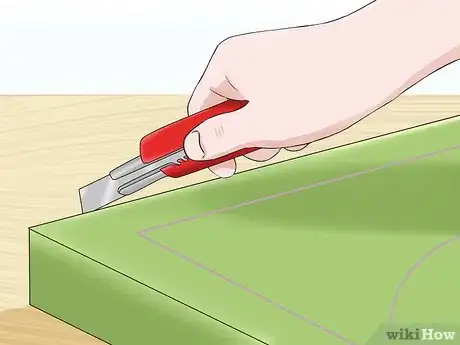
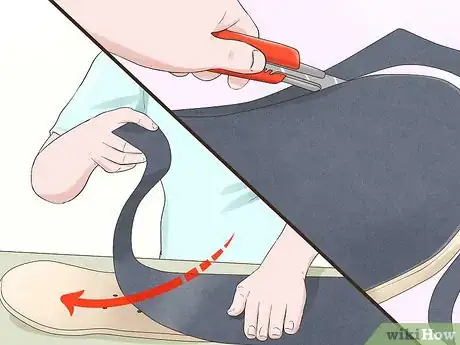
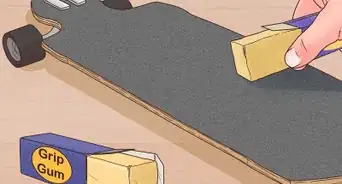
3Adhere your grip tape. Simply peel off the grip tape and lay it down on the clean board, pressing firmly to adhere it to the wood. Using a screwdriver or sturdy metal instrument, rub the tape along the edge of the board until the tape makes a white outline along the entire edge. Use a box cutter or utility knife to cut away excessive grip tape.
- If you have any air bubbles, poke a hole in them with the end of the knife and then press the tape into the board.
- It is much easier to cut the grip tape from the bottom.
-
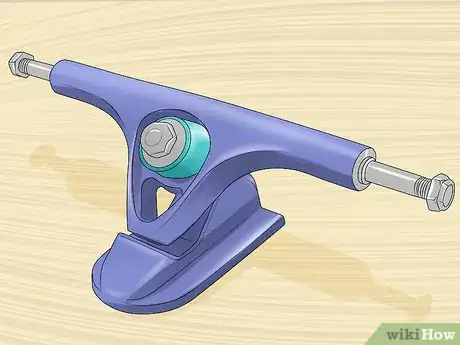
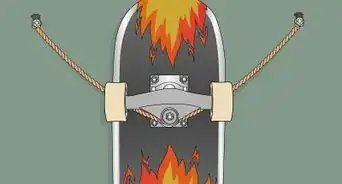
4Choose your trucks. Trucks are the metal pieces that connect the board to the axle and wheels, and they are usually the most durable part on the entire board. While they may seem standard, different trucks are actually used for different skaters:
- Longboard riders who plan on using large wheels may need risers which put more distance between the board and the ground. They also absorb some of the force and vibration on landings.
- Heavier riders need to get a wide hanger, which is the axle that keeps the wheels further apart. Most hangers reach within 1/4" of the boards outside edges.
- Bushings control how wobbly the board feels. Technical riders will want harder bushings, while people who like to cruise a lot may prefer softer bushings.[15]
-
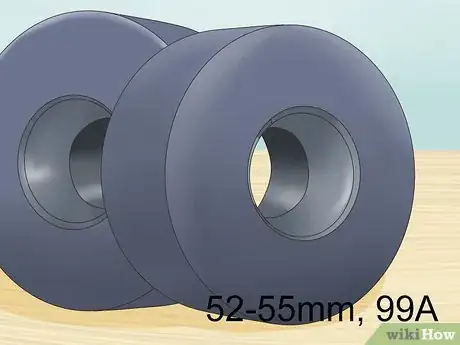
5Choose the right wheels for your riding. There are a lot of different types of wheels out there, and you should talk to your local skate shop to see what wheels will work best for you. That said, standard skating wheels have the same general properties regardless of the manufacturer:
- A good "starter wheel" is usually 52-55mm, 99A -- well balanced for most terrains.
- Skaters who do a lot of tricks usually want smaller, harder wheels, like 50mm, 101A
- Skaters who do a lot of cruising want softer, bigger wheels, like 70mm, 78B.[16]
Expert Q&A
Did you know you can get expert answers for this article?
Unlock expert answers by supporting wikiHow
-
QuestionWhat wood do you use to make a skateboard?
 Jon DepoianJon Depoian is a Skateboarding Instructor and the Owner of Intro2Skateboarding, an organization based in Orange County, California that provides professional private, home-school, after-school, birthday party, and summer camp skateboard lessons for beginners and experienced skateboarders alike. Jon has over 21 years of skateboarding experience and over 10 years of skateboard instruction experience. He also has extensive experience producing street skateboarding videos and skating competitions.
Skateboard Shop Owner
-
QuestionShould I get a longboard?
 Jon DepoianJon Depoian is a Skateboarding Instructor and the Owner of Intro2Skateboarding, an organization based in Orange County, California that provides professional private, home-school, after-school, birthday party, and summer camp skateboard lessons for beginners and experienced skateboarders alike. Jon has over 21 years of skateboarding experience and over 10 years of skateboard instruction experience. He also has extensive experience producing street skateboarding videos and skating competitions.
Skateboard Shop Owner
-
QuestionHow many layers would I need if I were to make a really huge skateboard?
 Community AnswerYou would need at about 13 more layers to make it much more bigger and stronger.
Warnings
- If you do not make the board properly there is a risk that it could break.⧼thumbs_response⧽
Things You'll Need
- 6-9 pieces of hard plywood.
- Wood glue
- Paint Roller
- Styrofoam
- Utility Knife
- Sturdy ruler and yardstick.
- Vacuum
- Vacuum Bag
- Screwdriver
- Pens and thick, large paper.
- Wheels, Trucks, and Grip-tape
- Saw
References
- ↑ http://www.diyskate.com/veneer.html
- ↑ Jon Depoian. Skateboarding Instructor. Expert Interview. 5 June 2020.
- ↑ http://www.diyskate.com/veneer.html
- ↑ http://skateboarding.wonderhowto.com/how-to/make-your-own-skateboard-deck-from-scratch-314364/
- ↑ https://www.youtube.com/watch?v=lnJP4hCCVsk
- ↑ http://skatepaige.com/uncut-skateboard-blanks/uncut-skateboard-decks.html
- ↑ http://www.tactics.com/info/choosing-a-skateboard-deck
- ↑ Jon Depoian. Skateboarding Instructor. Expert Interview. 5 June 2020.
- ↑ http://skatepaige.com/uncut-skateboard-blanks/uncut-skateboard-decks.html
- ↑ http://www.tactics.com/info/choosing-skateboard-bearings
- ↑ http://www.skatewarehouse.com/anatomy.html
- ↑ Jon Depoian. Skateboarding Instructor. Expert Interview. 5 June 2020.
- ↑ http://www.tactics.com/info/choosing-a-skateboard-deck
- ↑ http://www.evo.com/skateboard-guide-and-skate-size-chart.aspx
- ↑ http://www.tactics.com/info/choosing-skateboard-trucks
- ↑ http://www.tactics.com/info/choosing-skateboard-wheels
About This Article
To make a skateboard, start by gluing together 6 pieces of 1/17th inch thick plywood with wood glue to form the base. Then, place the wood on a styrofoam mold and seal it in a vacuum bag so that there is no air left inside. Next, leave the board to press in the sealed bag for 8 hours so it can set in the shape of the mold. After removing the wood from the mold, trace around an old board onto the new wood and use a jigsaw to cut it out. Finally, sand down the edges with a belt sander so the edges curve towards the wheels, then paint or stain the board. For tips on how to make a skateboard mold out of styrofoam, read on!
