This article was co-authored by wikiHow Staff. Our trained team of editors and researchers validate articles for accuracy and comprehensiveness. wikiHow's Content Management Team carefully monitors the work from our editorial staff to ensure that each article is backed by trusted research and meets our high quality standards.
There are 7 references cited in this article, which can be found at the bottom of the page.
The wikiHow Video Team also followed the article's instructions and verified that they work.
This article has been viewed 109,203 times.
Learn more...
After having your board for a while, you may notice that your grip tape just isn’t what it used to be. Over time grip tape can become worn down and dirty. Or you may just want to change the design. Whatever the reason, in a short amount of time you can have your board re-gripped and looking brand new.
Steps
Removing the Spray on Grip Tape
-
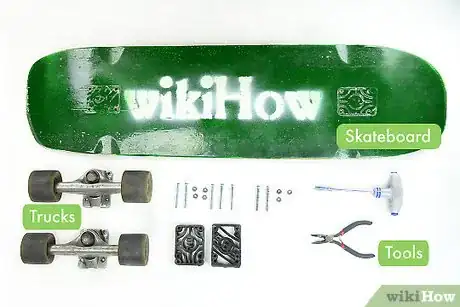
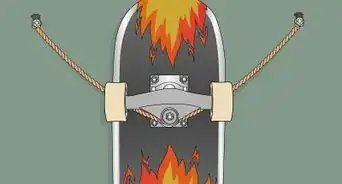
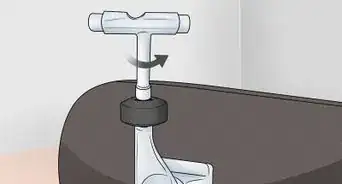
1Remove the trucks of your board. Take a look at your skateboard to determine what type of hardware you will need to remove the trucks. Most can be removed with a Phillips head screwdriver. However, some may use hex head screws or have no screws at all.
- Lay the board on its side. Put the smallest socket of your skateboard tool over one of the nuts on your skateboard trucks. It doesn't matter which one. Using your other hand, put the screwdriver into the screw that is inside that nut. You want both hands on either side of the skateboard to provide sufficient support. [1] [2]
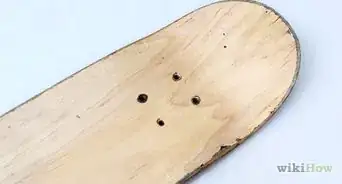
- Remove all the nuts and pull the trucks off of the screws. There will be eight screws left sticking up from your board.
- Once you have the skate tools in place, hold the screwdriver still while turning the socket wrench, and remove the nuts from the screws. Remove the screws by placing your skateboard face down on a hard flat surface and apply pressure. This will cause the screws to pop up and allow you to pull them the rest of the way out.
- A hammer can also be used to remove the screws instead of the aforementioned technique.
-
2Use a hairdryer to loosen adhesive. Heat an edge of the grip tape with the hairdryer for about a minute. The heat will loosen the glue and make removing the grip tape much easier. [3] [4]Advertisement
-
3Use a wide flat razor blade to remove grip tape. This will allow you to get under the tape and the deck. Sliding the blade in and under at the proper angle will ensure there is no damage to the board. [5] [6]
- Hold the blade at a 45 degree angle; keeping the back of the blade pointed up. [7]
- Do not force the blade. If you feel any resistance reheat that section of the grip tape using the hairdryer.
-
4Peel away grip tape. After using the razor to peel back the edge of the grip tape, you can use your hands to finish the job. Pull gently, but firmly, to peel the grip tape away from the board. If at any point the grip tape tears or you feel resistance while peeling, repeat the step with hair dryer. [8]
- The entire process generally should take you 5 to 10 minutes.
- Lay the board on the ground while peeling away grip tape. Place one foot one the board to keep it secure while peeling away the grip tape.
Sanding Away any Remaining Debris
-
1Begin sanding your board. Start by sanding the edges and then work your way across the rest of the board. Using 80-grit sandpaper, sand the edges to create a rounded shape. Using 120 to 150-grit sandpaper, sand the rest of the board from top to bottom. Repeat the process of sanding the edges and brushing the dust away. When finished, the edges of your board should be smooth and perfectly rounded.
- Sand the board using a belt sander or a sanding block. Use smooth, even strokes while sanding the board. You want to barely, if at all, see the outline mark when this step is complete.
- Avoid inhaling debris by wearing a face mask. Also, goggles are a good way to ensure that no debris accidentally find their way into your eyes. Gloves will also prove useful to you in this task, and of course you will need your sanding material.
-
2Wipe the board down with a rag to remove any sanding dust. Make sure that the towel is damp. Check for any remaining grip tape residue as you wipe.
-
3Run your hand over the board to ensure that the surface is sanded evenly. Continue sanding any areas of inconsistency until the entire board is even.
- When all the grip tape has been removed you can add your new grip tape to the board.
Working in the Right Environment
-
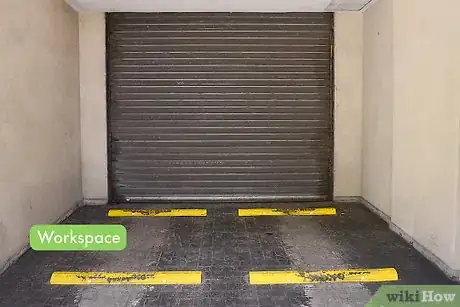
1Locate a decent workspace. An ideal environment for the task at hand can be in a garage, a shed, or even outdoors. Working in a selected location will ensure that cleanup is made easier as your efforts will leave behind sawdust and sand.
- Be mindful of there being a breeze. Avoid debris getting into your eyes or nose.
-
2Dress the part. This is a dirty job and you should dress appropriately. So, it is probably safe to say that you shouldn’t wear your best clothes while performing this task. It’ll save you a lot of laundry detergent and the angry rants of your spouse, girlfriend, or parent in the end.
- Wear old clothing that you wouldn’t mind becoming soiled or damaged.
-
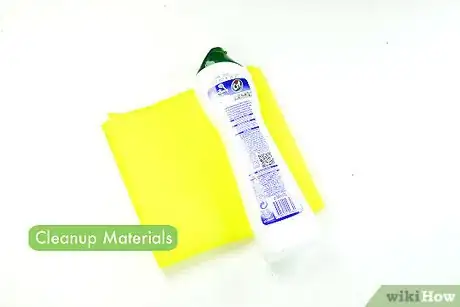
3Set aside cleanup materials. Did I say this was a dirty job? Keeping that in mind, it is important that you have cleanup materials at hand. This will only make your work that much easier and ensure that you can finish the job that much quicker.
- Have a broom and dustpan readily available. There will be sawdust, scraps, and sand to clean up once you have finished.
- A sheet of cardboard or a drop cloth can catch any falling debris and expedite your cleaning process.
Warnings
- Be sure not to sand too much or you'll ruin your deck!⧼thumbs_response⧽
- Don't get in trouble for not being able to clean up the mess you made.⧼thumbs_response⧽
Things You'll Need
- A work space
- Sandpaper
- Wrench/Screwdriver (for truck removal)
- Time
- A broom
- A board
- Dustpan
References
- ↑ https://www.youtube.com/watch?v=LiJUia6Tk34
- ↑ https://www.youtube.com/watch?v=PJnTtLXCrHQ
- ↑ http://www.instructables.com/id/Grip-Your-Longboard-Deck/step2/Removing-Your-Old-Griptape/
- ↑ http://boyslife.org/outdoors/ask-the-gear-guy/145816/how-to-replace-a-skateboards-grip-tape/
- ↑ http://www.instructables.com/id/Grip-Your-Longboard-Deck/step2/Removing-Your-Old-Griptape/
- ↑ https://www.youtube.com/watch?v=kW-gGMpZHGs
- ↑ https://www.youtube.com/watch?v=kW-gGMpZHGs
- ↑ https://www.youtube.com/watch?v=kW-gGMpZHGs
- Videos provided by TheDeliSquad
